Похожие презентации:
3D Animation I
1. 3D Animation I
Lightwave 3DThe Interface:
Having a look around
2. Let’s Get Started
Start LightwaveLayout
Select File > Clear
Scene
Command N
This allows you to start
with a fresh scene at any
time
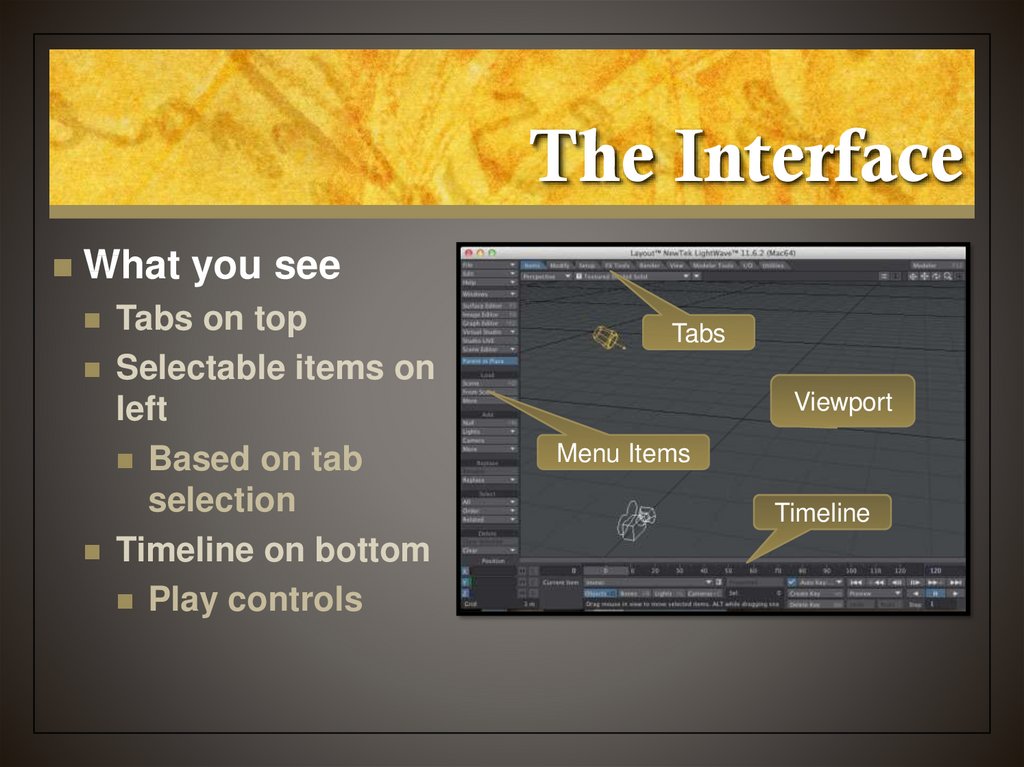
3. The Interface
What you seeTabs on top
Selectable items on
left
Based on tab
selection
Timeline on bottom
Play controls
Tabs
Viewport
Menu Items
Timeline
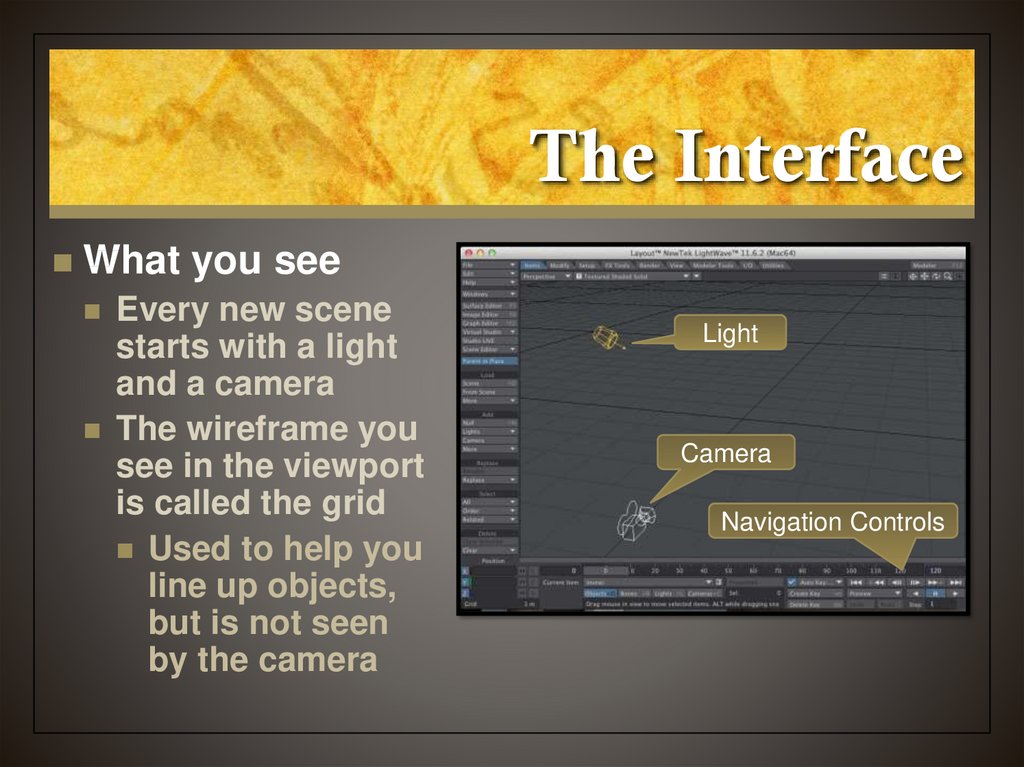
4. The Interface
What you seeEvery new scene
starts with a light
and a camera
The wireframe you
see in the viewport
is called the grid
Used to help you
line up objects,
but is not seen
by the camera
Light
Camera
Navigation Controls
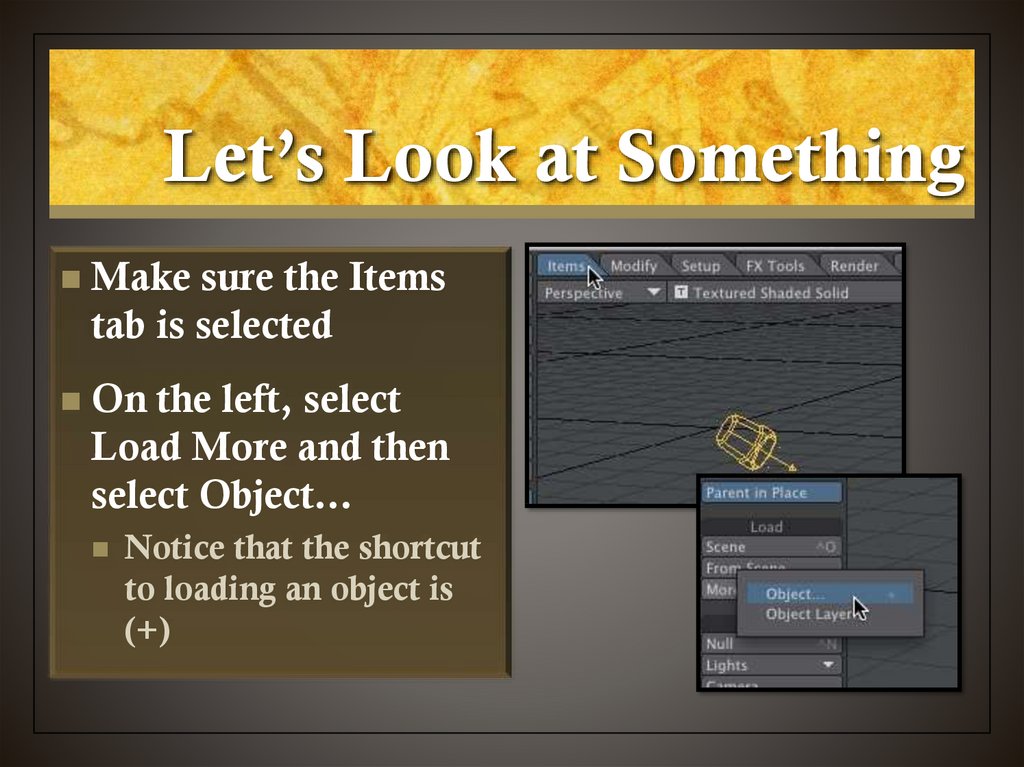
5. Let’s Look at Something
Make sure the Itemstab is selected
On the left, select
Load More and then
select Object…
Notice that the shortcut
to loading an object is
(+)
6. Let’s Look at Something
In the Objectsdirectory, open the
Animals folder and
select Triceratops.lwo
Note that all objects are
.lwo
7. Looking Around
Different viewsDisplaying 3
dimensions on a 2D
screen
Top, Bottom, Back,
Front, Right, Left,
Perspective, Light,
Camera views
Shortcuts 1 - 6
8. Have a Look Around
Click on the View popup menu and chooseTop
Shortcut (2)
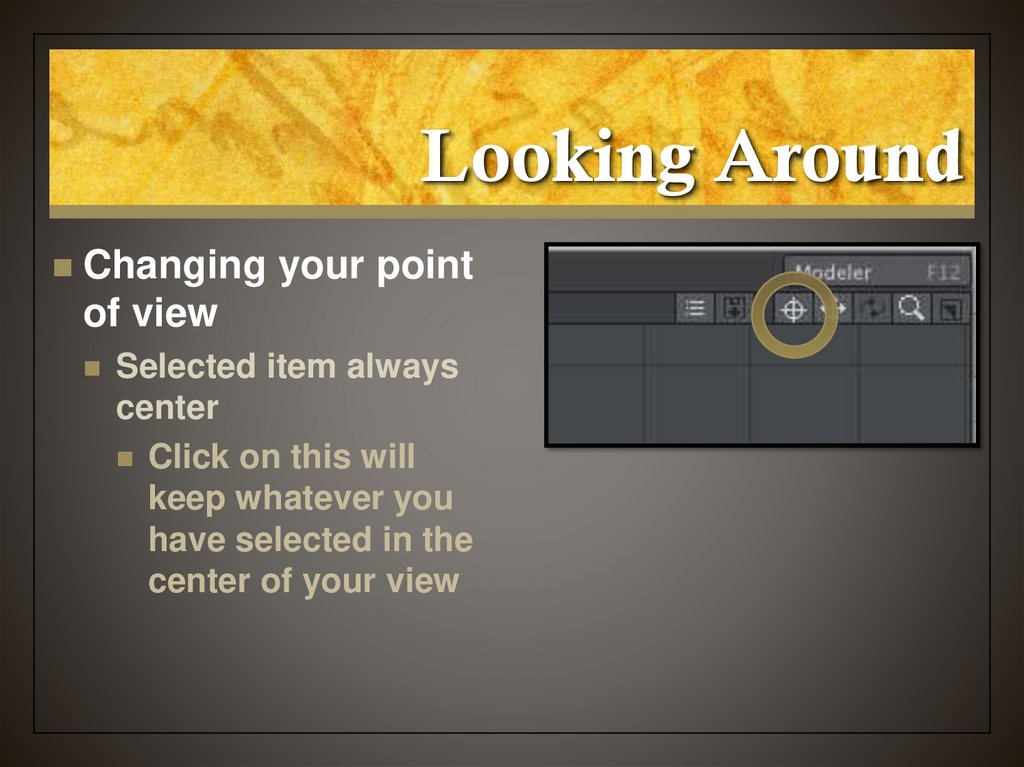
9. Looking Around
Changing your pointof view
Selected item always
center
Click on this will
keep whatever you
have selected in the
center of your view
10. Looking Around
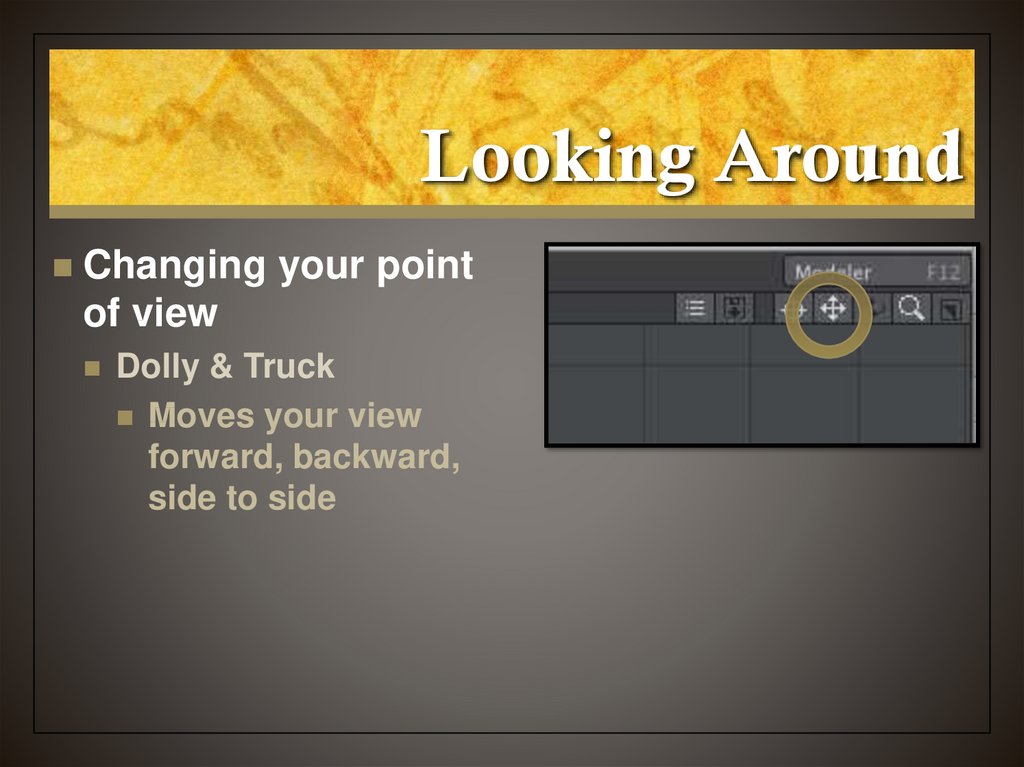
Changing your pointof view
Dolly & Truck
Moves your view
forward, backward,
side to side
11. Looking Around
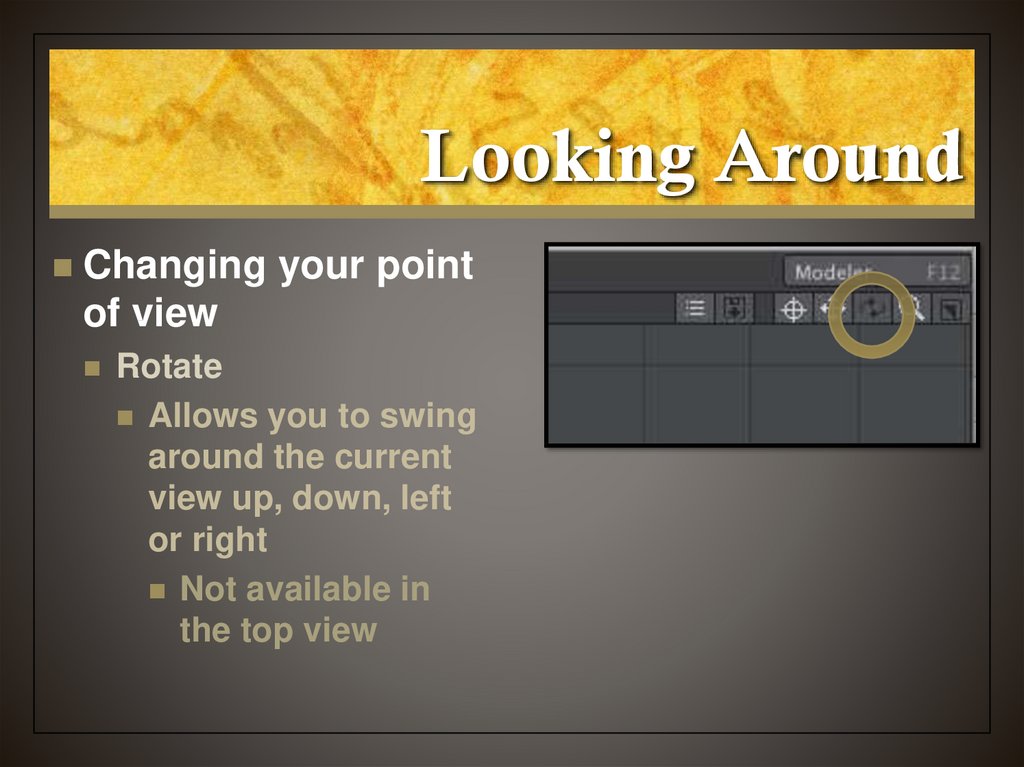
Changing your pointof view
Rotate
Allows you to swing
around the current
view up, down, left
or right
Not available in
the top view
12. Looking Around
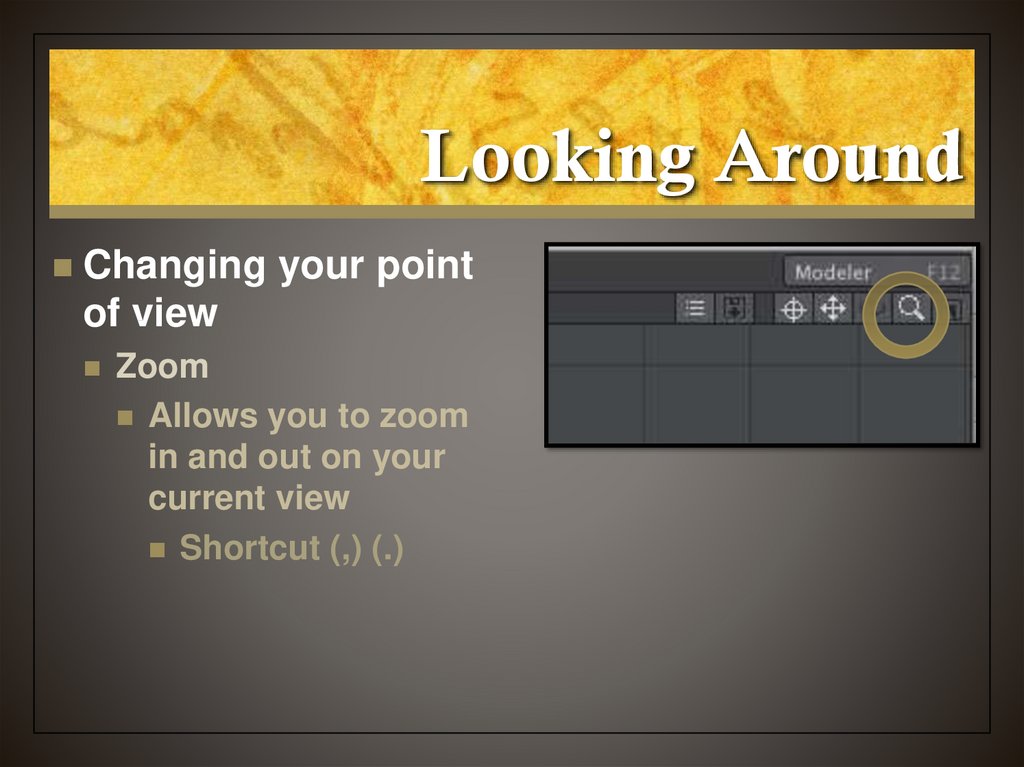
Changing your pointof view
Zoom
Allows you to zoom
in and out on your
current view
Shortcut (,) (.)
13. Have a Look Around
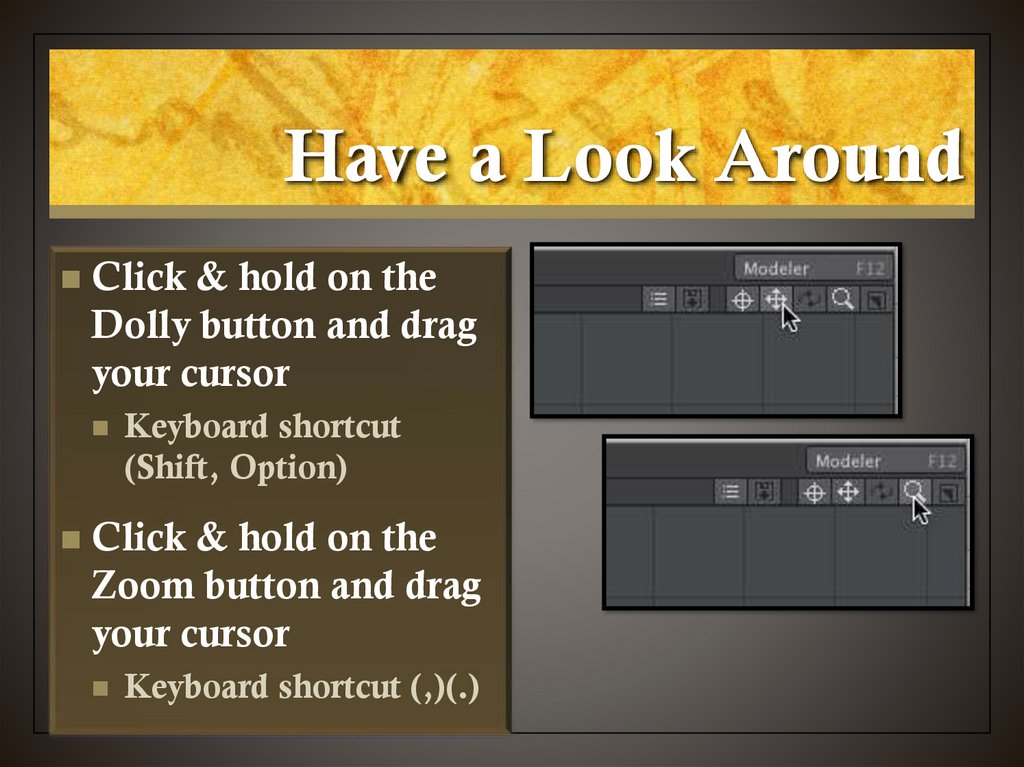
Click & hold on theDolly button and drag
your cursor
Keyboard shortcut
(Shift, Option)
Click & hold on the
Zoom button and drag
your cursor
Keyboard shortcut (,)(.)
14. Have a Look Around
In the View pop-upmenu choose
Perspective
Keyboard shortcut (4)
Click and hold on the
Rotate button and drag
your cursor
Keyboard shortcut
(Option)
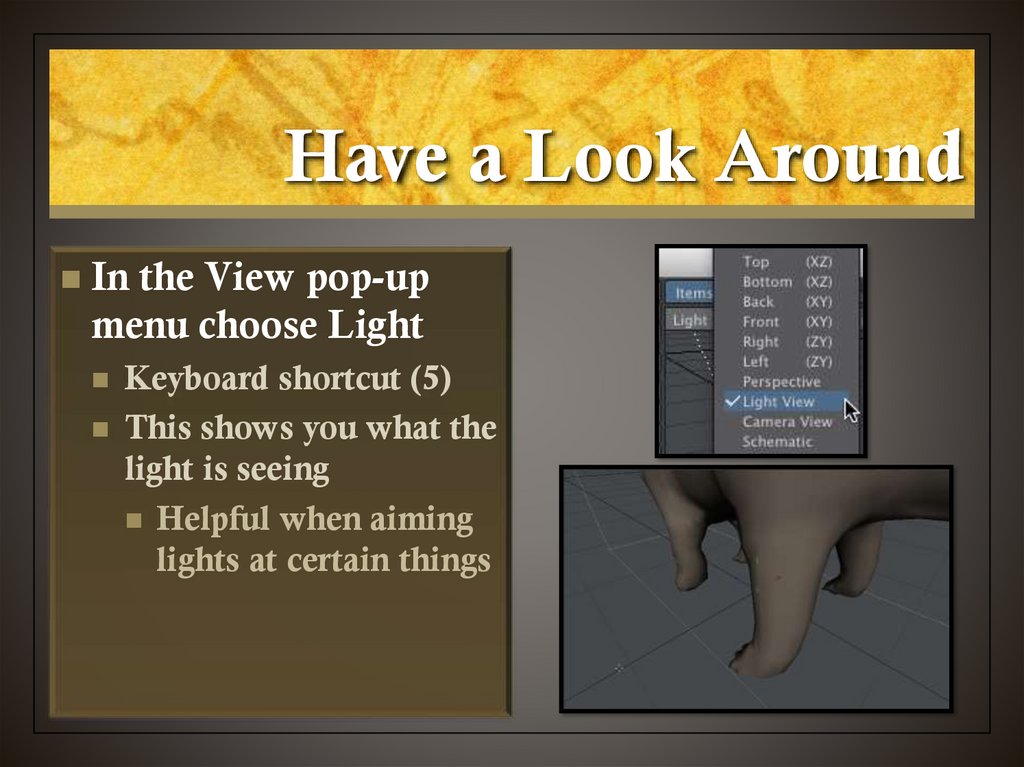
15. Have a Look Around
In the View pop-upmenu choose Light
Keyboard shortcut (5)
This shows you what the
light is seeing
Helpful when aiming
lights at certain things
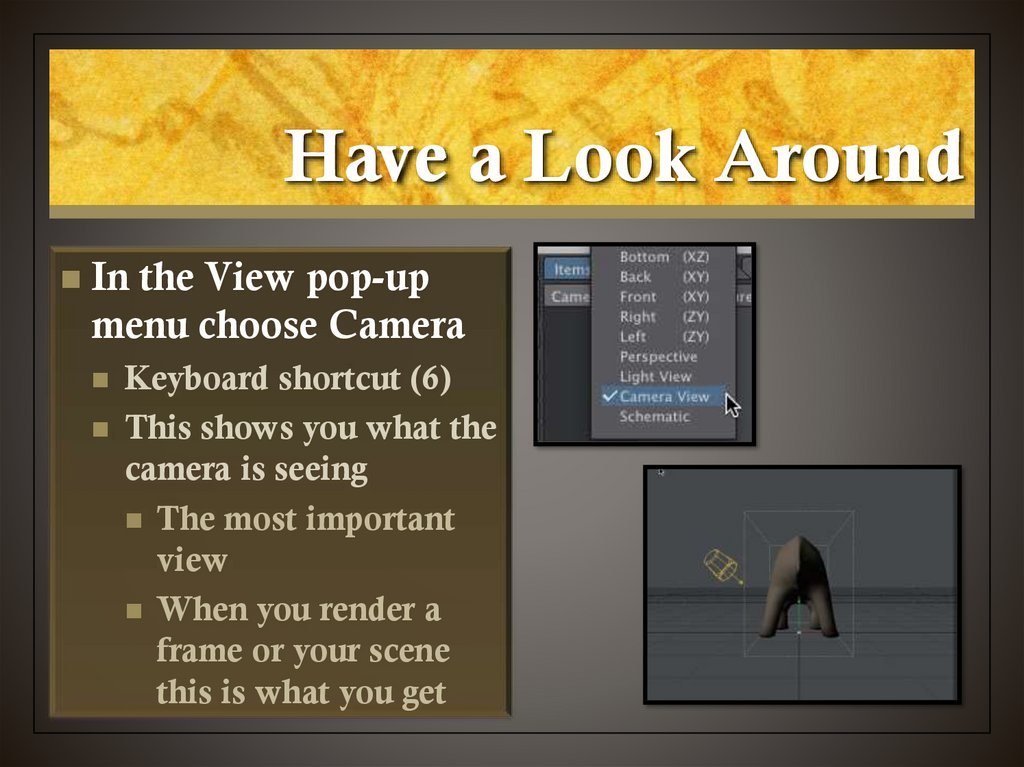
16. Have a Look Around
In the View pop-upmenu choose Camera
Keyboard shortcut (6)
This shows you what the
camera is seeing
The most important
view
When you render a
frame or your scene
this is what you get
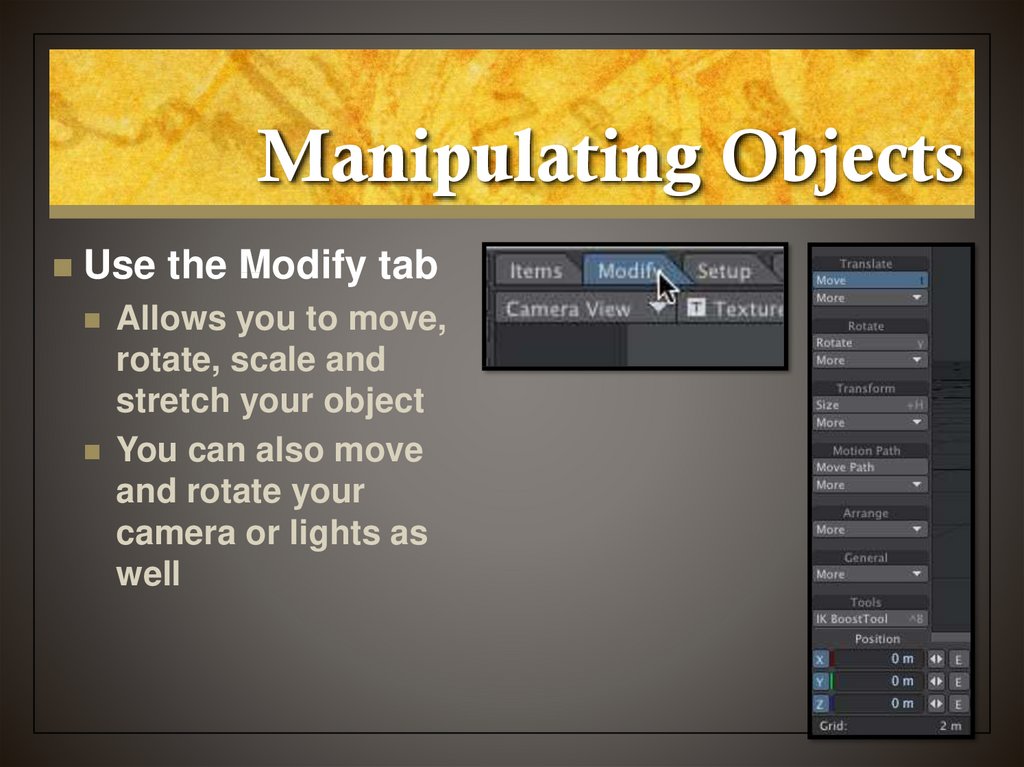
17. Manipulating Objects
Use the Modify tabAllows you to move,
rotate, scale and
stretch your object
You can also move
and rotate your
camera or lights as
well
18. A Better View of Our Dino
Select the Modifytab
Select Rotate
Shortcut (y)
Click on the Red
circle and rotate the
dino so you have a
better view
19. Manipulating Objects
NumericsBottom left
Allows you to set specific
settings to the type of
manipulation you are doing
Rotation
Horizontal, Pitch, Bank
Note the colors red, green
& blue match the control
rings on our dino
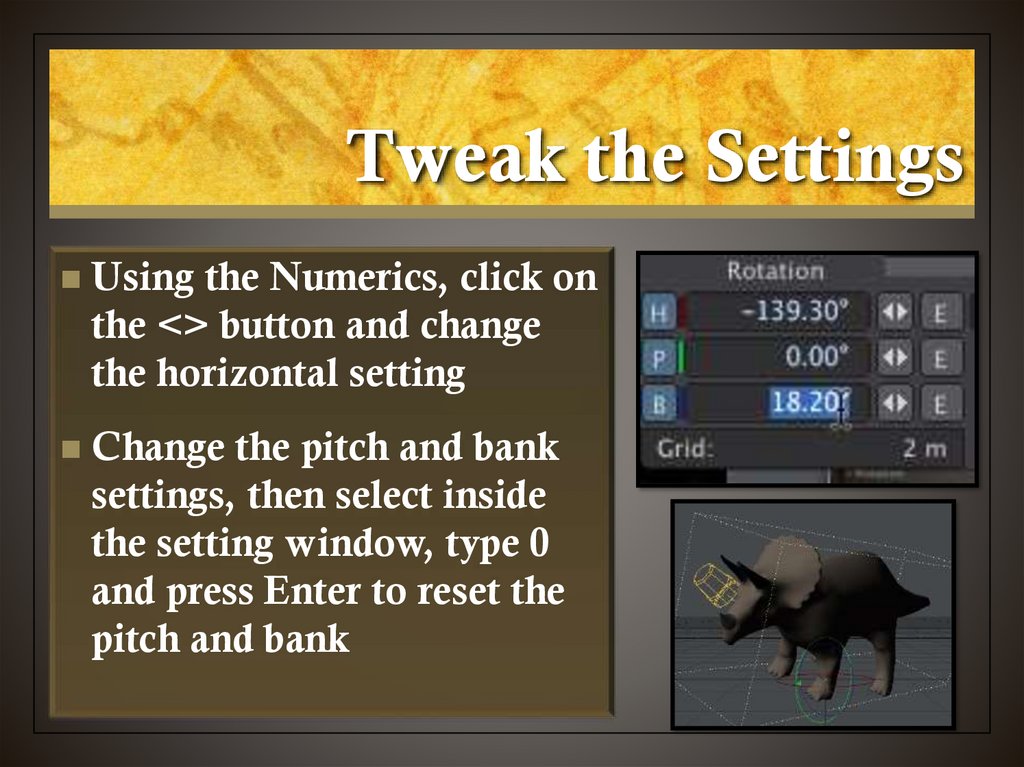
20. Tweak the Settings
Using the Numerics, click onthe <> button and change
the horizontal setting
Change the pitch and bank
settings, then select inside
the setting window, type 0
and press Enter to reset the
pitch and bank
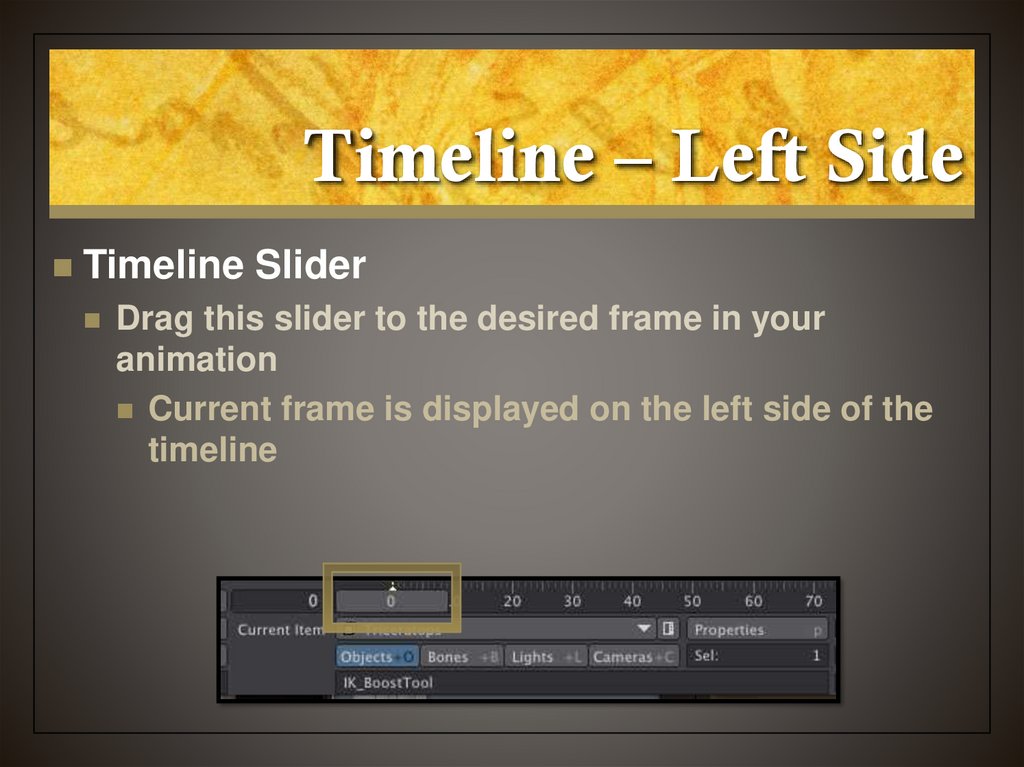
21. Timeline – Left Side
Timeline SliderDrag this slider to the desired frame in your
animation
Current frame is displayed on the left side of the
timeline
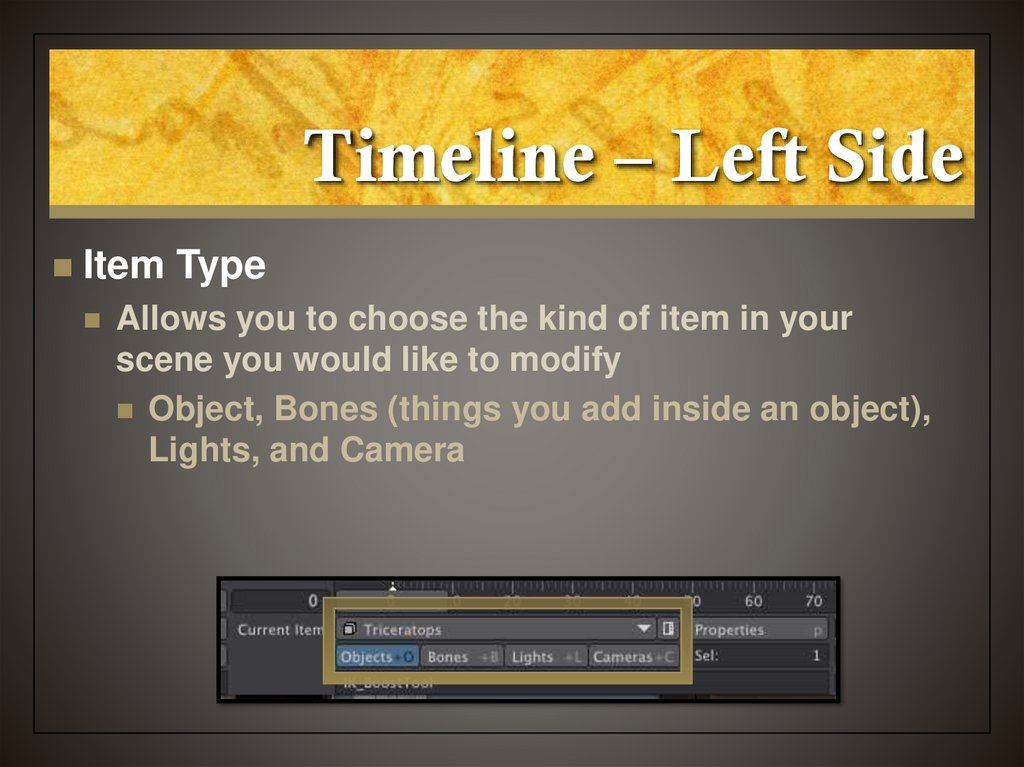
22. Timeline – Left Side
Item TypeAllows you to choose the kind of item in your
scene you would like to modify
Object, Bones (things you add inside an object),
Lights, and Camera
23. Timeline – Left Side
Current Item pop-up menuOnce you have chosen the kind of item you would
like, then you can choose which of those items you
wish to modify
Since we only have one object in our scene, our
Triceratops is the only object we can select
24. Timeline – Left Side
Item PropertiesThis allows you to change
features of the selected element
Object properties allow you to
change its opacity, morph into
something and other tricks
25. Timeline – Right Side
Total frames in sceneThis is how long the scene is
Measured in frames
30 frames per second this scene is 4 seconds
long
Type in any value you need to set the duration
26. Change the Scene Duration
Select inside the SceneDuration window and
type 300 and press
Enter
Scene is now 300 frames
long = 10 seconds
27. Timeline – Right Side
Auto KeyWhen checked, every time you change an item at
any frame, LW will make a key frame to remember
that change
Handy feature, but sometimes you need to turn this
off
Leave it on for now
28. Timeline – Right Side
Create KeyAllows you to manually create a key frame when
Auto Key is turned off
Shortcut (Enter)
29. Let’s Make a Simple Animation
Make sure the Timelineslider is at frame 0
Using the Modify tab in
Camera view, select
Move, then move the
dino back away from the
camera and to the right
With Auto Key on, the
new position is memorized
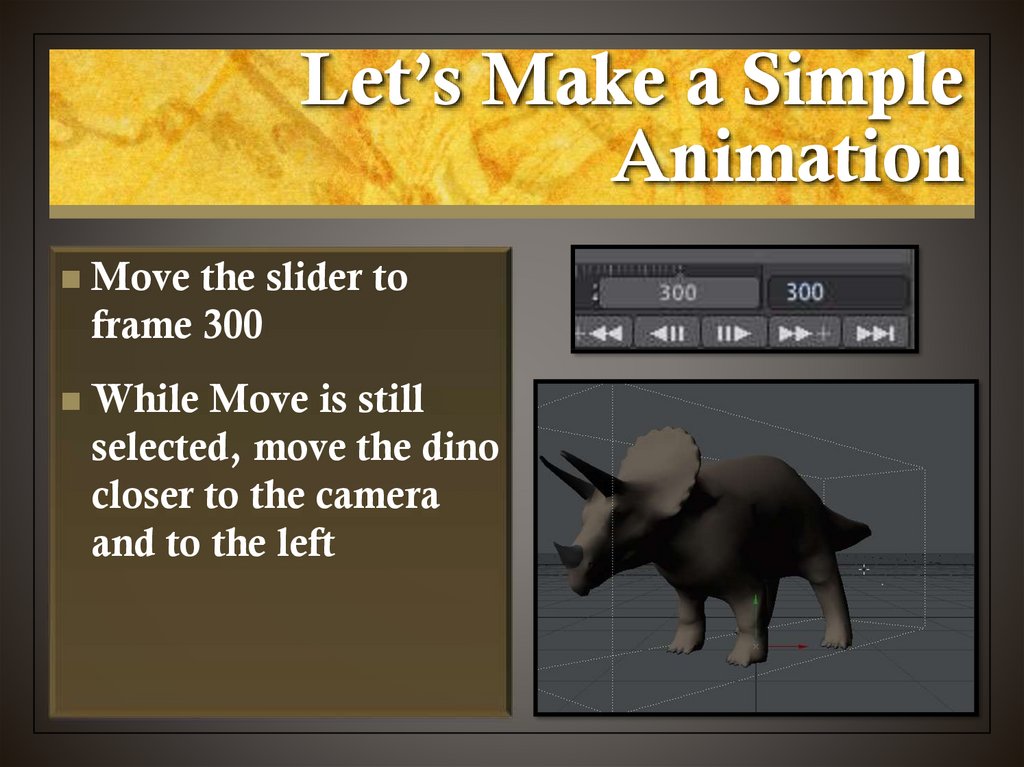
30. Let’s Make a Simple Animation
Move the slider toframe 300
While Move is still
selected, move the dino
closer to the camera
and to the left
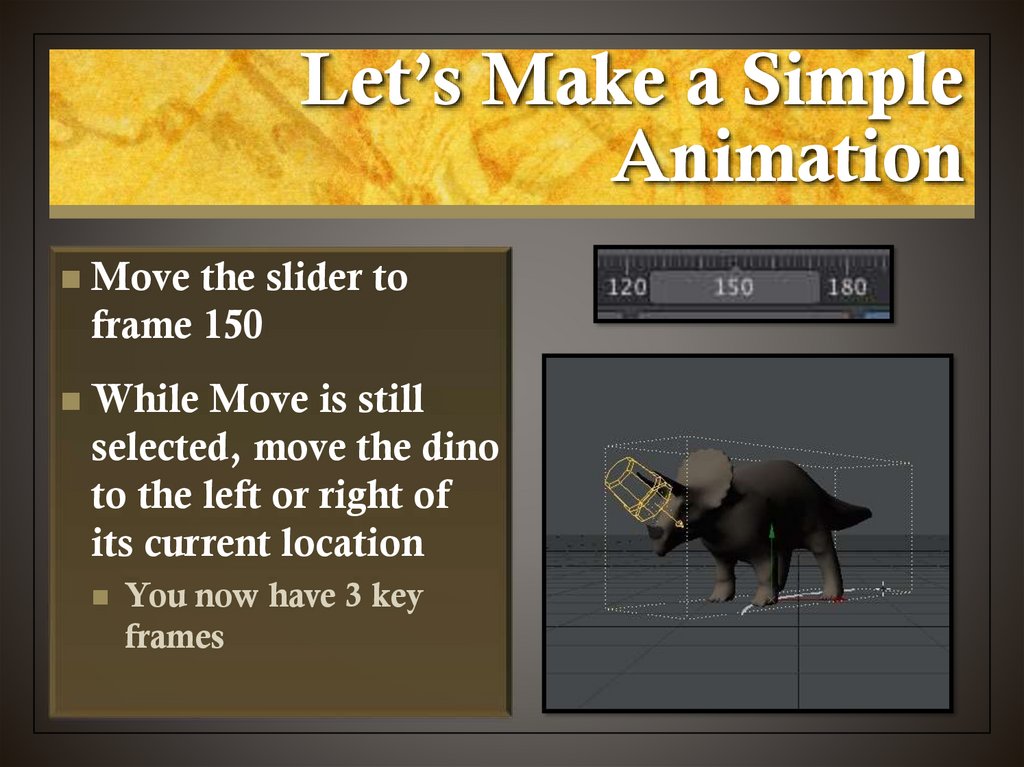
31. Let’s Make a Simple Animation
Move the slider toframe 150
While Move is still
selected, move the dino
to the left or right of
its current location
You now have 3 key
frames
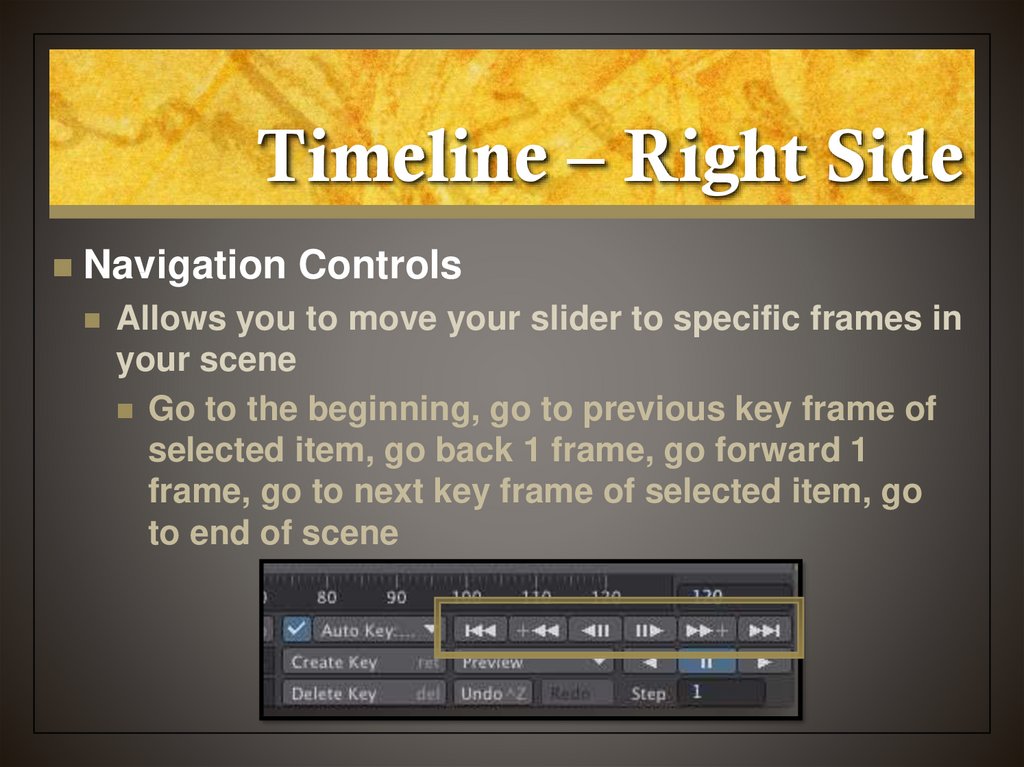
32. Timeline – Right Side
Navigation ControlsAllows you to move your slider to specific frames in
your scene
Go to the beginning, go to previous key frame of
selected item, go back 1 frame, go forward 1
frame, go to next key frame of selected item, go
to end of scene
33. Timeline – Right Side
Navigation ControlsHandy keyboard shortcuts
Go forward or backward 1 frame =
Go to previous or next key frame = Shift
34. Zip to Your Key Frames
Use the navigationcontrols to go to the
beginning and end of
your scene
Use the navigation
controls to go to your
key frames
Try out the shortcuts
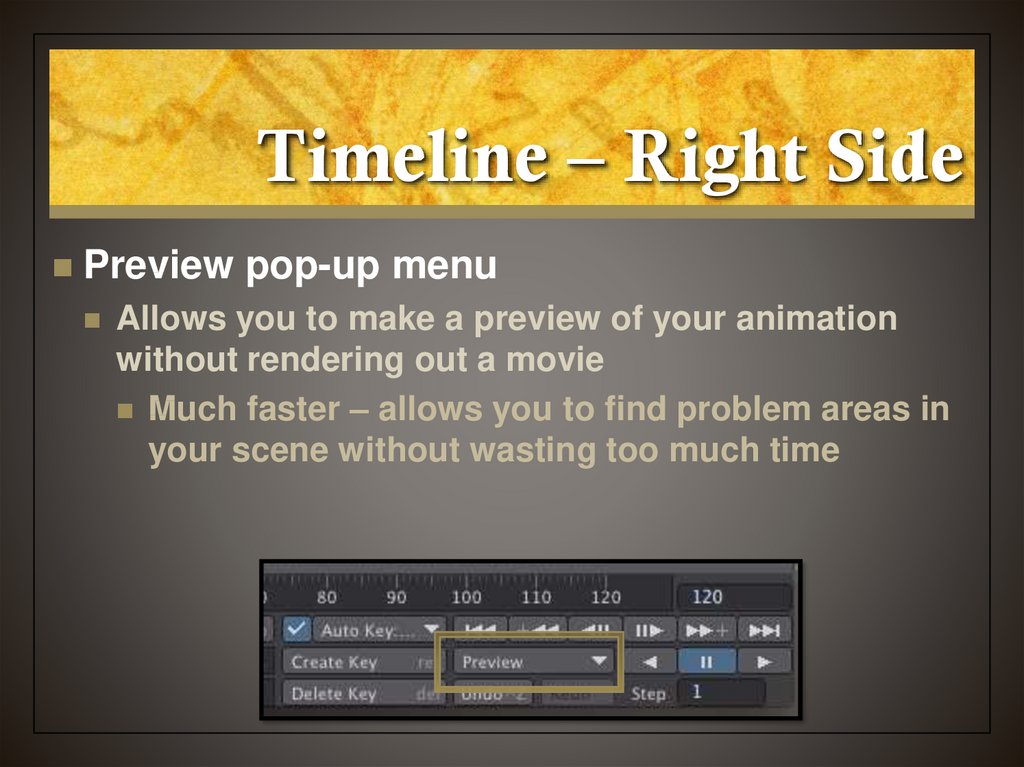
35. Timeline – Right Side
Preview pop-up menuAllows you to make a preview of your animation
without rendering out a movie
Much faster – allows you to find problem areas in
your scene without wasting too much time
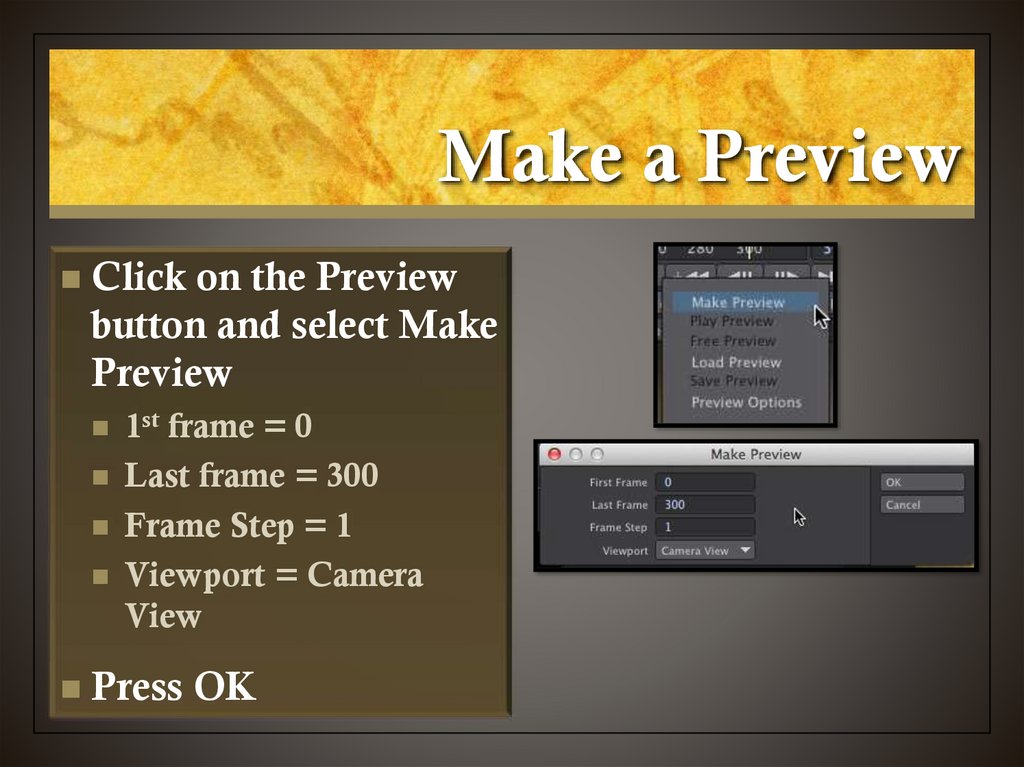
36. Make a Preview
Click on the Previewbutton and select Make
Preview
1st frame = 0
Last frame = 300
Frame Step = 1
Viewport = Camera
View
Press OK
37. Play the Preview
Click the play buttonto play your preview
You can scrub, step, go
to beginning, end, set
the frame rate
When done, click End
Preview
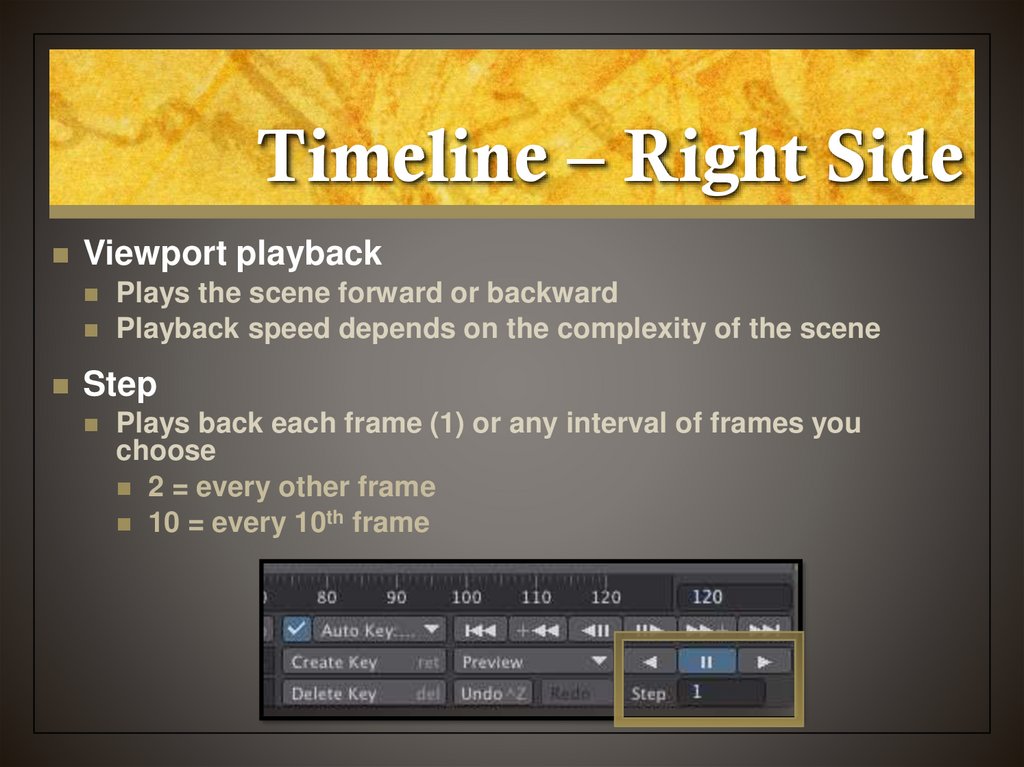
38. Timeline – Right Side
Viewport playbackPlays the scene forward or backward
Playback speed depends on the complexity of the scene
Step
Plays back each frame (1) or any interval of frames you
choose
2 = every other frame
10 = every 10th frame
39. Rendering
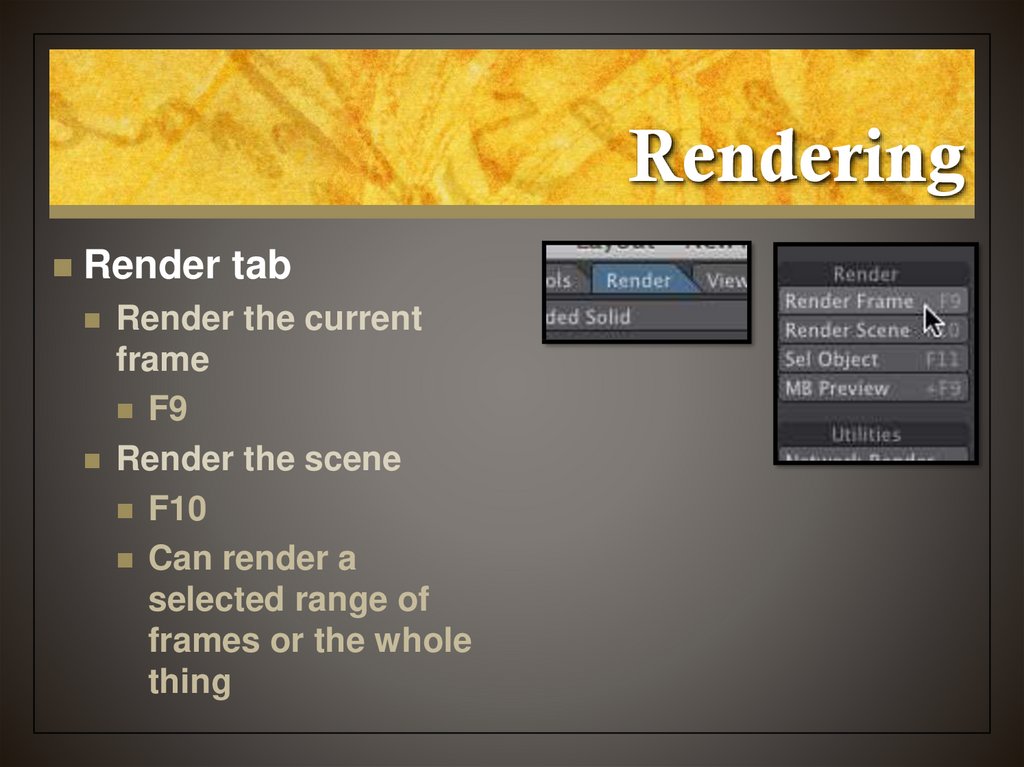
Render tabRender the current
frame
F9
Render the scene
F10
Can render a
selected range of
frames or the whole
thing
40. Render a Frame
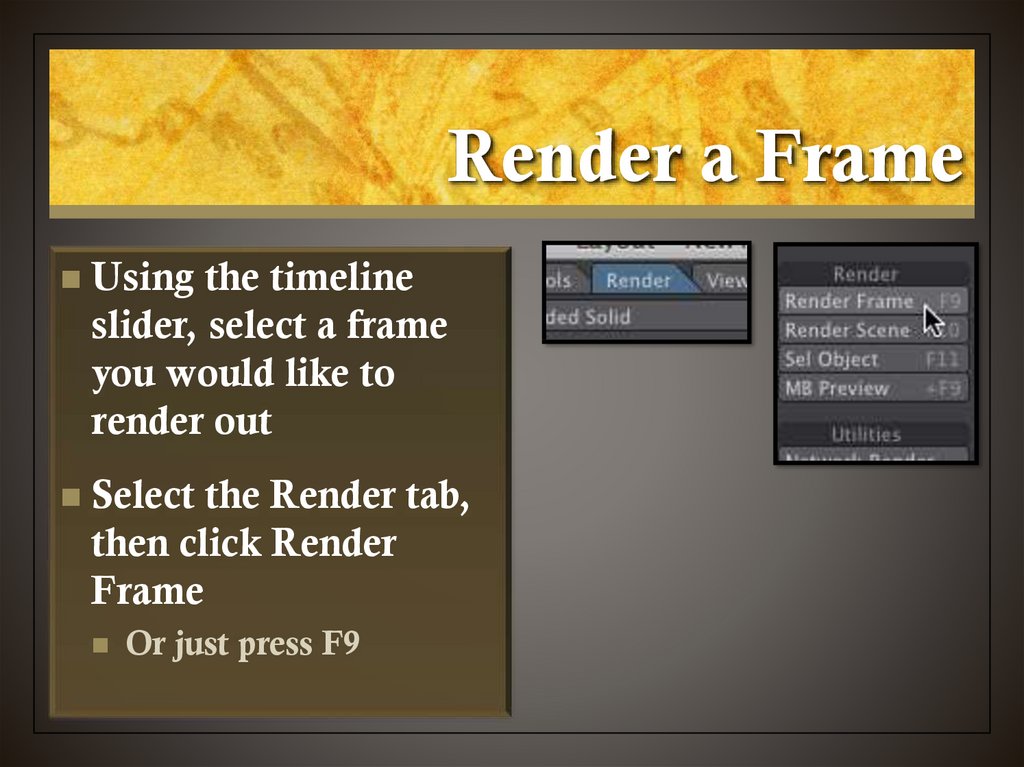
Using the timelineslider, select a frame
you would like to
render out
Select the Render tab,
then click Render
Frame
Or just press F9
41. Rendering
Render StatusWindow
Shows you what
Lightwave is doing
when rendering your
frame
Watch Lightwave
build your frame
Slows down
rendering time & can
be turned off
42. Rendering
Render FrameIn its own window
Allows you to save the
image if you like
43. Save a Frame
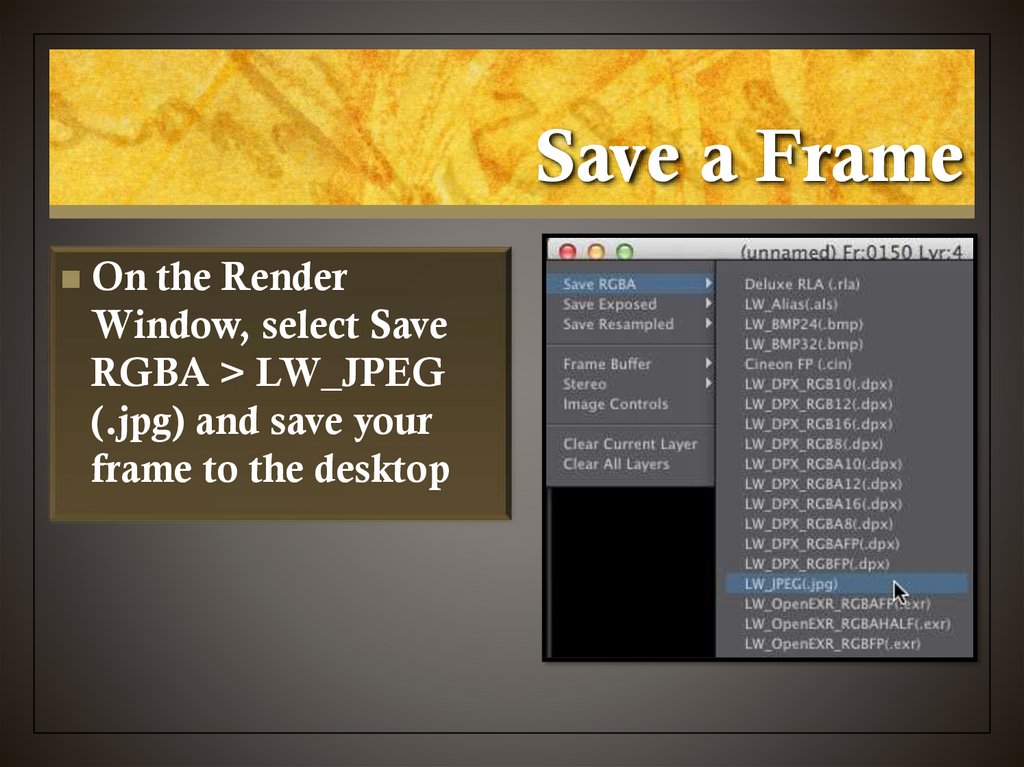
On the RenderWindow, select Save
RGBA > LW_JPEG
(.jpg) and save your
frame to the desktop
44. Save Your Scene
Select File > SaveScene As…
Select the Scenes folder
(if necessary) and
create a new folder
‘My Scenes’
Title your animation
and Save
45. 3D Animation I
Lightwave 3DThe Interface:
Having a look around
















 Английский язык


