

 Английский язык
Похожие презентации:


![Ape. Letter Āā [ei] sound [ei]](https://cf5.ppt-online.org/files5/thumb/x/xorSdiLVGKIBaMH94R8bqOkClQTzghepus3n2A.jpg "Ape. Letter Āā [ei] sound [ei]")


Letter of the week “D”
1.
Letter of theWEEK
“D”!
for Preschool, Pre-K, K,
& Homeschool
!Anchor charts
!Picture cards
!Puzzles
!Tracing
!Crafts
!Play dough mats
!15 Activities for
Centers
And MORE!
2.
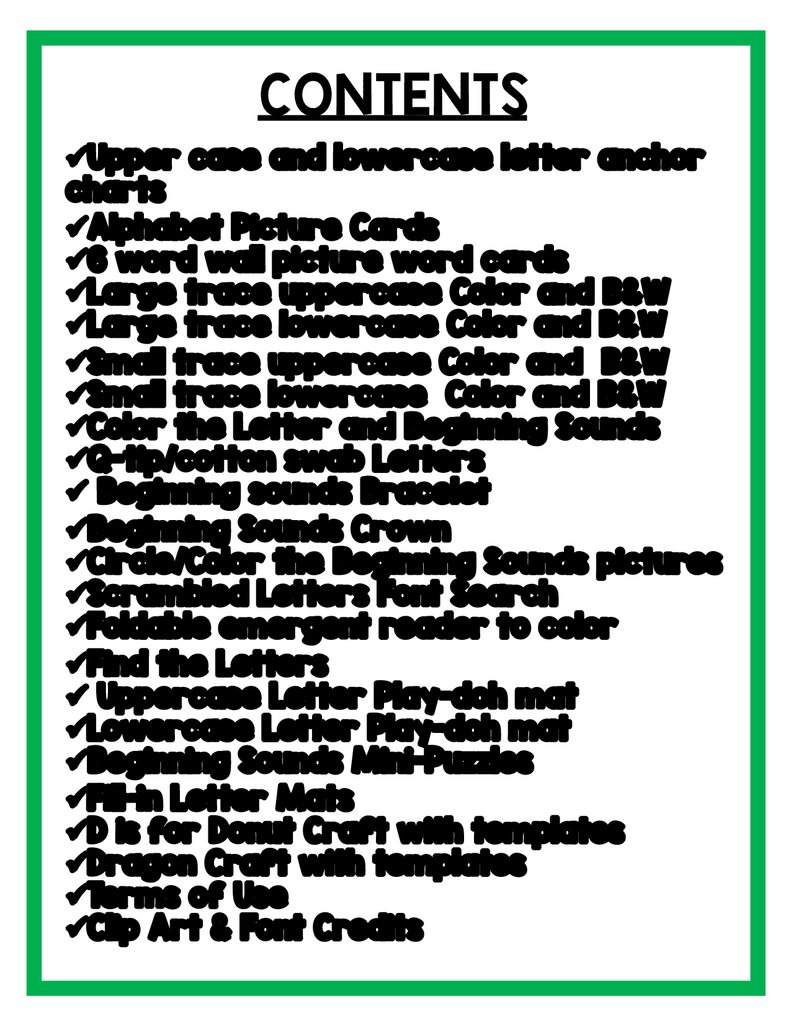
CONTENTS3.
How to Use This ProductLearning Letters, their shapes, and sounds is the foundation of most
early childhood literacy programs. Children need to learn to recognize,
form, write, and listen for the phonetic sounds our letters make as they
take steps into reading. This Letter of the Week resource is full of fun
and engaging ways to learn and master each letter!
Introduce letters and their formation with the Bright and clear anchor
charts, picture word cards, play dough mats and Fill-in letter mats!
With these resources children can see the letters clearly and use a
hands on approach to form the letters out of play-dough, tiny objects,
tracing with their fingers and naming beginning sound pictures.
After the initial introduction of the letter you have 2 ways to practice
writing the letters with a large tracing font-both color and black and
white and a small tracing font for those with developed fine motor
skills.
For extra practice, each letter has 8 no-prep activities to choose from
emphasizing letter formation and sounds. You can keep thing
interesting and fun with so many options to choose from-fantastic for
introduction and letter review!
The fun continues with beginning sounds mini-puzzles and 2 art/craft
options to round out a week full of learning!
I’m sure you will find more uses than you can imagine in this one
resource!
Enjoy!
Diane Lee
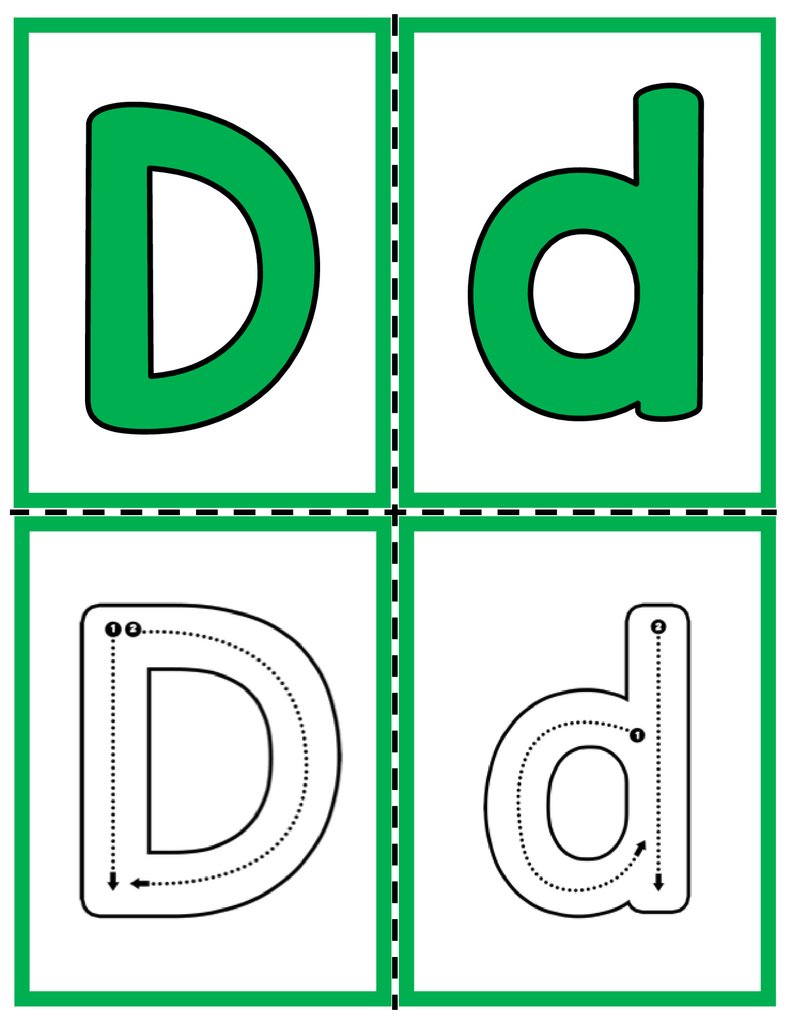
4.
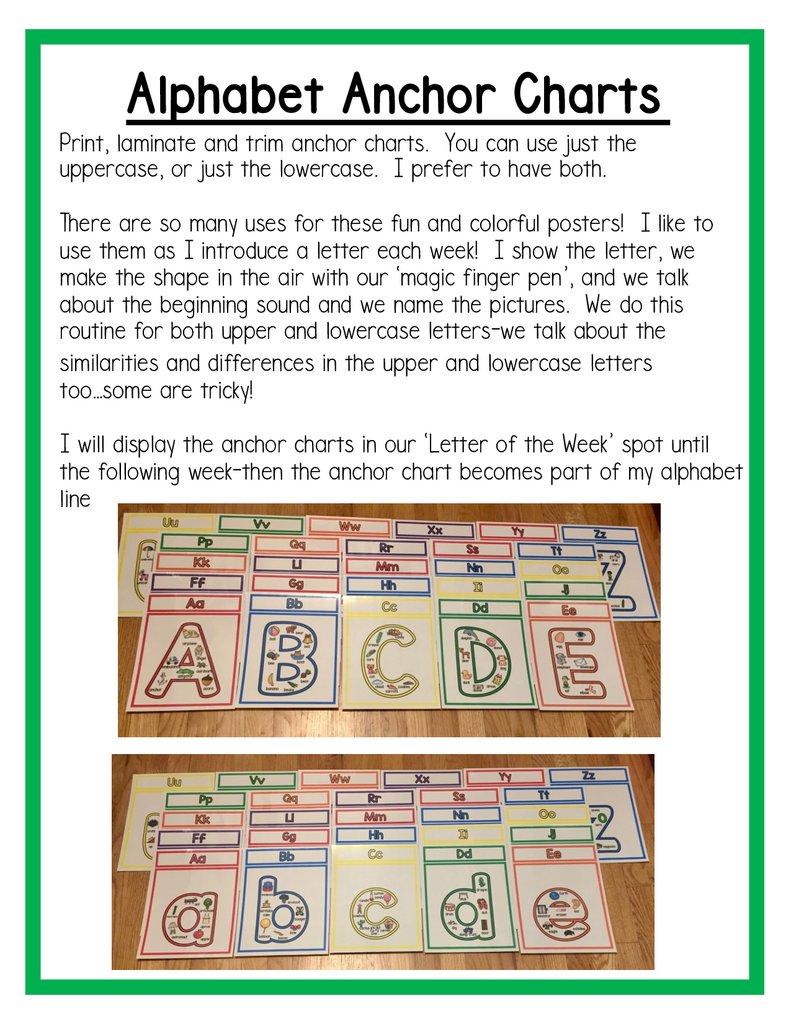
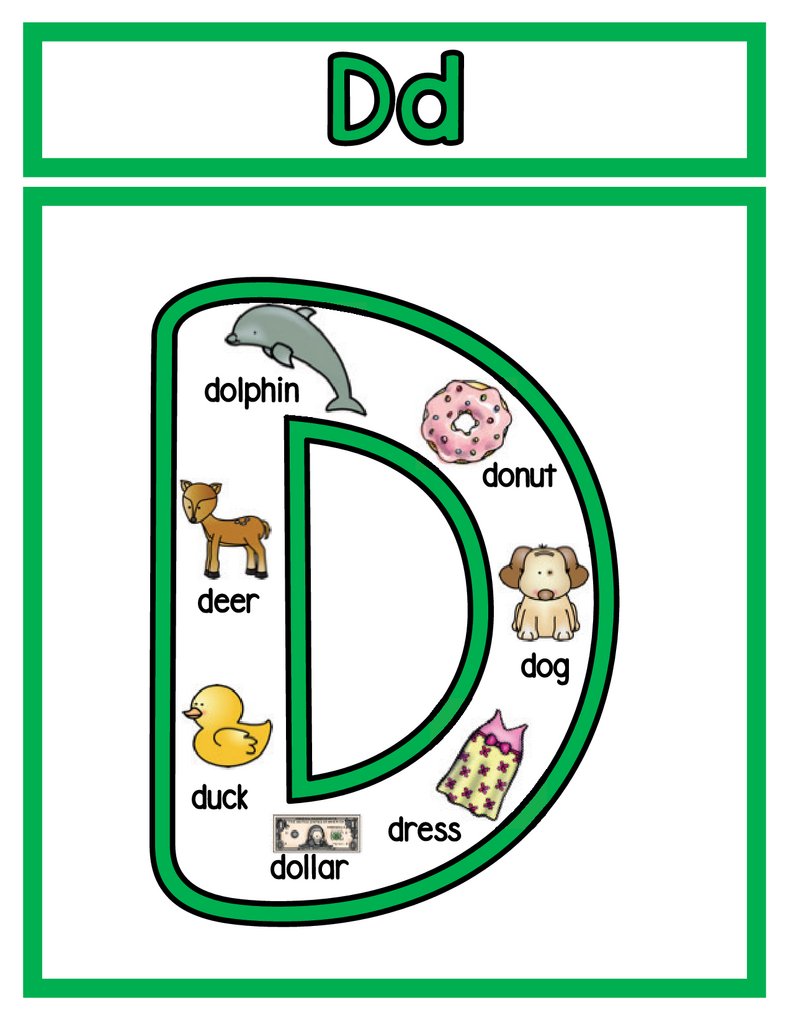
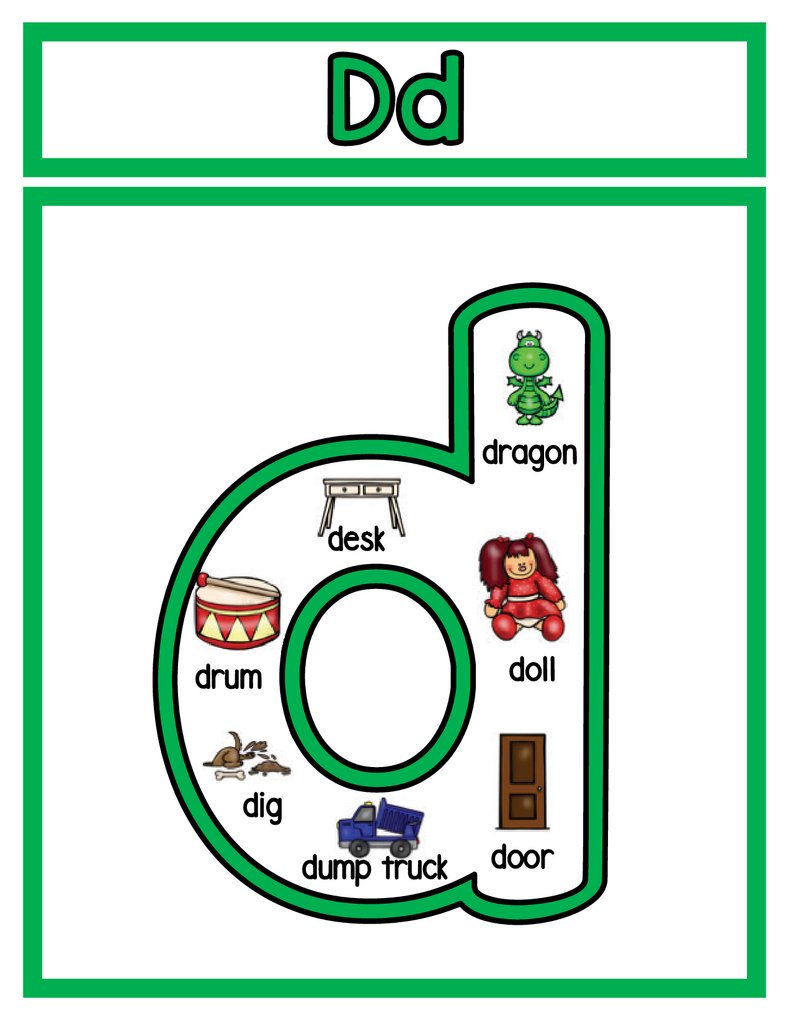
Alphabet Anchor ChartsPrint, laminate and trim anchor charts. You can use just the
uppercase, or just the lowercase. I prefer to have both.
There are so many uses for these fun and colorful posters! I like to
use them as I introduce a letter each week! I show the letter, we
make the shape in the air with our ‘magic finger pen’, and we talk
about the beginning sound and we name the pictures. We do this
routine for both upper and lowercase letters-we talk about the
similarities and differences in the upper and lowercase letters
too…some are tricky!
I will display the anchor charts in our ‘Letter of the Week’ spot until
the following week-then the anchor chart becomes part of my alphabet
line
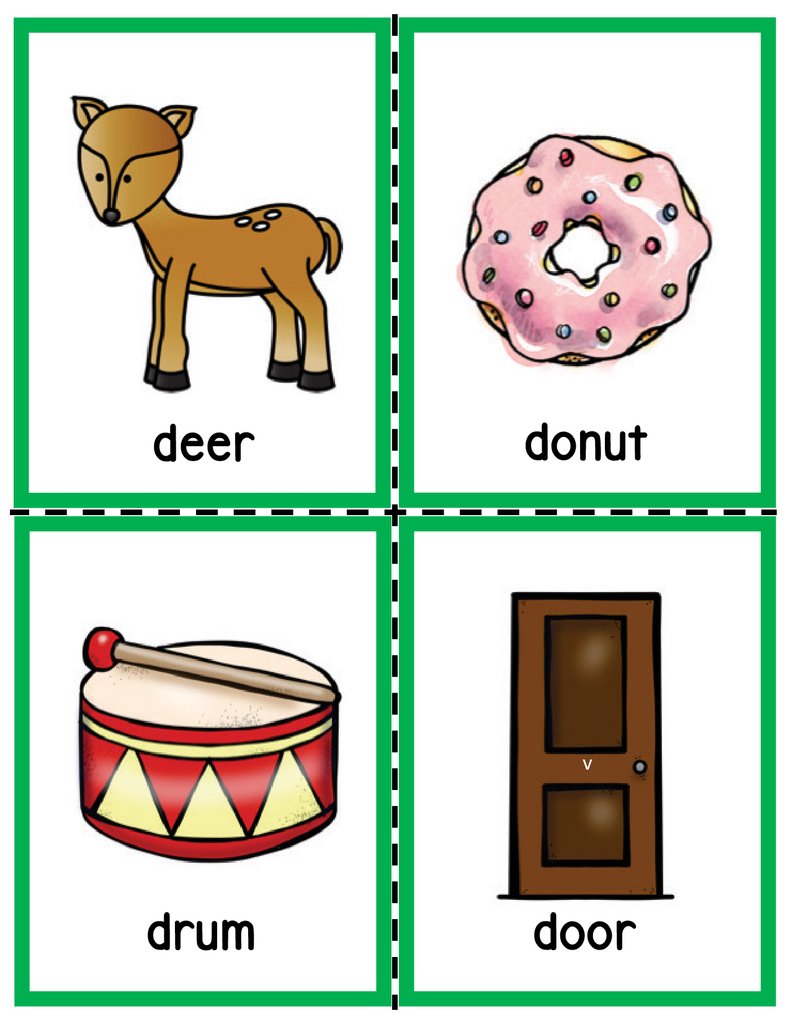
5.
dolphindonut
deer
dog
duck
dollar
dress
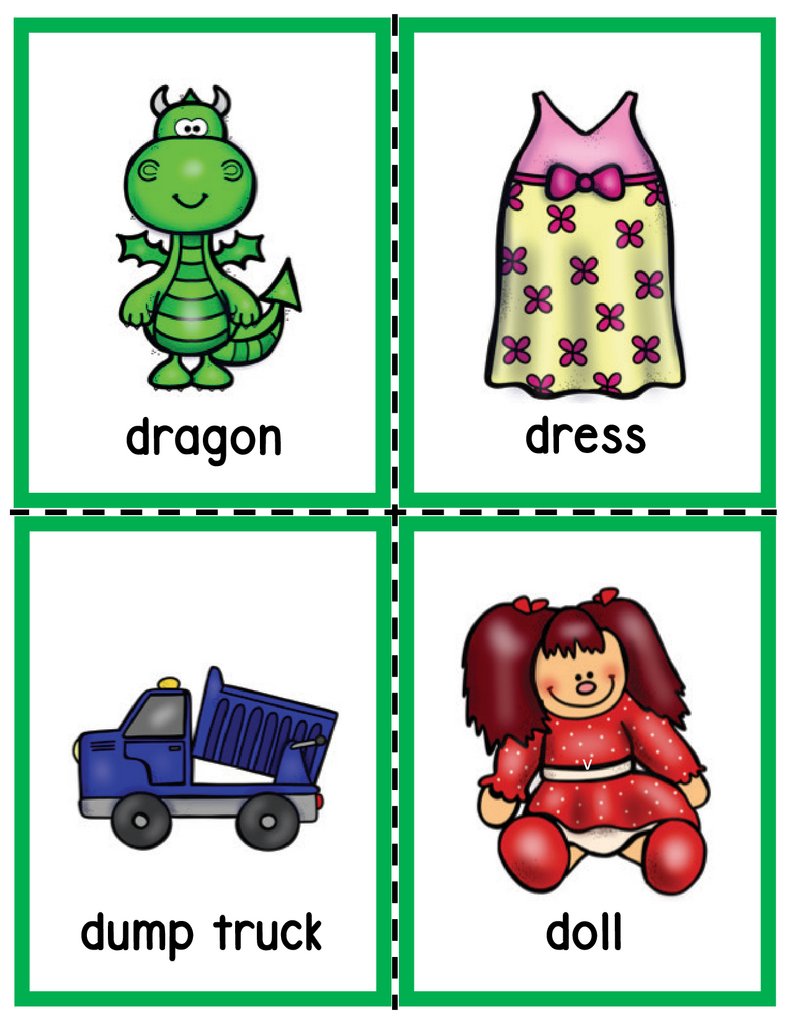
6.
dragondesk
doll
drum
dig
dump truck
door
7.
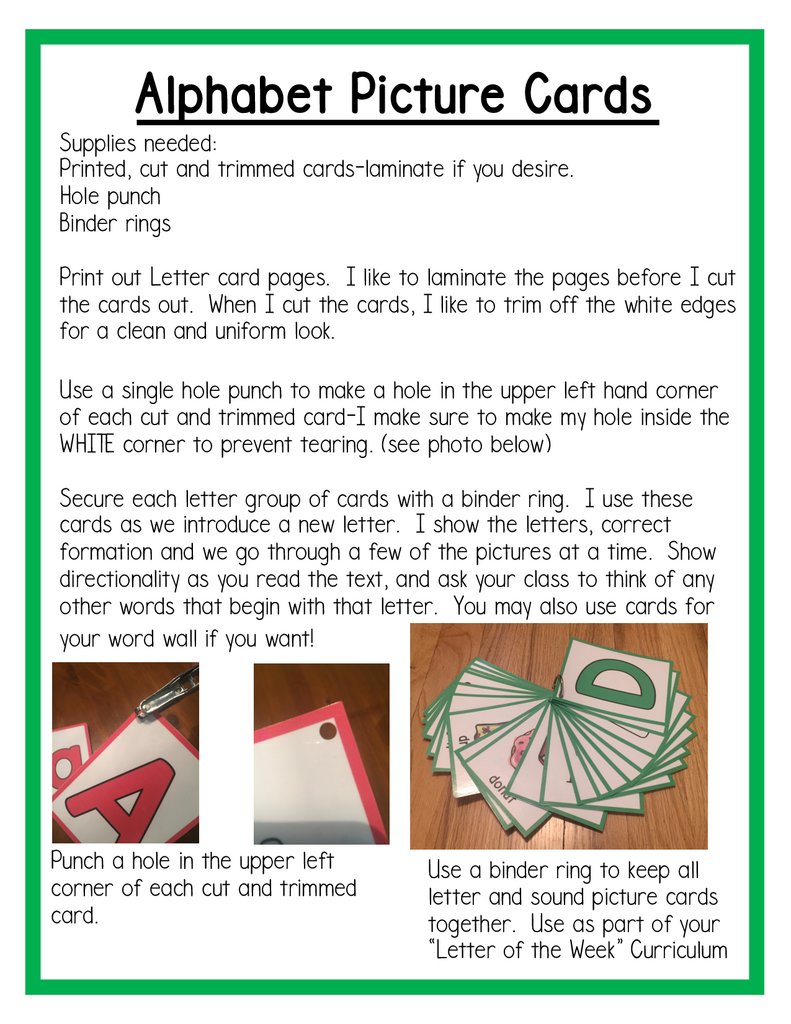
Alphabet Picture CardsSupplies needed:
Printed, cut and trimmed cards-laminate if you desire.
Hole punch
Binder rings
Print out Letter card pages. I like to laminate the pages before I cut
the cards out. When I cut the cards, I like to trim off the white edges
for a clean and uniform look.
Use a single hole punch to make a hole in the upper left hand corner
of each cut and trimmed card-I make sure to make my hole inside the
WHITE corner to prevent tearing. (see photo below)
Secure each letter group of cards with a binder ring. I use these
cards as we introduce a new letter. I show the letters, correct
formation and we go through a few of the pictures at a time. Show
directionality as you read the text, and ask your class to think of any
other words that begin with that letter. You may also use cards for
your word wall if you want!
Punch a hole in the upper left
corner of each cut and trimmed
card.
Use a binder ring to keep all
letter and sound picture cards
together. Use as part of your
“Letter of the Week” Curriculum
8.
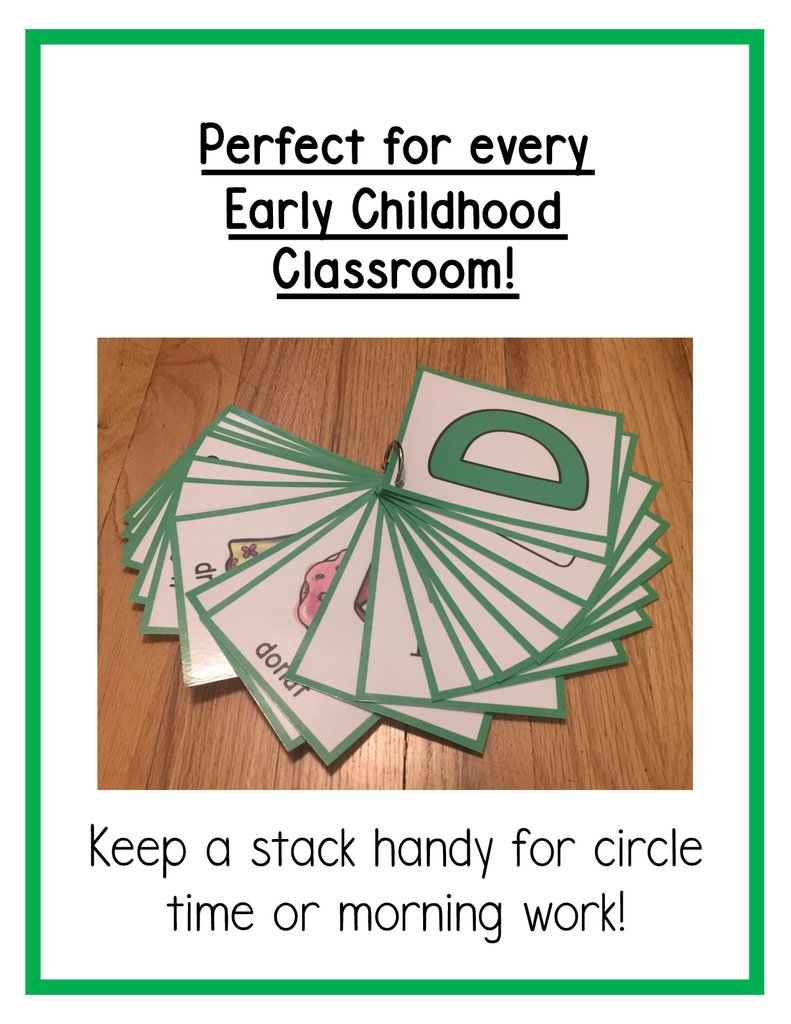
Perfect for everyEarly Childhood
Classroom!
Keep a stack handy for circle
time or morning work!
9.
!10.
deerdonut
!
drum
door
11.
dolphindog
!
duck
dollar
12.
dragondress
!
dump truck
doll
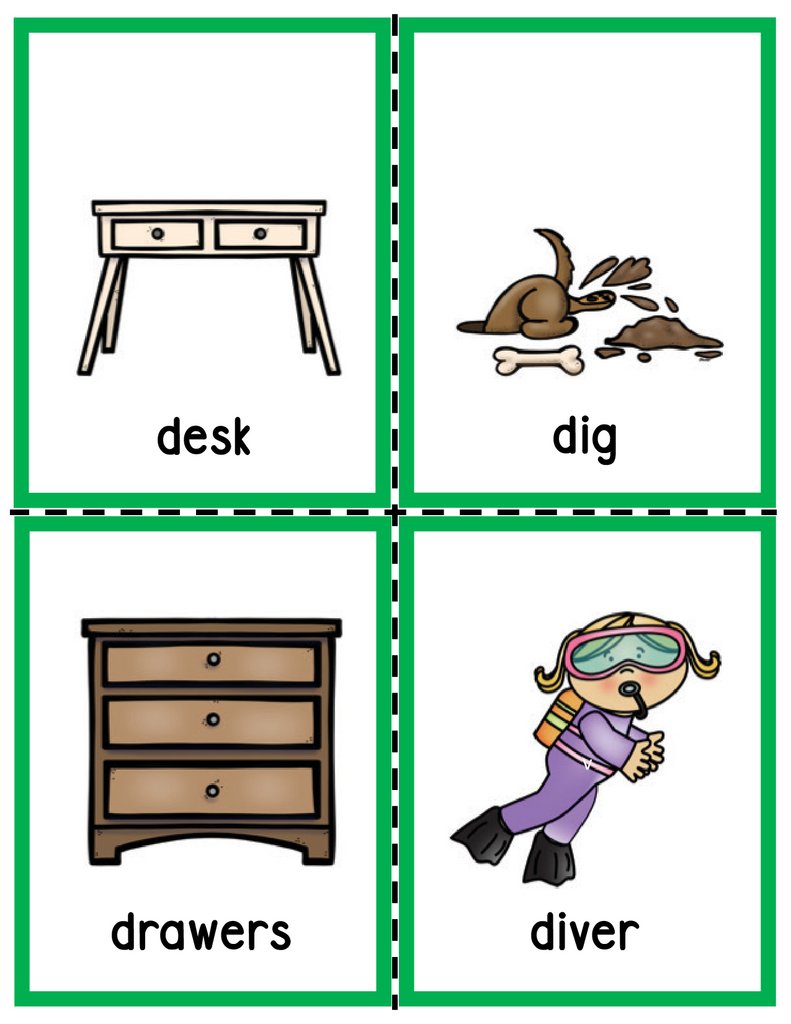
13.
deskdig
!
drawers
diver
14.
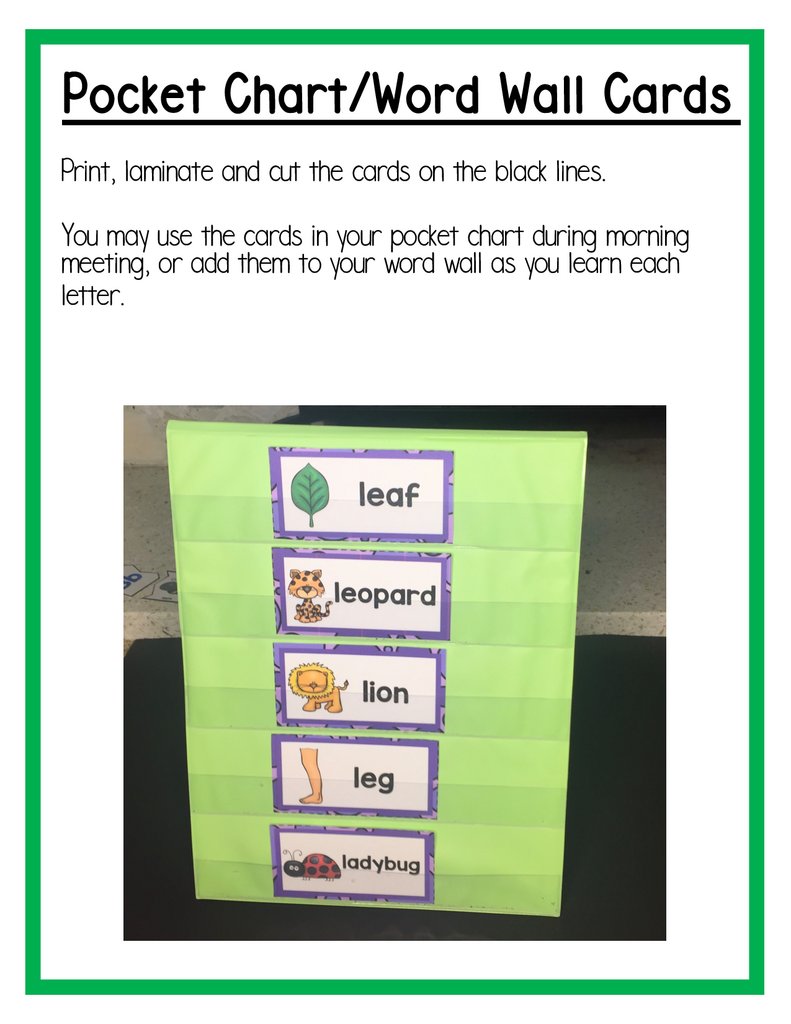
Pocket Chart/Word Wall CardsPrint, laminate and cut the cards on the black lines.
You may use the cards in your pocket chart during morning
meeting, or add them to your word wall as you learn each
letter.
15.
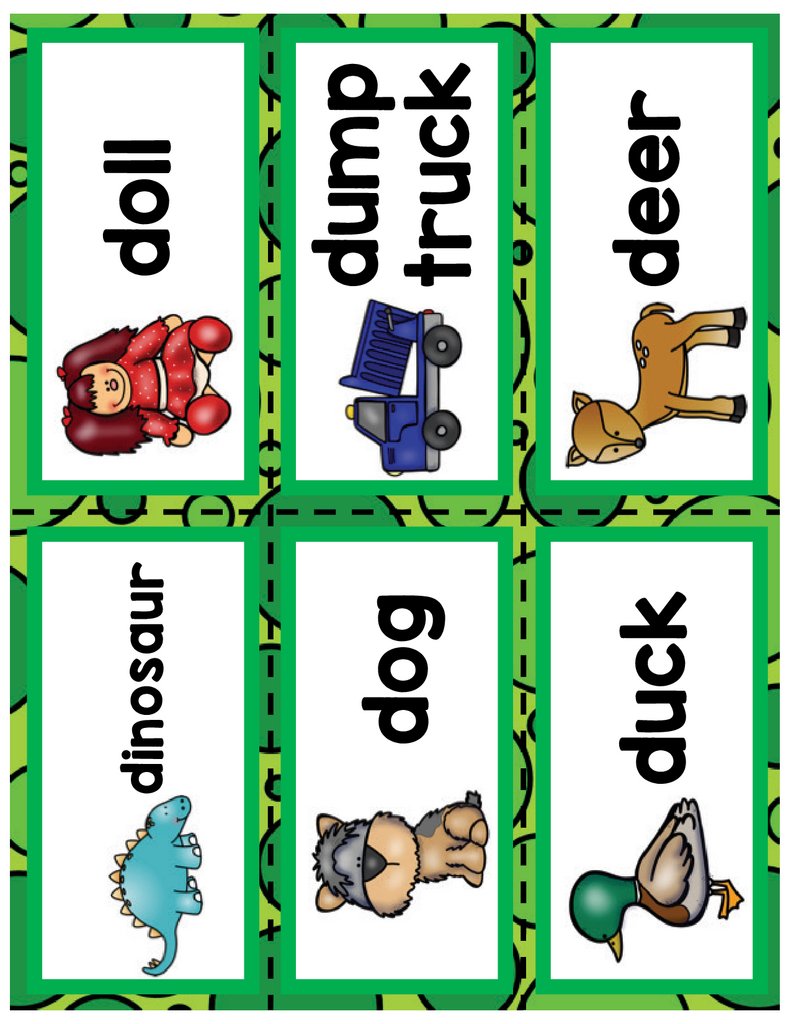
deerdog
duck
doll
dump
truck
dinosaur
16.
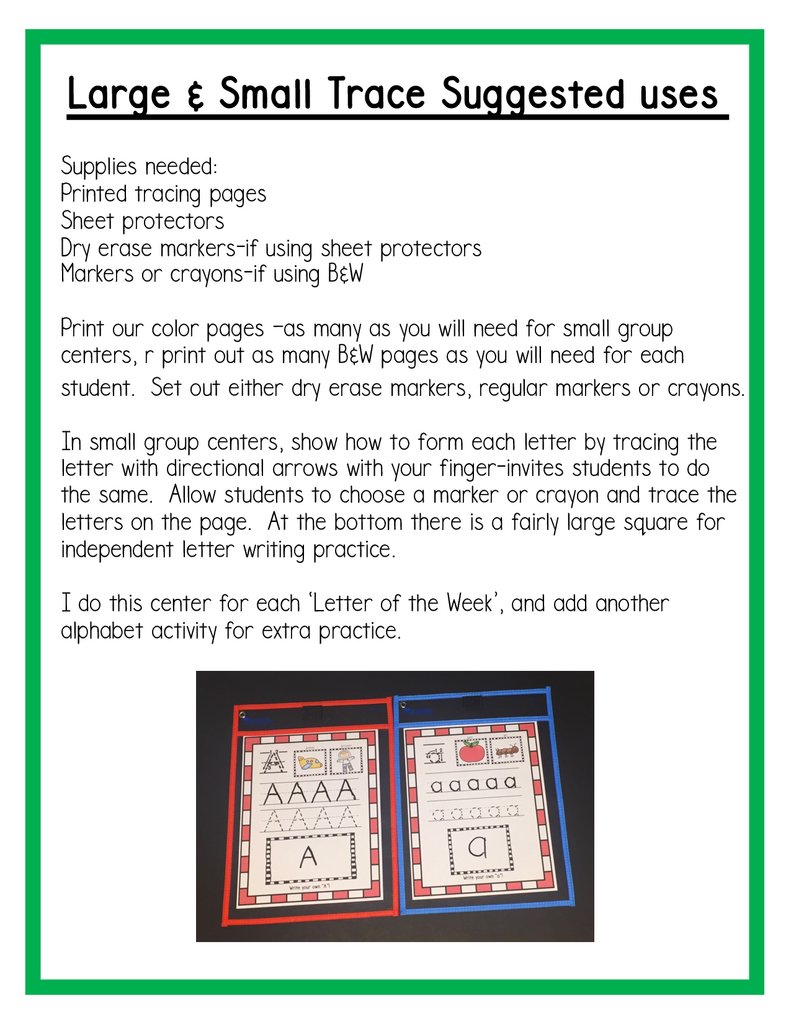
Large & Small Trace Suggested usesSupplies needed:
Printed tracing pages
Sheet protectors
Dry erase markers-if using sheet protectors
Markers or crayons-if using B&W
Print our color pages –as many as you will need for small group
centers, r print out as many B&W pages as you will need for each
student. Set out either dry erase markers, regular markers or crayons.
In small group centers, show how to form each letter by tracing the
letter with directional arrows with your finger-invites students to do
the same. Allow students to choose a marker or crayon and trace the
letters on the page. At the bottom there is a fairly large square for
independent letter writing practice.
I do this center for each ‘Letter of the Week’, and add another
alphabet activity for extra practice.
17.
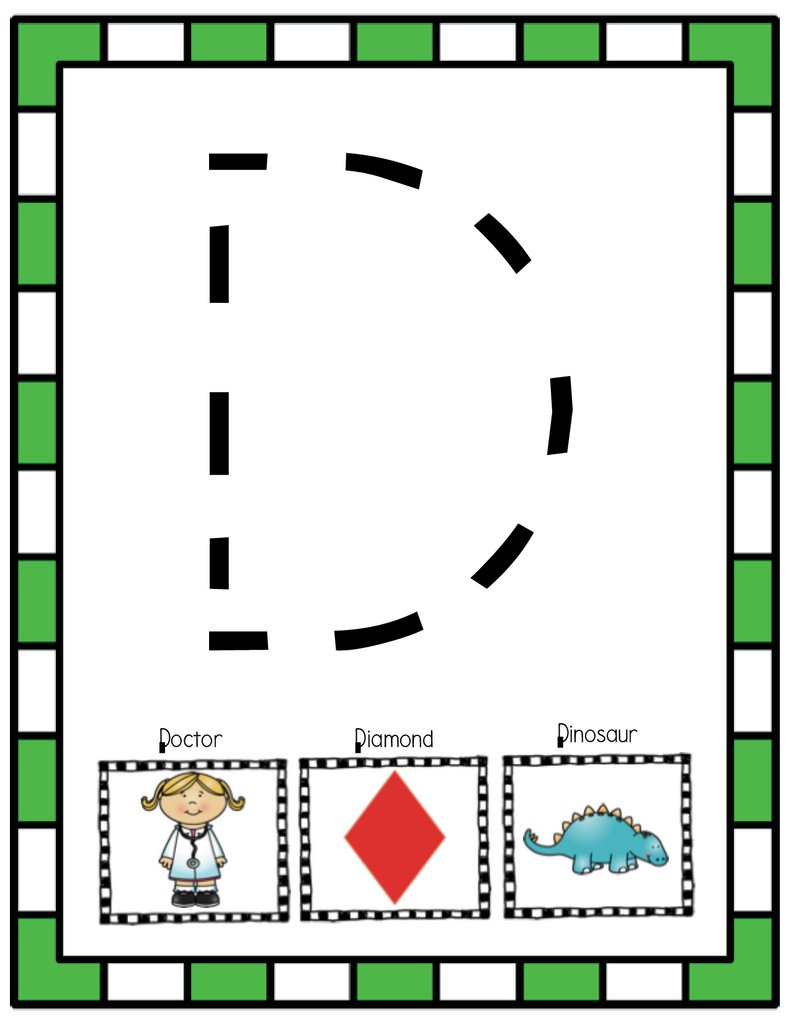
DDoctor
Diamond
Dinosaur
18.
dduck
dolphin
dog
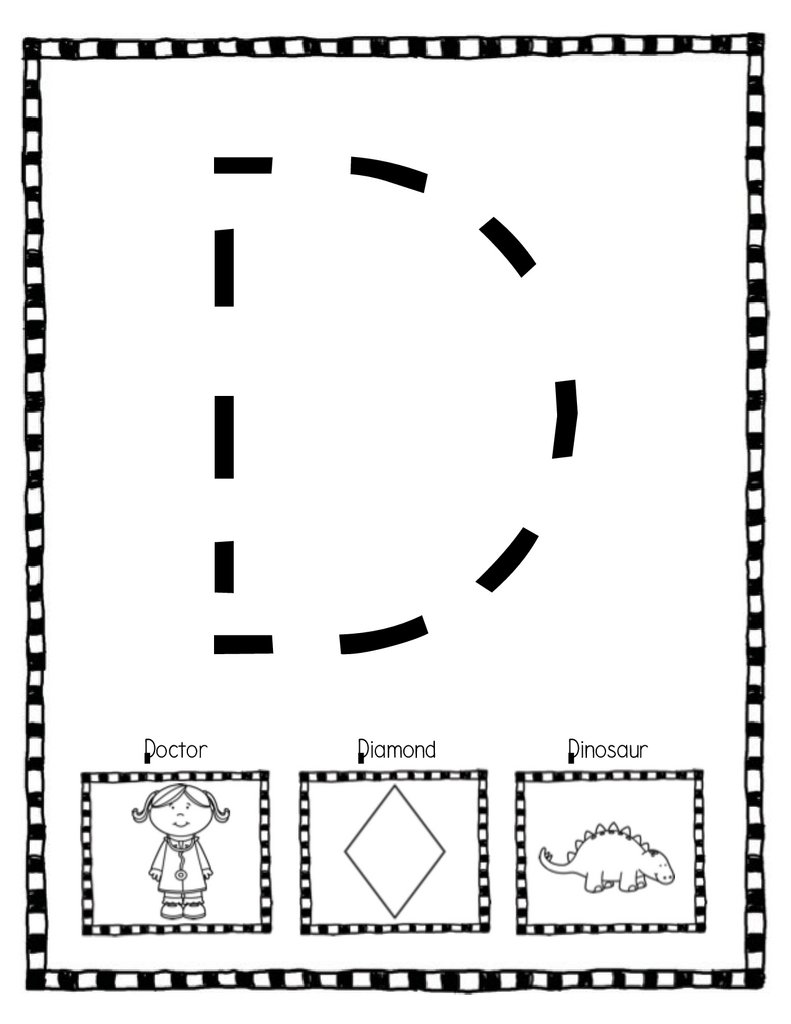
19.
DDoctor
Diamond
Dinosaur
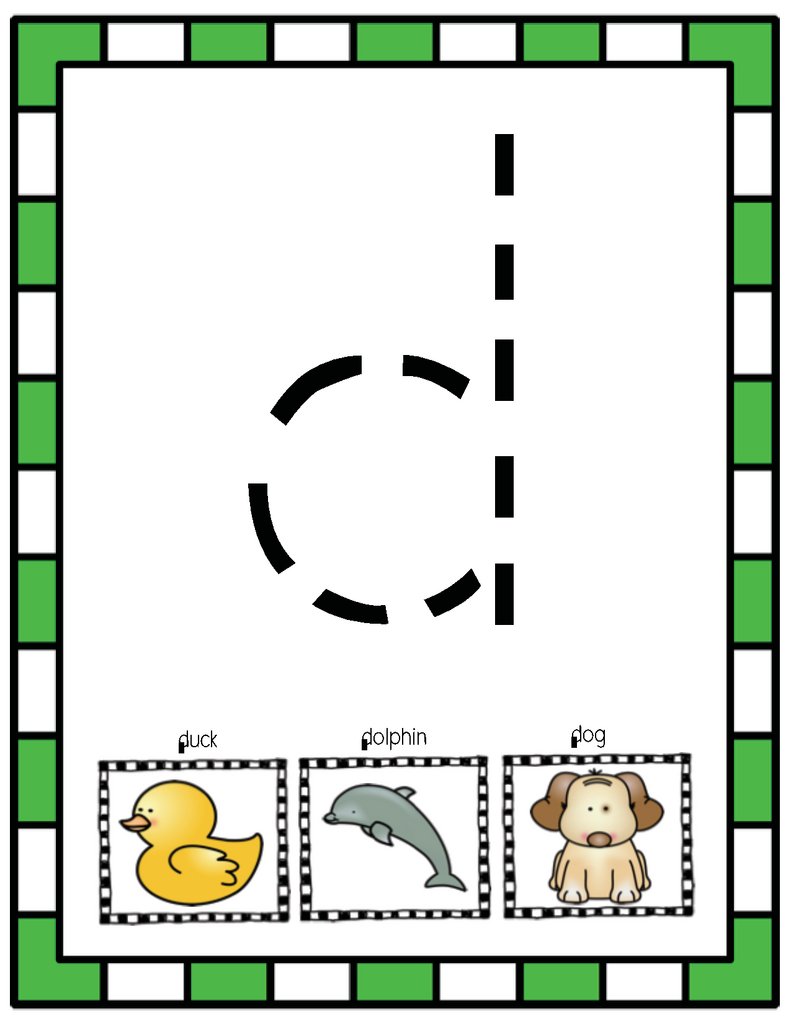
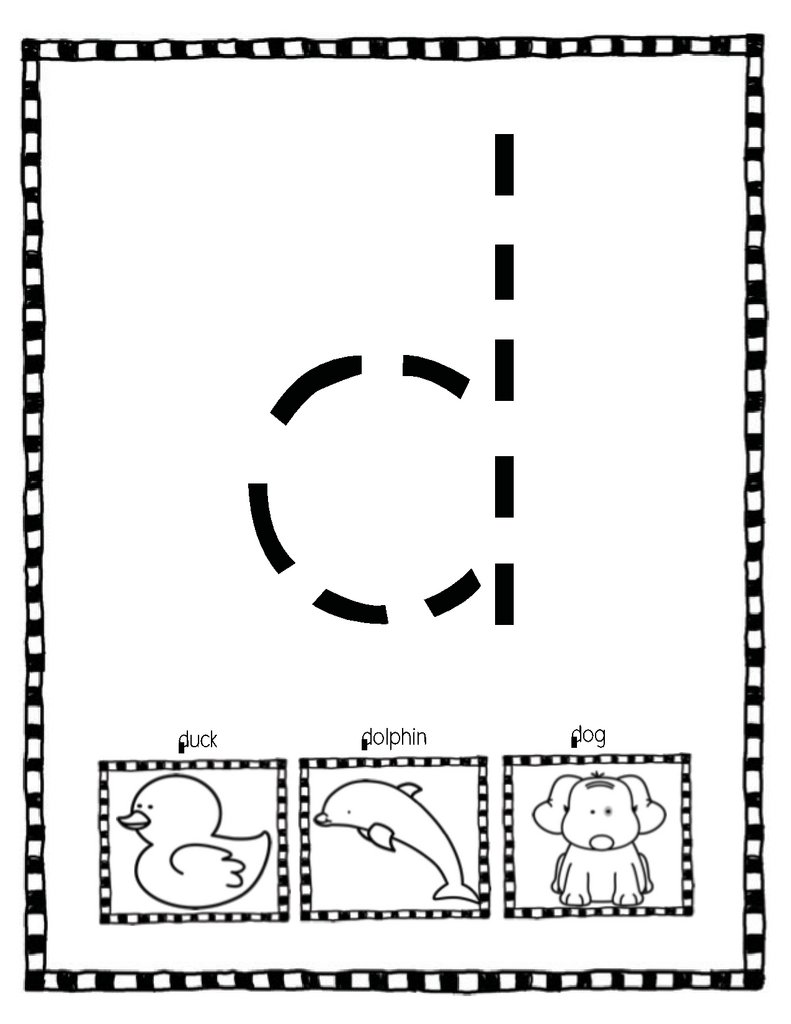
20.
dduck
dolphin
dog
21.
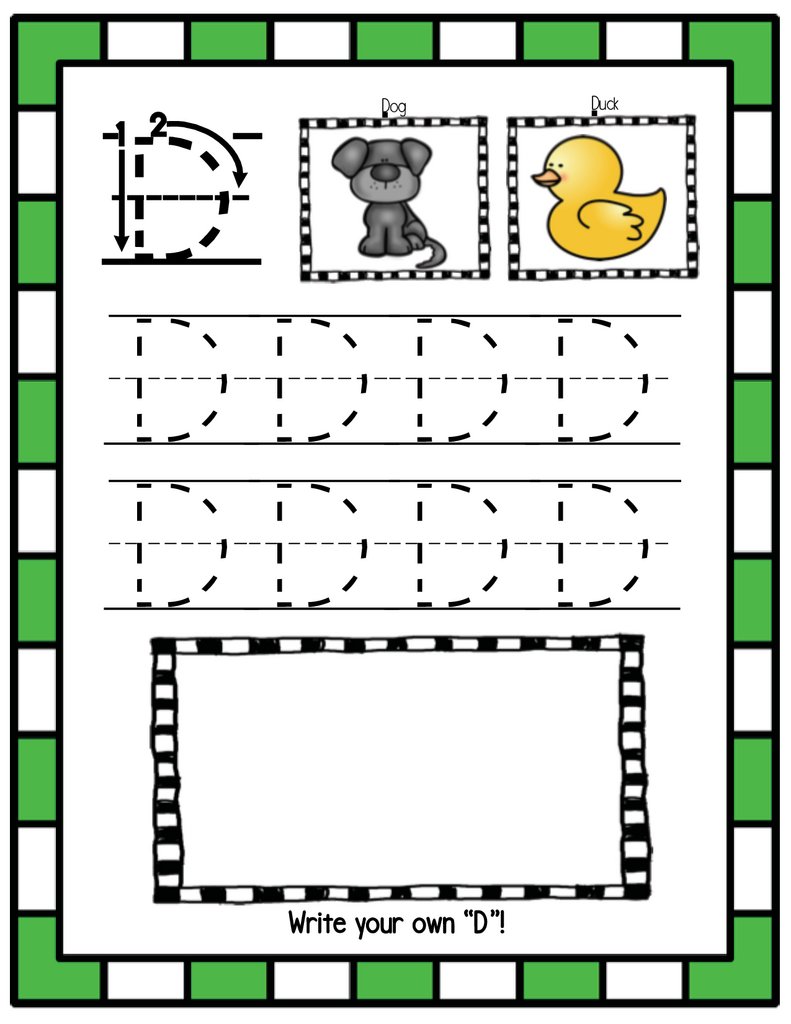
DogDuck
D
DDDD
DDDD
Write your own “D”!
22.
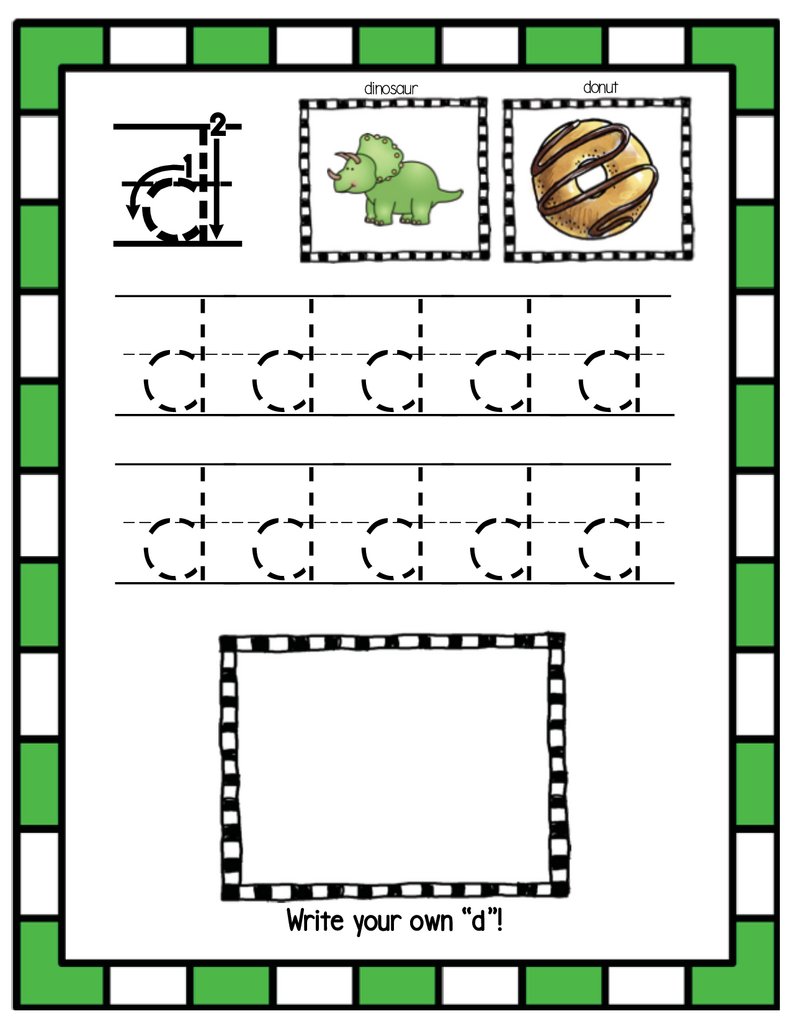
dinosaurdonut
d
ddddd
ddddd
Write your own “d”!
23.
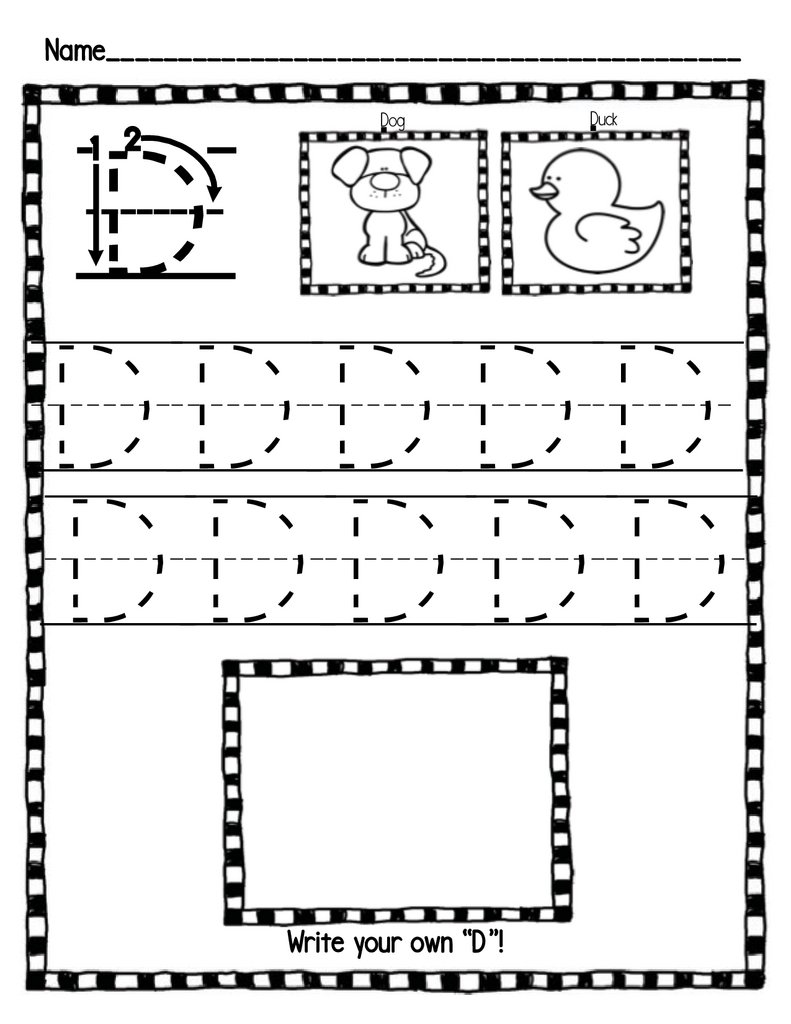
Name____________________________________________Dog
Duck
D
DDDDD
DDDDD
Write your own “D”!
24.
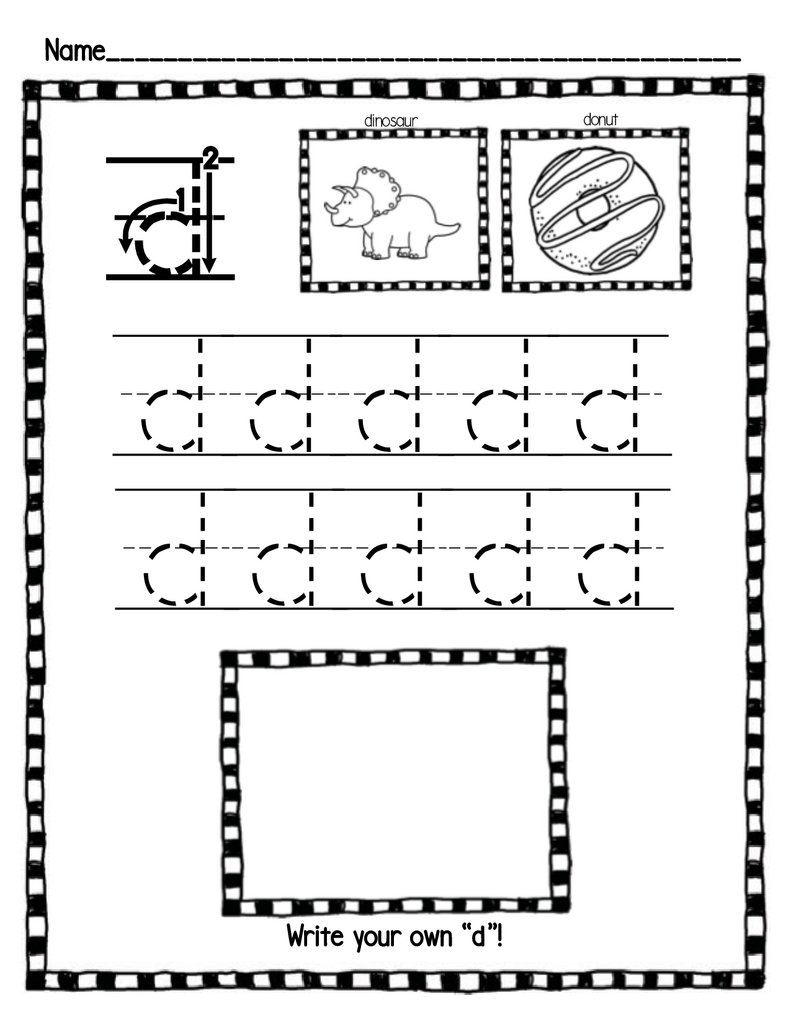
Name____________________________________________dinosaur
donut
d
ddddd
ddddd
Write your own “d”!
25.
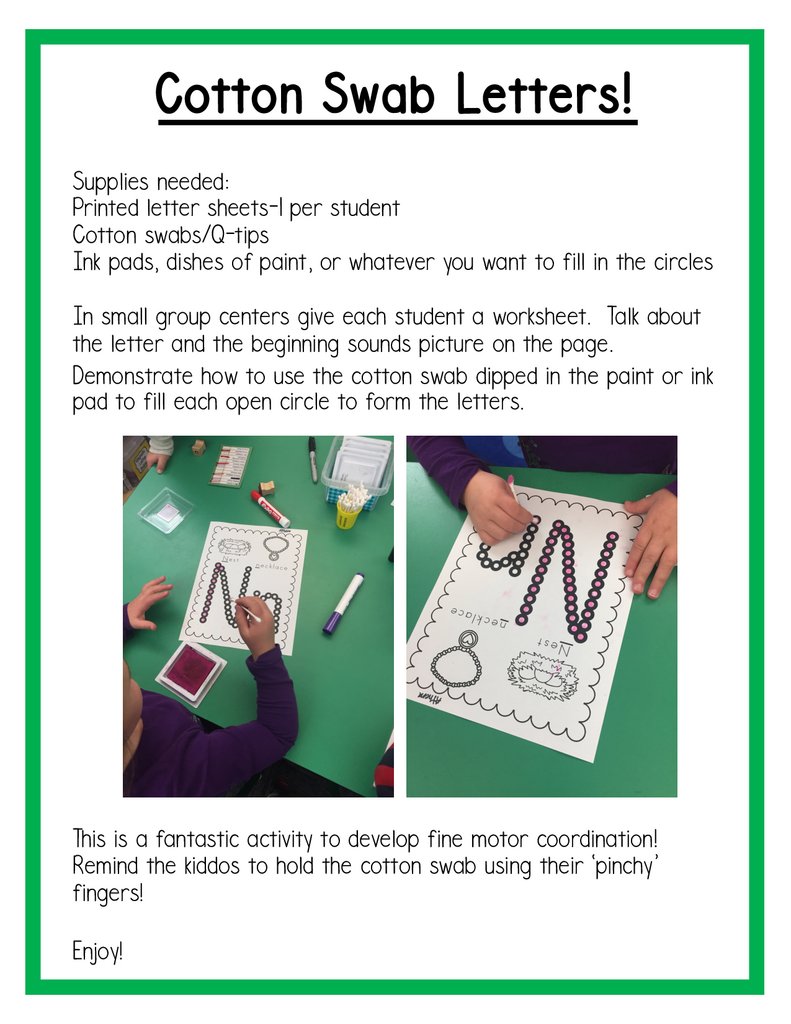
Cotton Swab Letters!Supplies needed:
Printed letter sheets-1 per student
Cotton swabs/Q-tips
Ink pads, dishes of paint, or whatever you want to fill in the circles
In small group centers give each student a worksheet. Talk about
the letter and the beginning sounds picture on the page.
Demonstrate how to use the cotton swab dipped in the paint or ink
pad to fill each open circle to form the letters.
This is a fantastic activity to develop fine motor coordination!
Remind the kiddos to hold the cotton swab using their ‘pinchy’
fingers!
Enjoy!
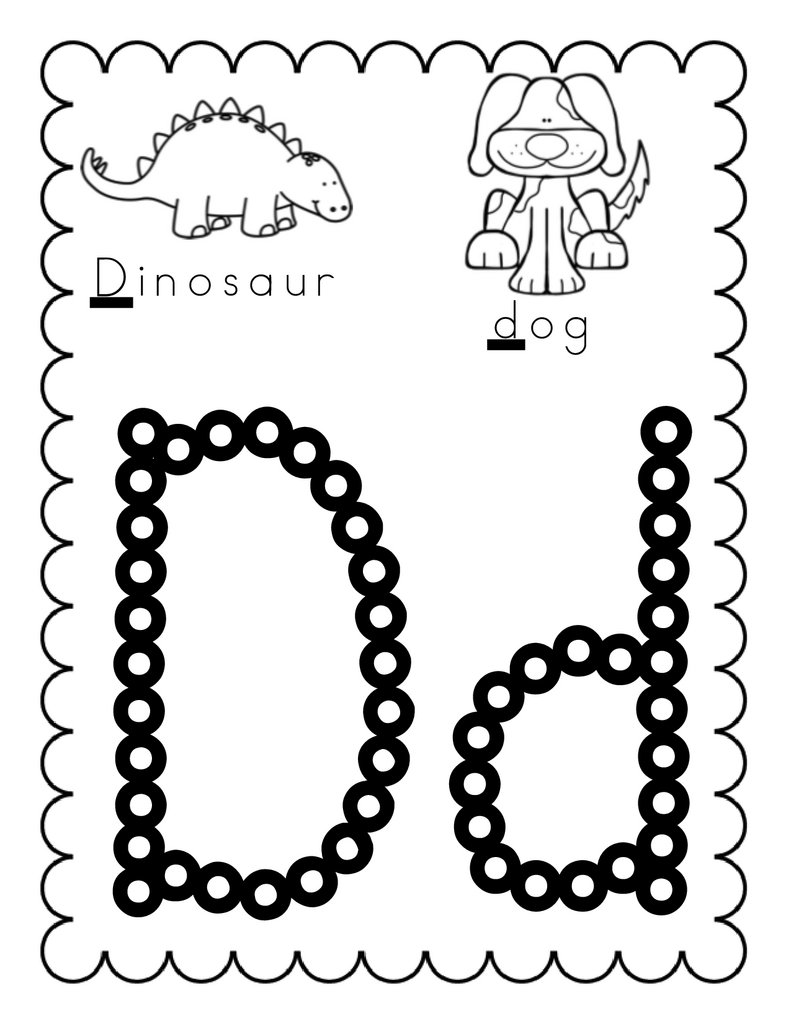
26.
DdDinosaur
dog
27.
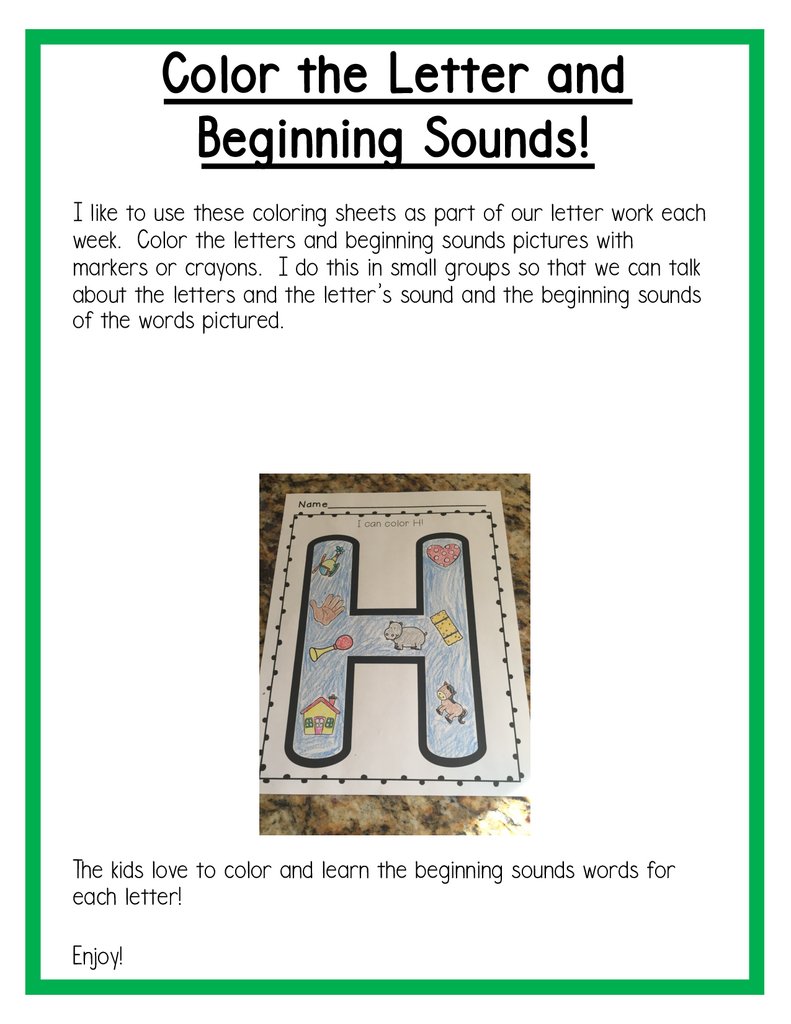
Color the Letter andBeginning Sounds!
I like to use these coloring sheets as part of our letter work each
week. Color the letters and beginning sounds pictures with
markers or crayons. I do this in small groups so that we can talk
about the letters and the letter’s sound and the beginning sounds
of the words pictured.
The kids love to color and learn the beginning sounds words for
each letter!
Enjoy!
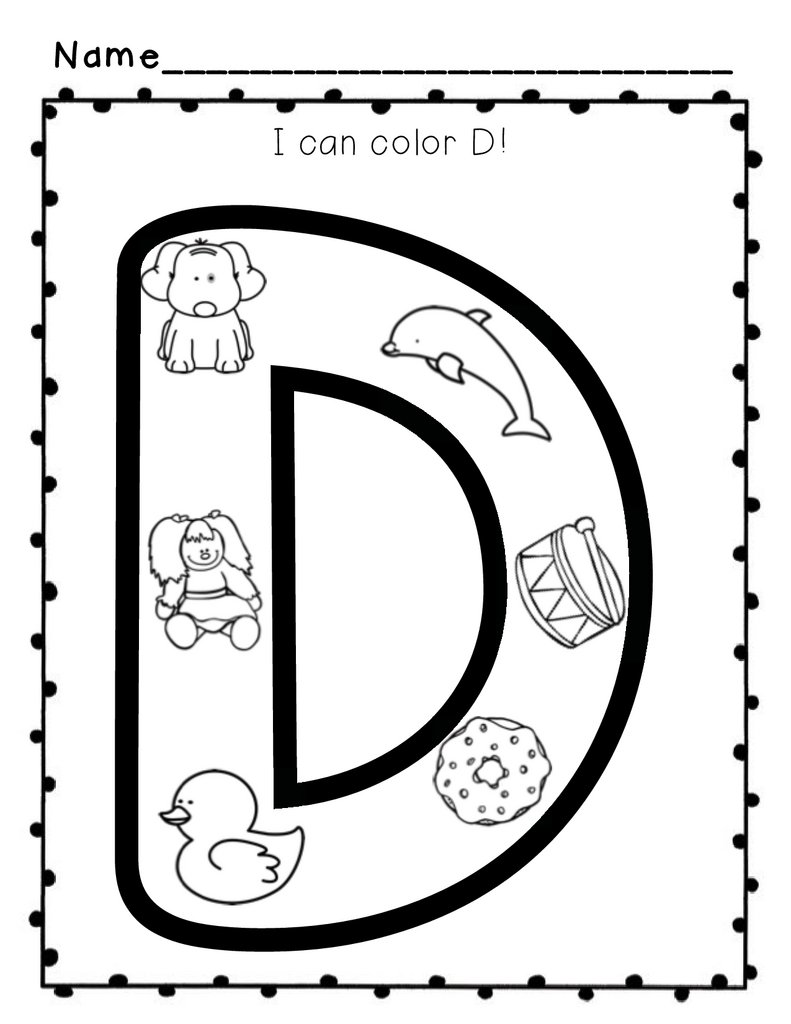
28.
DName__________________________
I can color D!
29.
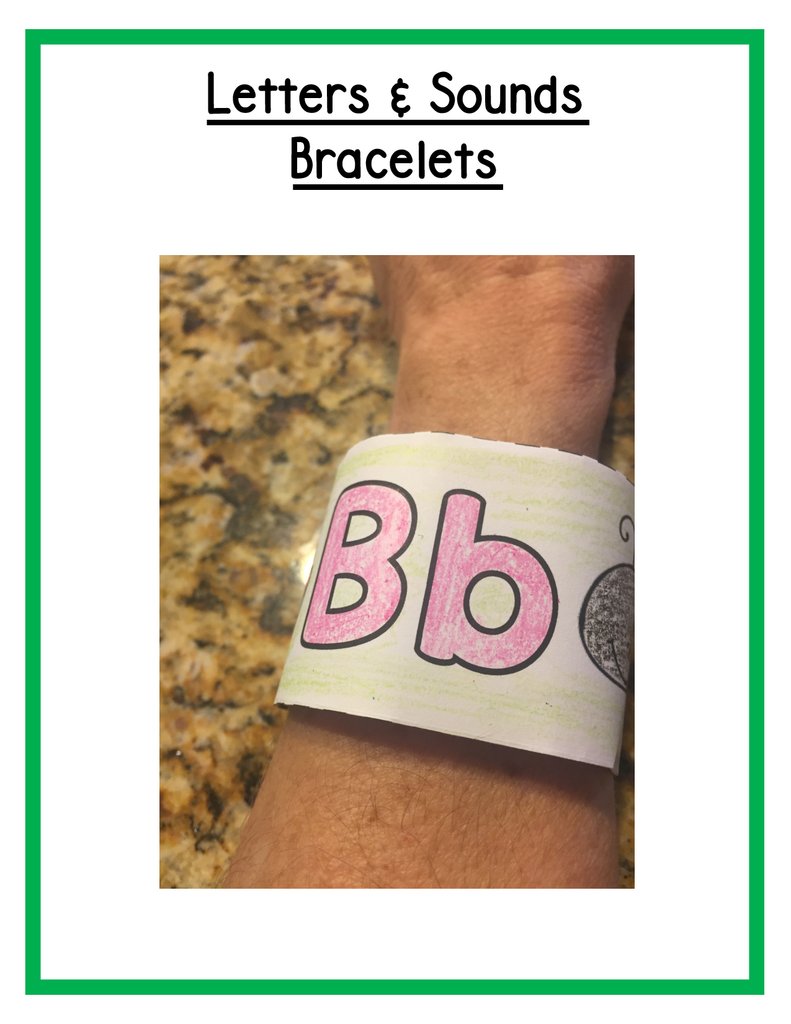
Letters & SoundsBracelets
30.
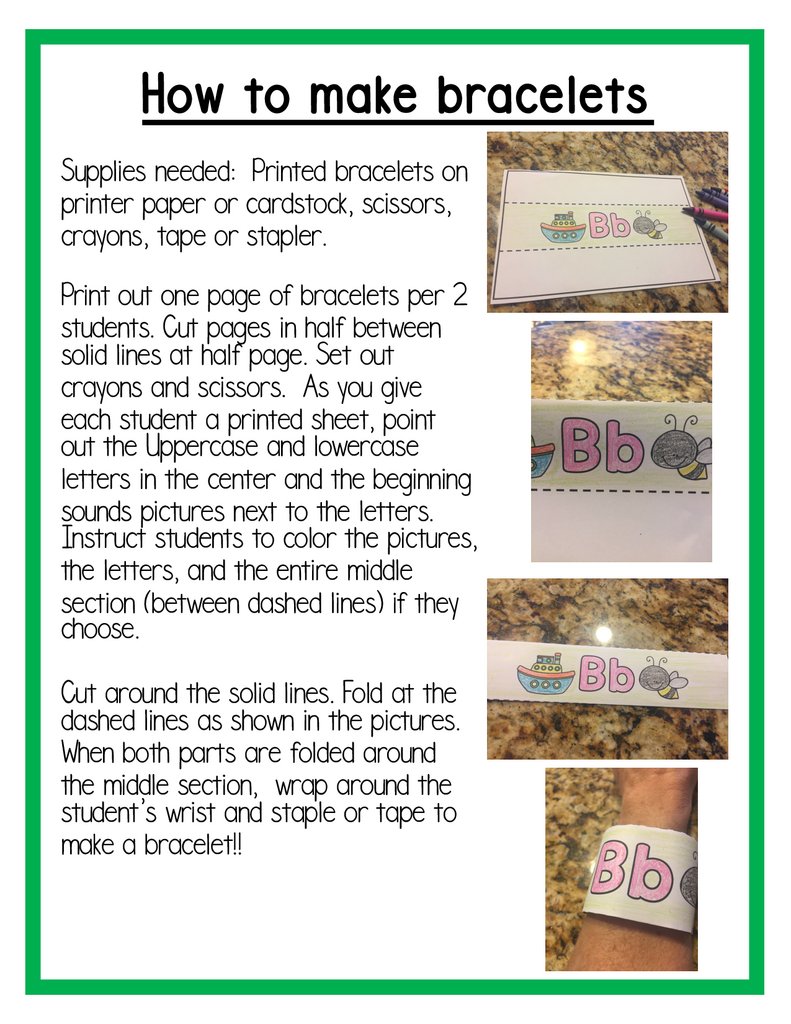
How to make braceletsSupplies needed: Printed bracelets on
printer paper or cardstock, scissors,
crayons, tape or stapler.
Print out one page of bracelets per 2
students. Cut pages in half between
solid lines at half page. Set out
crayons and scissors. As you give
each student a printed sheet, point
out the Uppercase and lowercase
letters in the center and the beginning
sounds pictures next to the letters.
Instruct students to color the pictures,
the letters, and the entire middle
section (between dashed lines) if they
choose.
Cut around the solid lines. Fold at the
dashed lines as shown in the pictures.
When both parts are folded around
the middle section, wrap around the
student’s wrist and staple or tape to
make a bracelet!!
31.
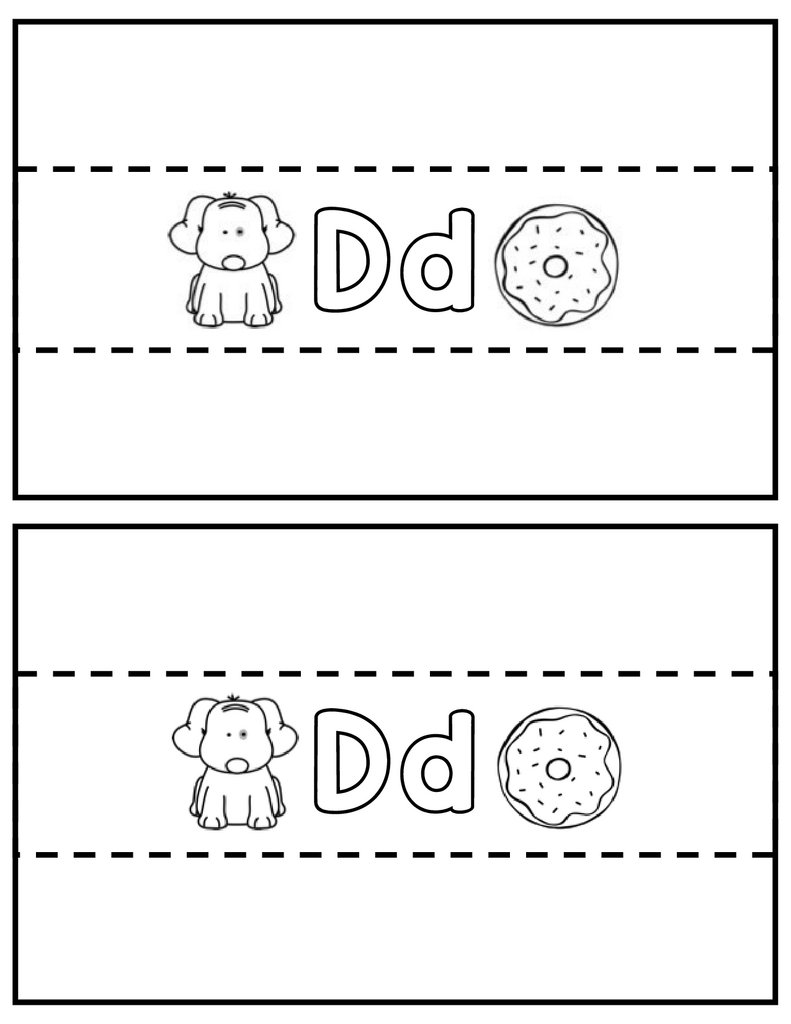
DdDd
32.
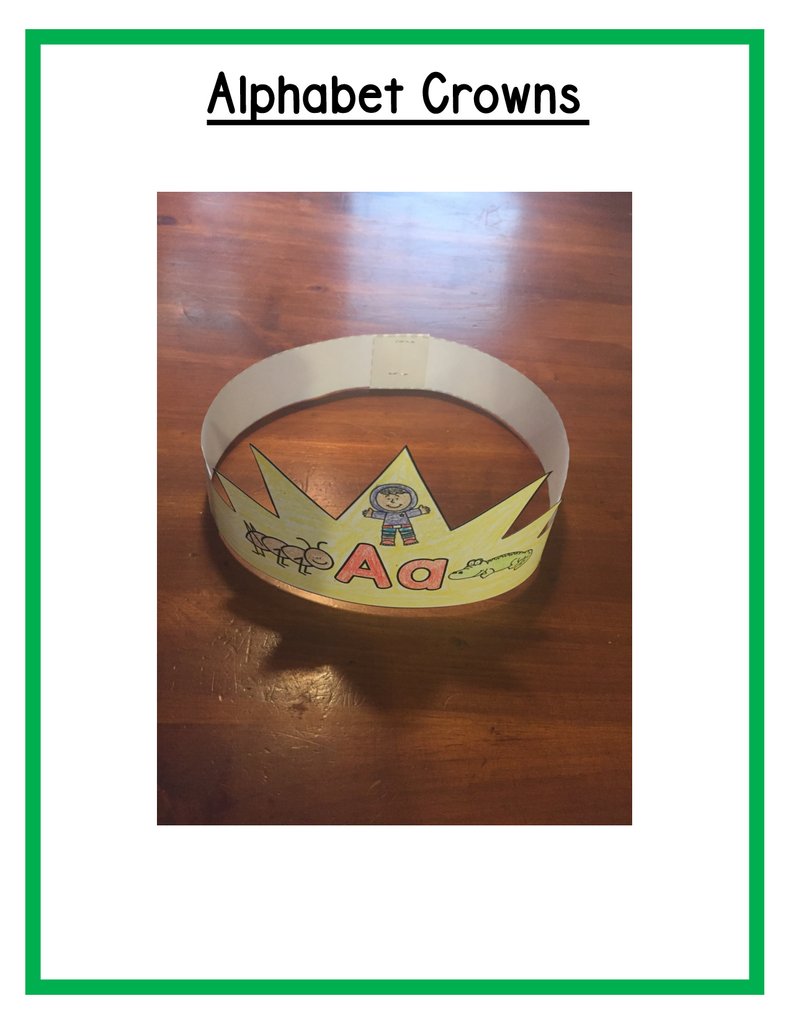
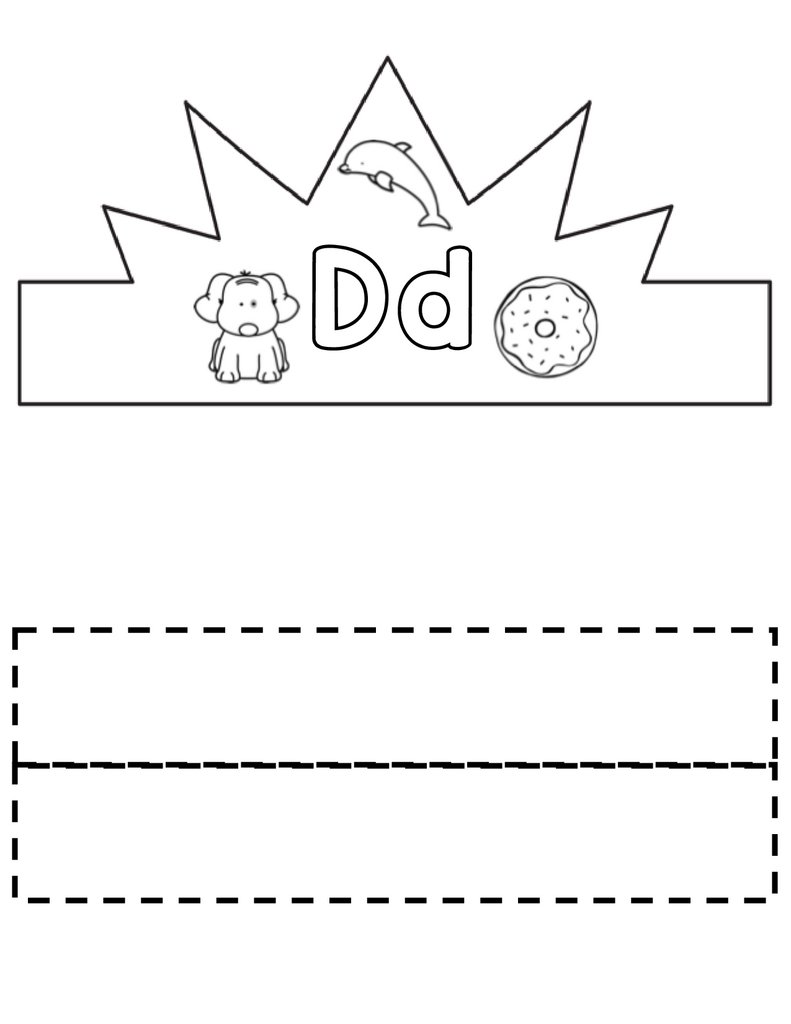
Alphabet Crowns33.
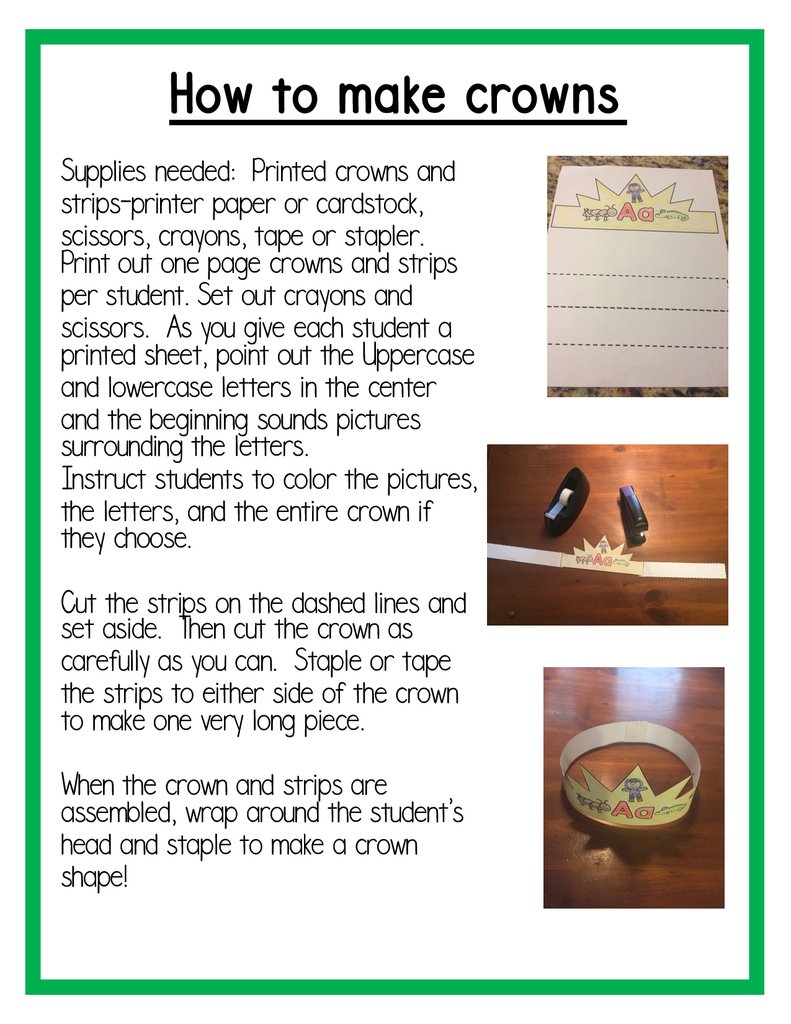
How to make crownsSupplies needed: Printed crowns and
strips-printer paper or cardstock,
scissors, crayons, tape or stapler.
Print out one page crowns and strips
per student. Set out crayons and
scissors. As you give each student a
printed sheet, point out the Uppercase
and lowercase letters in the center
and the beginning sounds pictures
surrounding the letters.
Instruct students to color the pictures,
the letters, and the entire crown if
they choose.
Cut the strips on the dashed lines and
set aside. Then cut the crown as
carefully as you can. Staple or tape
the strips to either side of the crown
to make one very long piece.
When the crown and strips are
assembled, wrap around the student's
head and staple to make a crown
shape!
34.
Dd35.
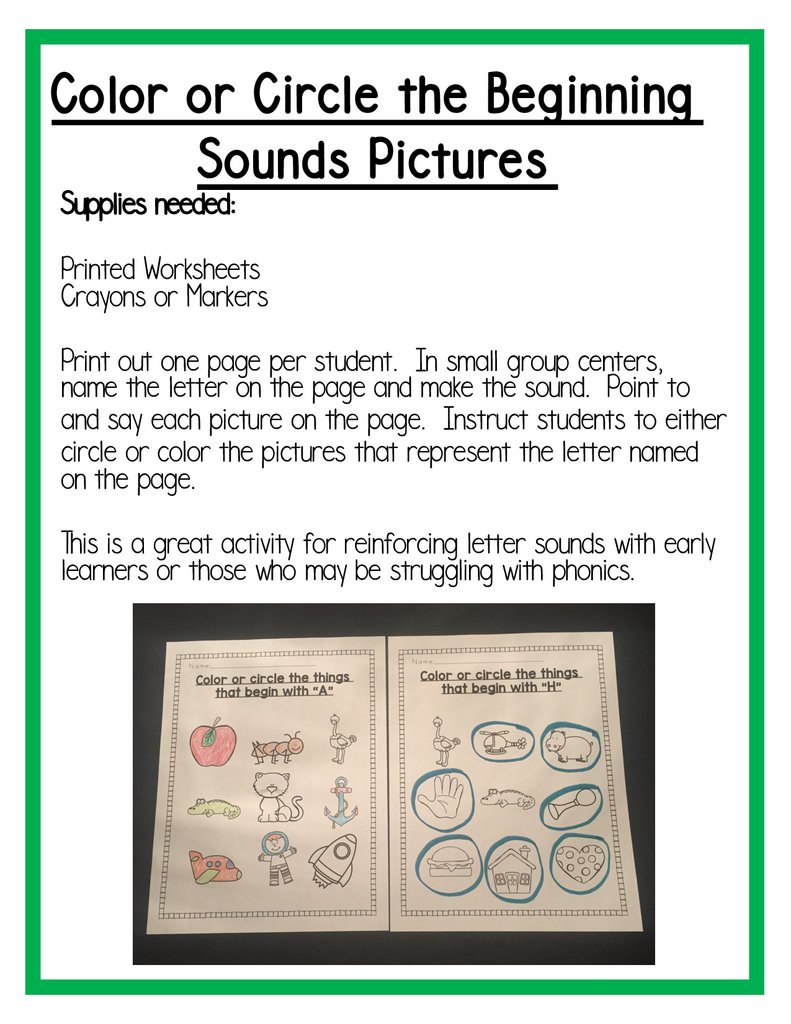
Color or Circle the BeginningSounds Pictures
Supplies needed:
Printed Worksheets
Crayons or Markers
Print out one page per student. In small group centers,
name the letter on the page and make the sound. Point to
and say each picture on the page. Instruct students to either
circle or color the pictures that represent the letter named
on the page.
This is a great activity for reinforcing letter sounds with early
learners or those who may be struggling with phonics.
36.
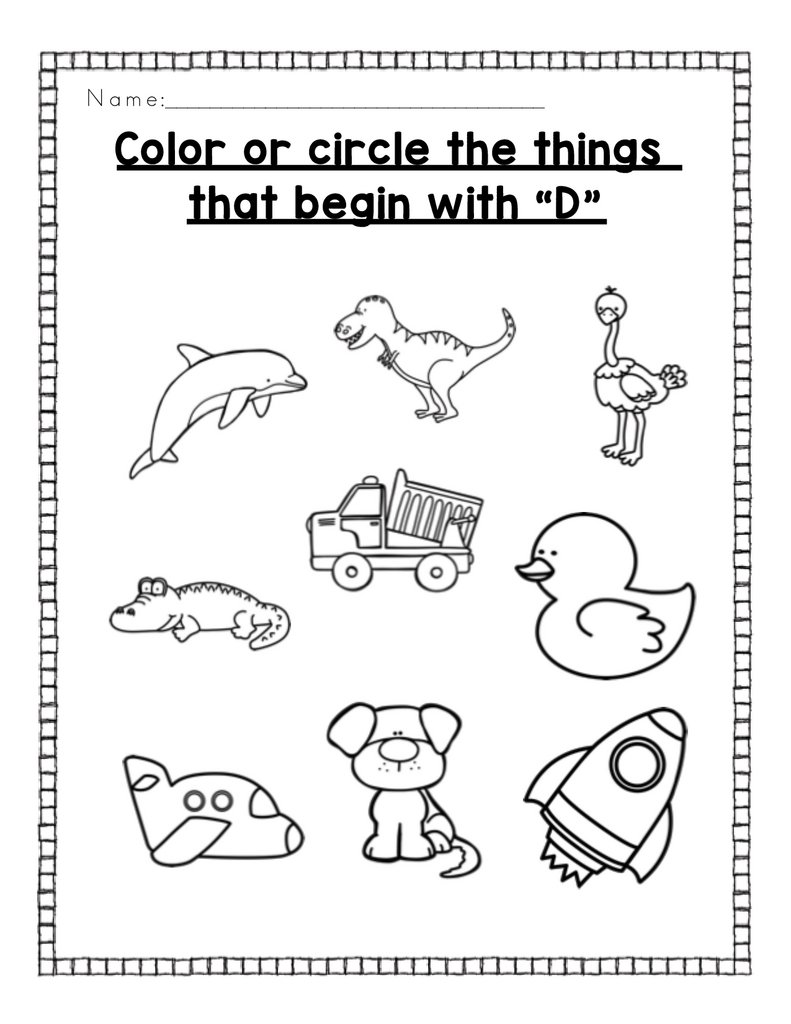
Name:__________________________________Color or circle the things
that begin with “D”
37.
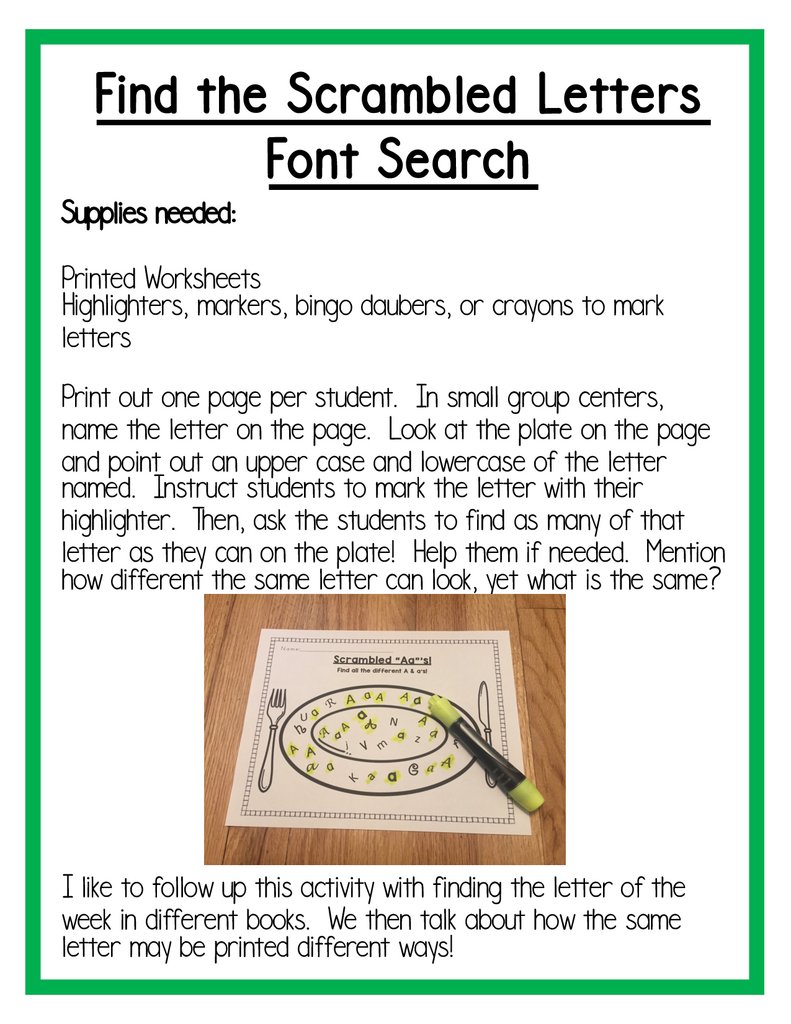
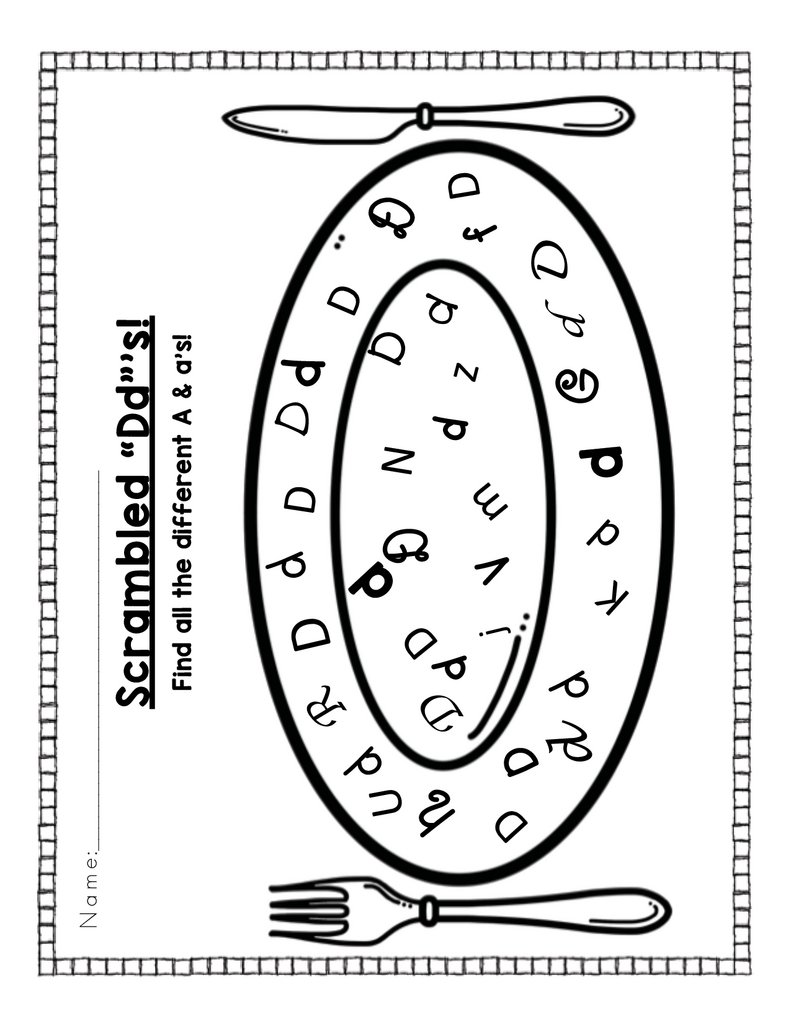
Find the Scrambled LettersFont Search
Supplies needed:
Printed Worksheets
Highlighters, markers, bingo daubers, or crayons to mark
letters
Print out one page per student. In small group centers,
name the letter on the page. Look at the plate on the page
and point out an upper case and lowercase of the letter
named. Instruct students to mark the letter with their
highlighter. Then, ask the students to find as many of that
letter as they can on the plate! Help them if needed. Mention
how different the same letter can look, yet what is the same?
I like to follow up this activity with finding the letter of the
week in different books. We then talk about how the same
letter may be printed different ways!
38.
DV %
(
Dd
d
!
! D
d d
h
d
'
!
R
!
D
d
d $ d
D
G
d
"
d ! D d
Find all the different A & a’s!
Scrambled “Dd”’s!
Name:__________________________________
#
&
!
f
D
39.
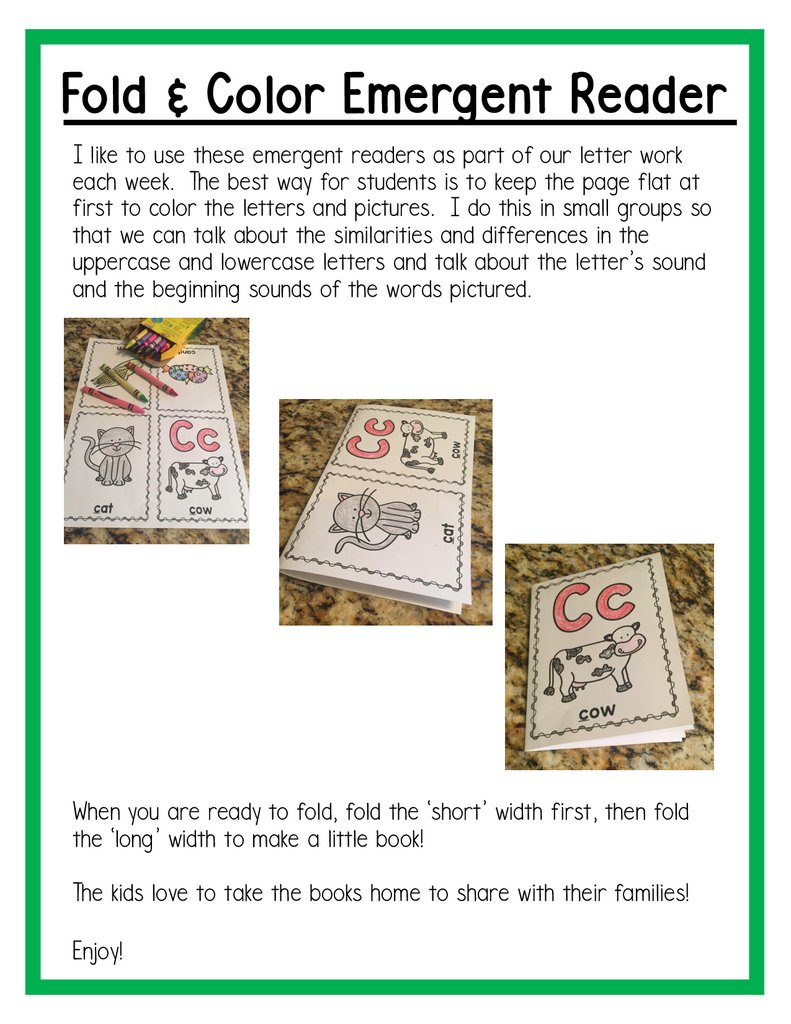
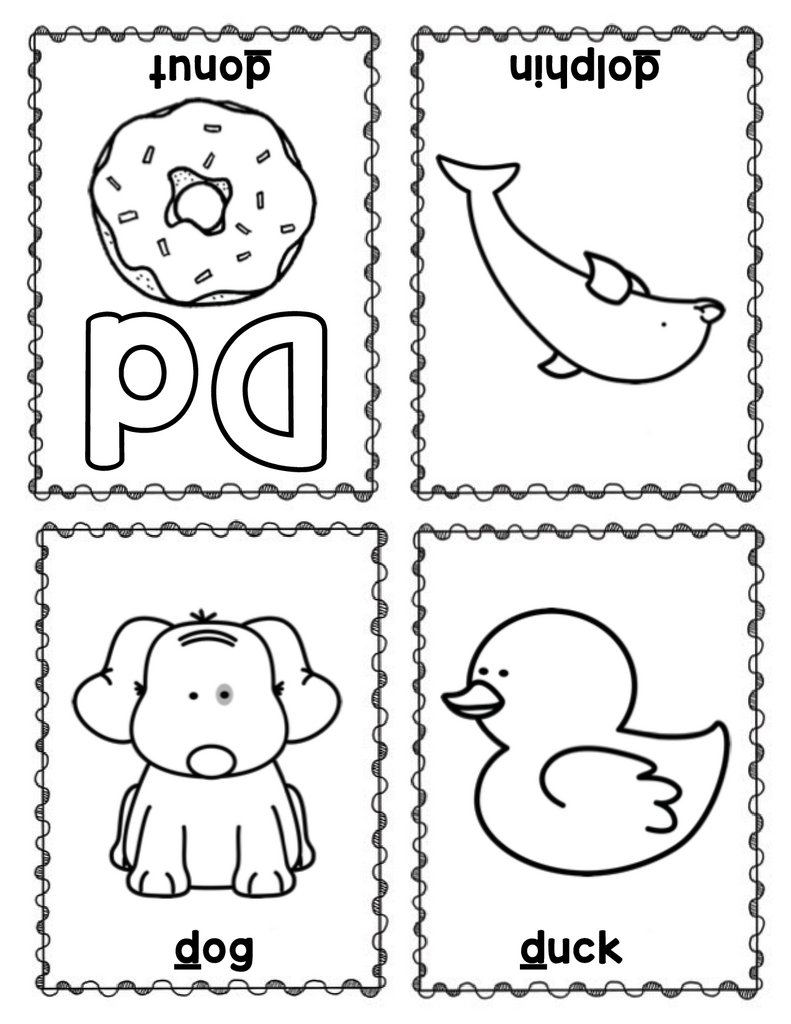
Fold & Color Emergent ReaderI like to use these emergent readers as part of our letter work
each week. The best way for students is to keep the page flat at
first to color the letters and pictures. I do this in small groups so
that we can talk about the similarities and differences in the
uppercase and lowercase letters and talk about the letter’s sound
and the beginning sounds of the words pictured.
When you are ready to fold, fold the ‘short’ width first, then fold
the ‘long’ width to make a little book!
The kids love to take the books home to share with their families!
Enjoy!
40.
dogduck
Dd
dolphin
donut
41.
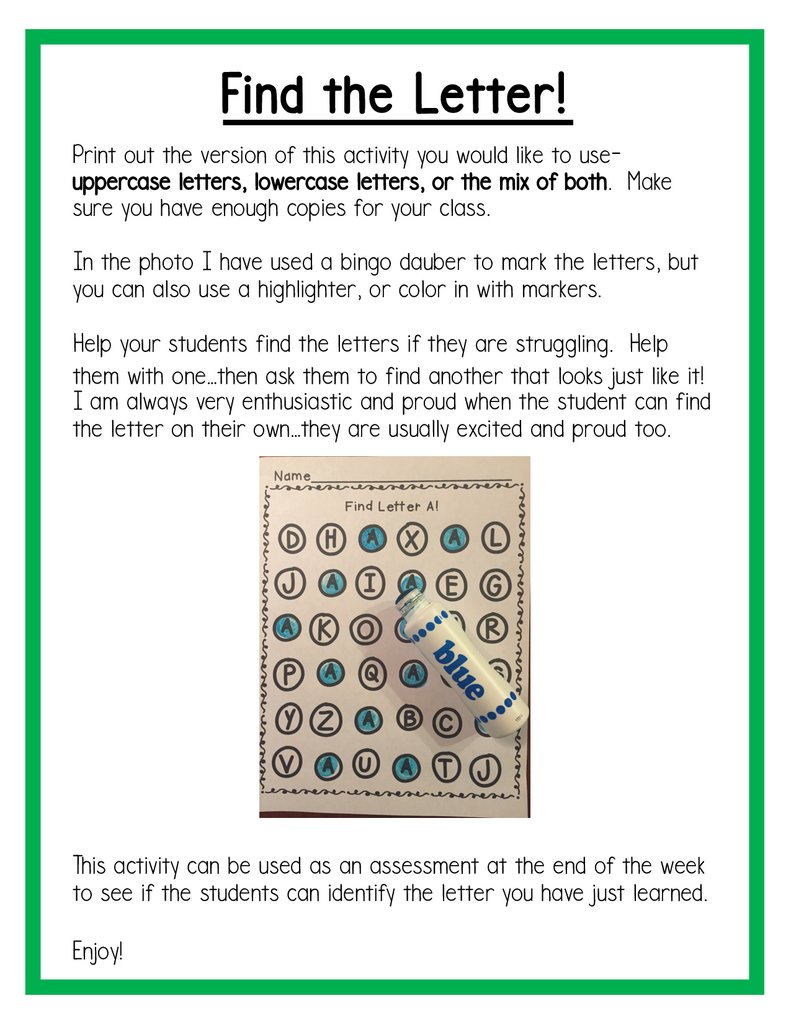
Find the Letter!Print out the version of this activity you would like to useuppercase letters, lowercase letters, or the mix of both. Make
sure you have enough copies for your class.
In the photo I have used a bingo dauber to mark the letters, but
you can also use a highlighter, or color in with markers.
Help your students find the letters if they are struggling. Help
them with one…then ask them to find another that looks just like it!
I am always very enthusiastic and proud when the student can find
the letter on their own…they are usually excited and proud too.
This activity can be used as an assessment at the end of the week
to see if the students can identify the letter you have just learned.
Enjoy!
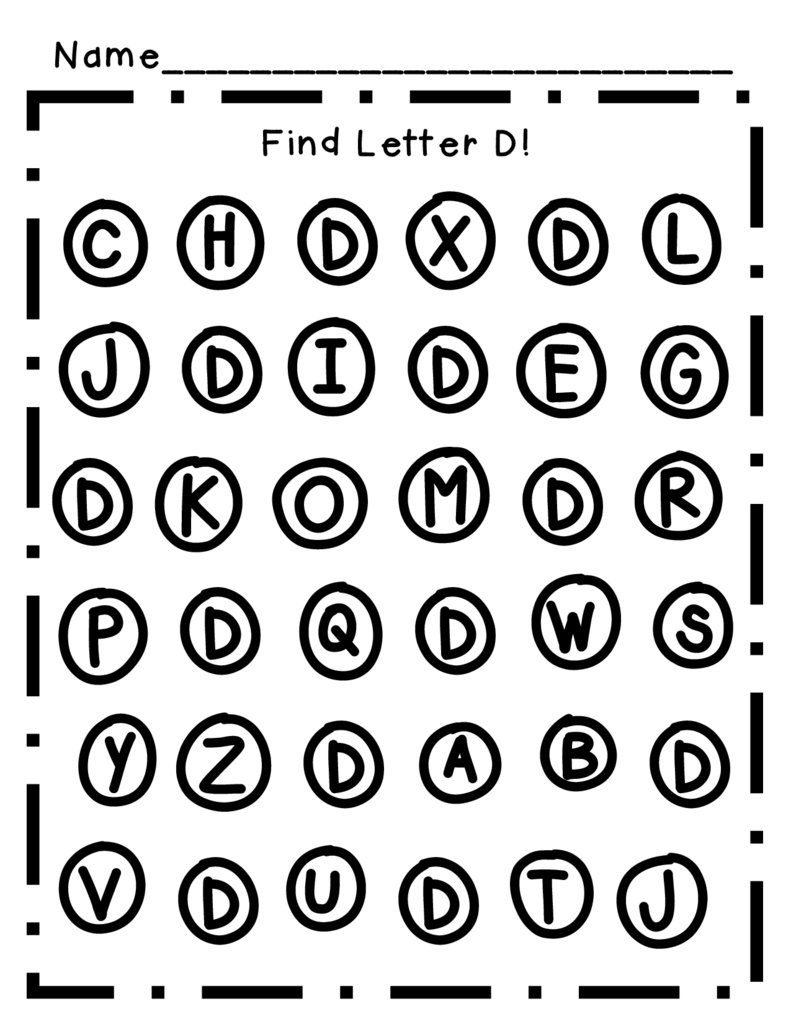
42.
Name__________________________Find Letter D!
CHDXDL
JDIDEG
DKOMDR
PDQDWS
YZDABD
VDUDTJ
43.
Name__________________________Find Letter d!
dhijdl
sdbdef
cndpqd
dkuvdx
yzdawd
mdgdor
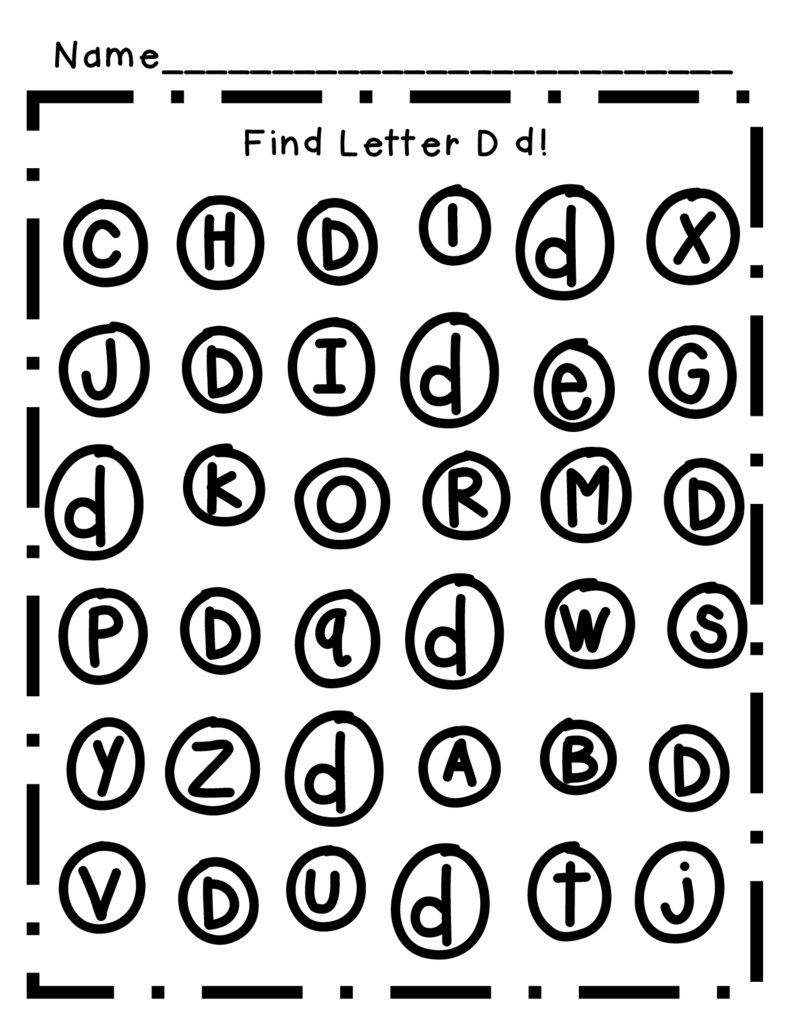
44.
Name__________________________Find Letter D d!
CHDldx
JDIdeG
dkORMD
PDqdwS
YZdABD
VDUdtj
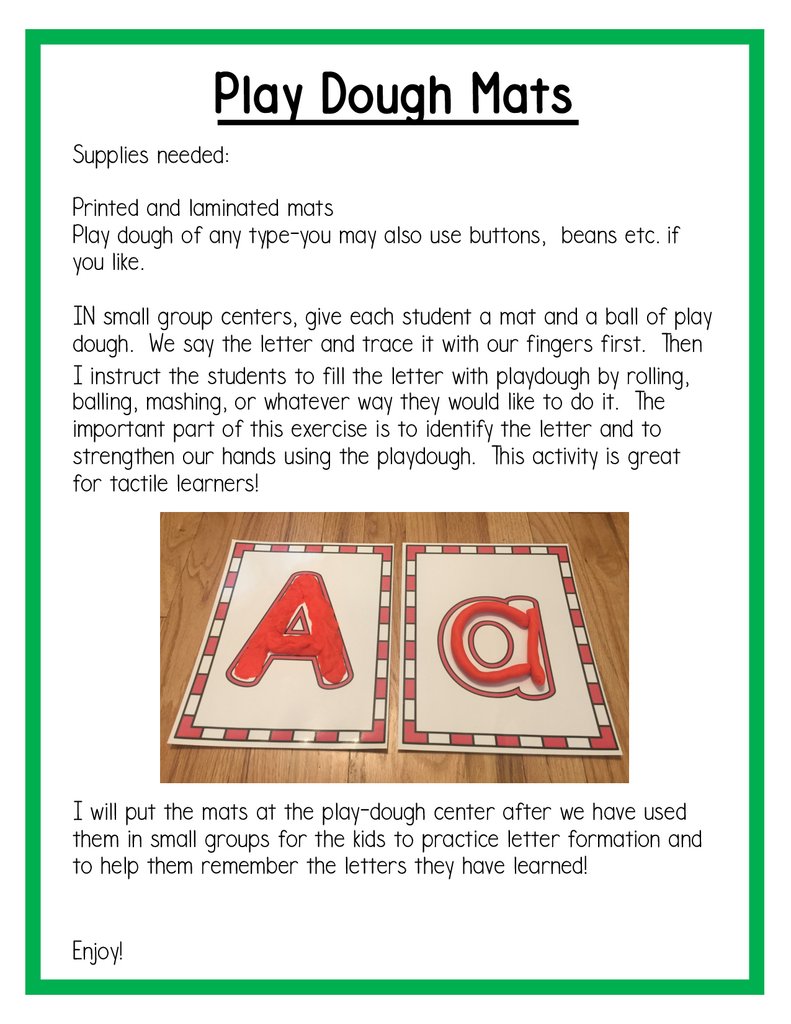
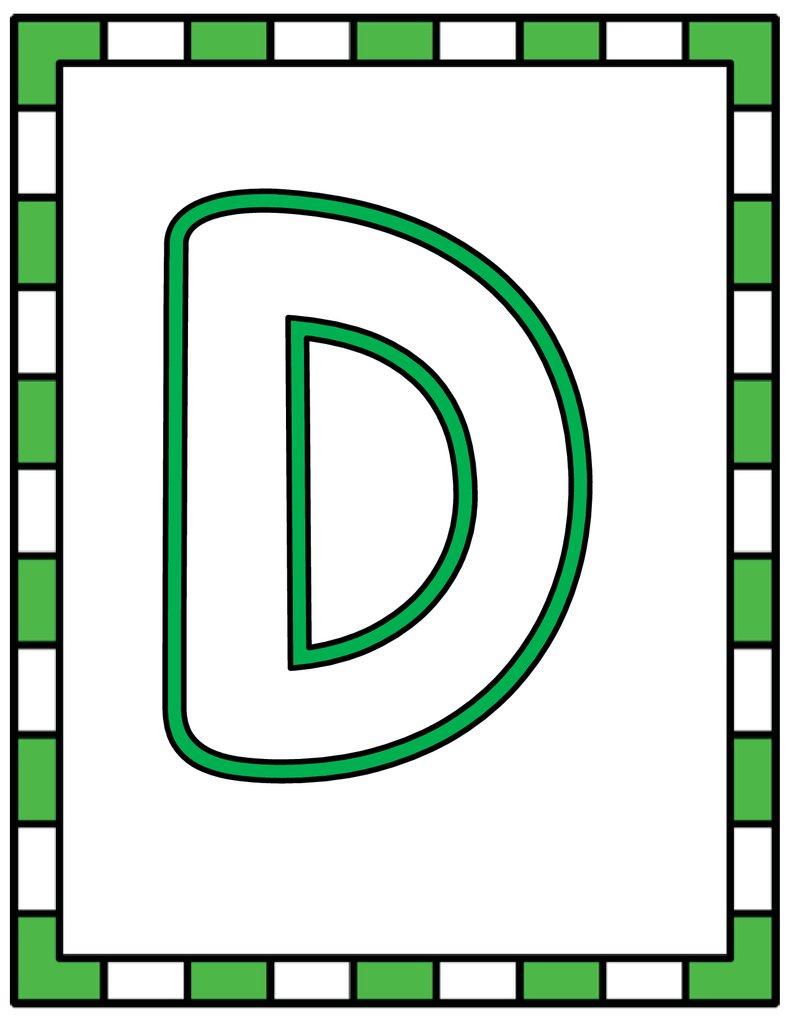
45.
Play Dough MatsSupplies needed:
Printed and laminated mats
Play dough of any type-you may also use buttons, beans etc. if
you like.
IN small group centers, give each student a mat and a ball of play
dough. We say the letter and trace it with our fingers first. Then
I instruct the students to fill the letter with playdough by rolling,
balling, mashing, or whatever way they would like to do it. The
important part of this exercise is to identify the letter and to
strengthen our hands using the playdough. This activity is great
for tactile learners!
I will put the mats at the play-dough center after we have used
them in small groups for the kids to practice letter formation and
to help them remember the letters they have learned!
Enjoy!
46.
47.
48.
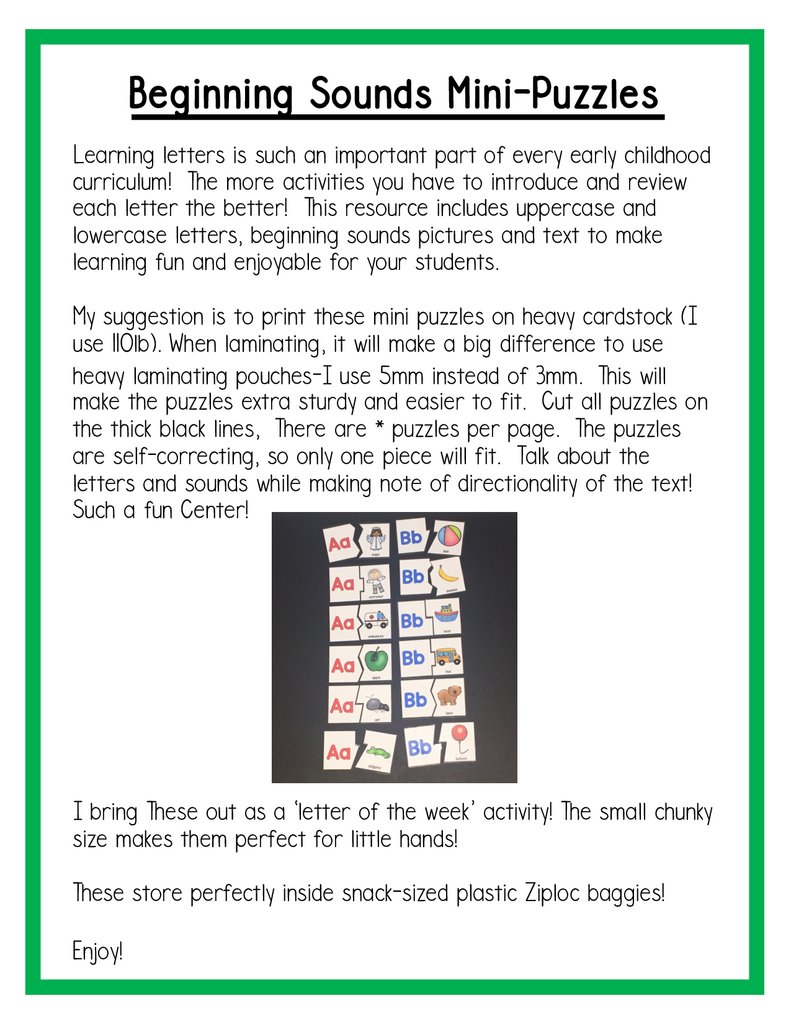
Beginning Sounds Mini-PuzzlesLearning letters is such an important part of every early childhood
curriculum! The more activities you have to introduce and review
each letter the better! This resource includes uppercase and
lowercase letters, beginning sounds pictures and text to make
learning fun and enjoyable for your students.
My suggestion is to print these mini puzzles on heavy cardstock (I
use 110lb). When laminating, it will make a big difference to use
heavy laminating pouches-I use 5mm instead of 3mm. This will
make the puzzles extra sturdy and easier to fit. Cut all puzzles on
the thick black lines, There are * puzzles per page. The puzzles
are self-correcting, so only one piece will fit. Talk about the
letters and sounds while making note of directionality of the text!
Such a fun Center!
I bring These out as a ‘letter of the week’ activity! The small chunky
size makes them perfect for little hands!
These store perfectly inside snack-sized plastic Ziploc baggies!
Enjoy!
49.
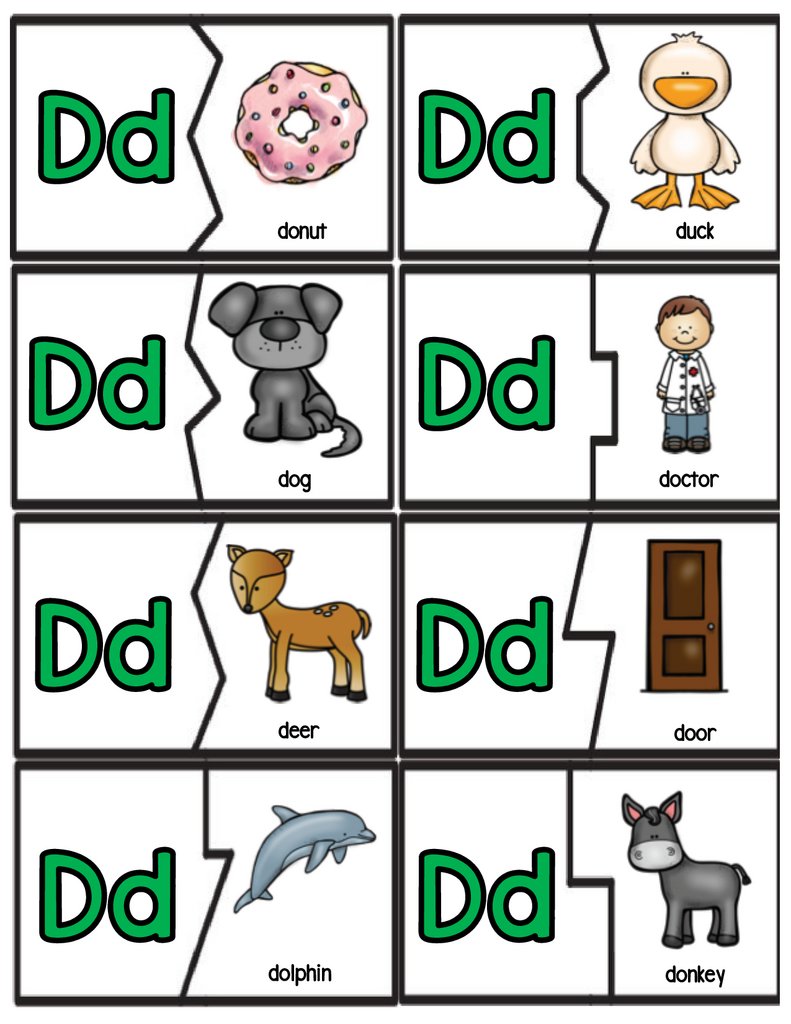
donutduck
dog
doctor
deer
door
dolphin
donkey
50.
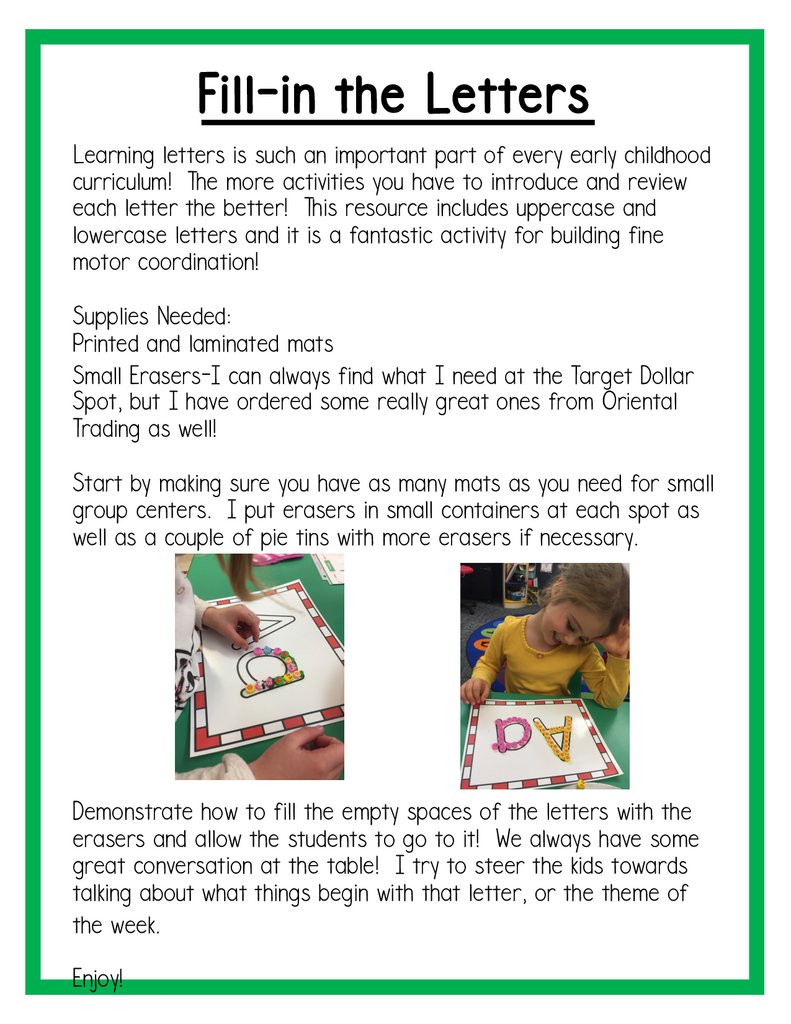
Fill-in the LettersLearning letters is such an important part of every early childhood
curriculum! The more activities you have to introduce and review
each letter the better! This resource includes uppercase and
lowercase letters and it is a fantastic activity for building fine
motor coordination!
Supplies Needed:
Printed and laminated mats
Small Erasers-I can always find what I need at the Target Dollar
Spot, but I have ordered some really great ones from Oriental
Trading as well!
Start by making sure you have as many mats as you need for small
group centers. I put erasers in small containers at each spot as
well as a couple of pie tins with more erasers if necessary.
Demonstrate how to fill the empty spaces of the letters with the
erasers and allow the students to go to it! We always have some
great conversation at the table! I try to steer the kids towards
talking about what things begin with that letter, or the theme of
the week.
Enjoy!
51.
Dd52.
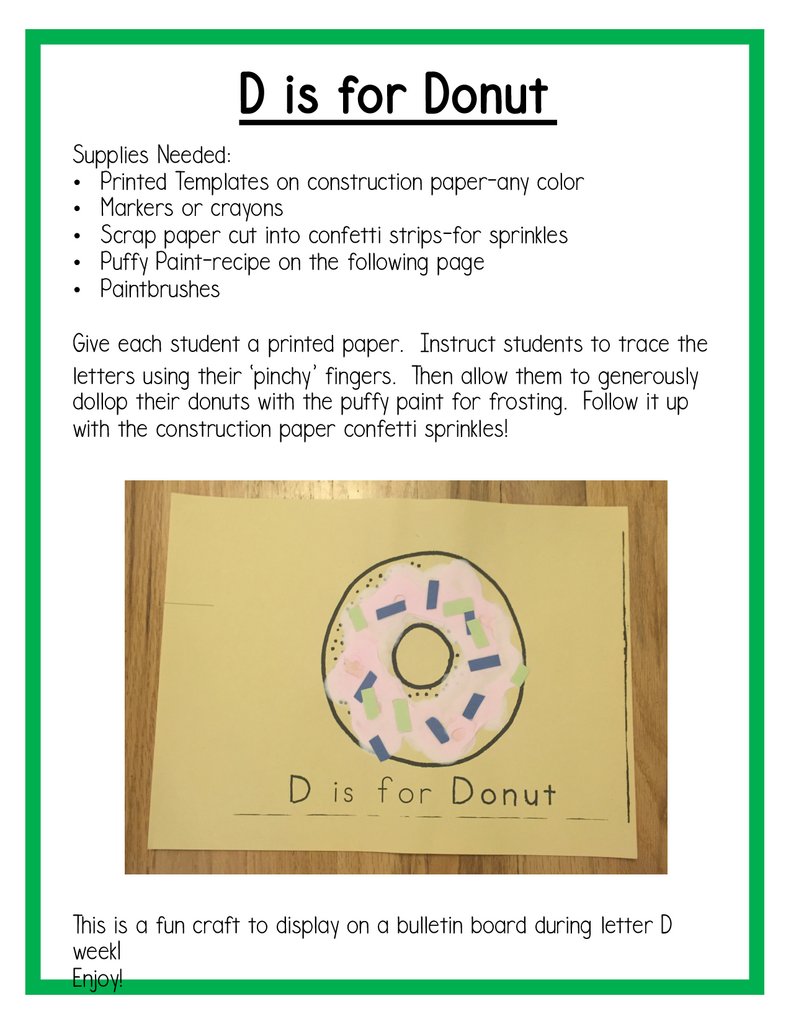
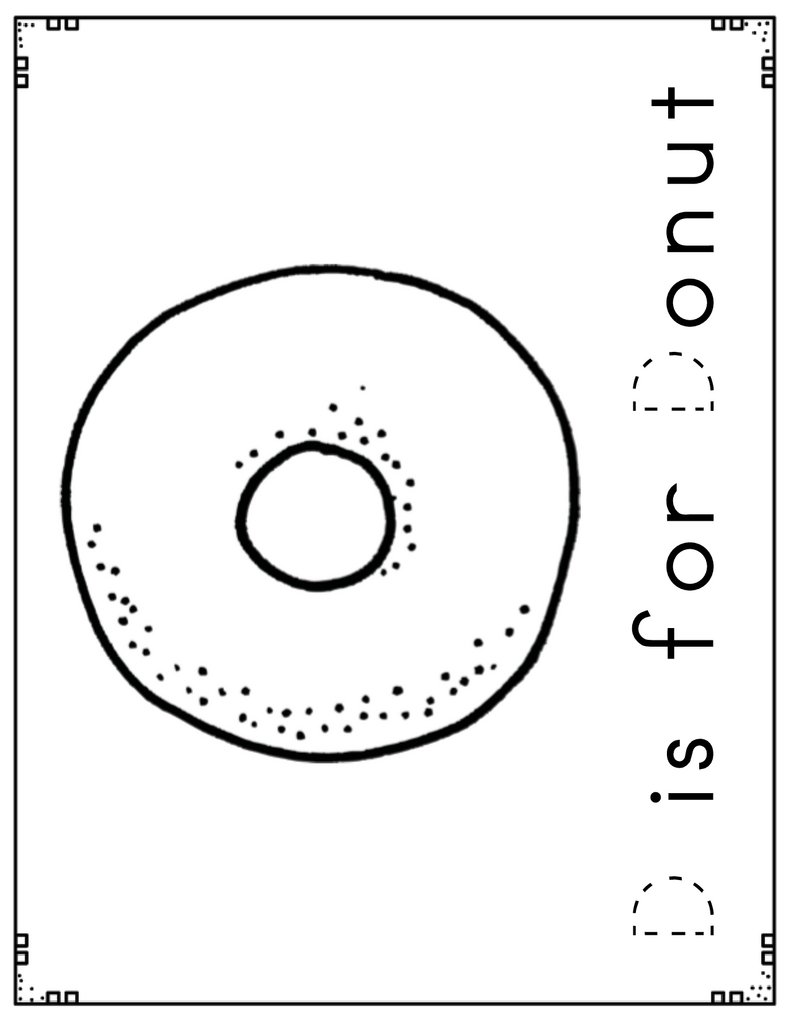
D is for DonutSupplies Needed:
• Printed Templates on construction paper-any color
• Markers or crayons
• Scrap paper cut into confetti strips-for sprinkles
• Puffy Paint-recipe on the following page
• Paintbrushes
Give each student a printed paper. Instruct students to trace the
letters using their ‘pinchy’ fingers. Then allow them to generously
dollop their donuts with the puffy paint for frosting. Follow it up
with the construction paper confetti sprinkles!
This is a fun craft to display on a bulletin board during letter D
week1
Enjoy!
53.
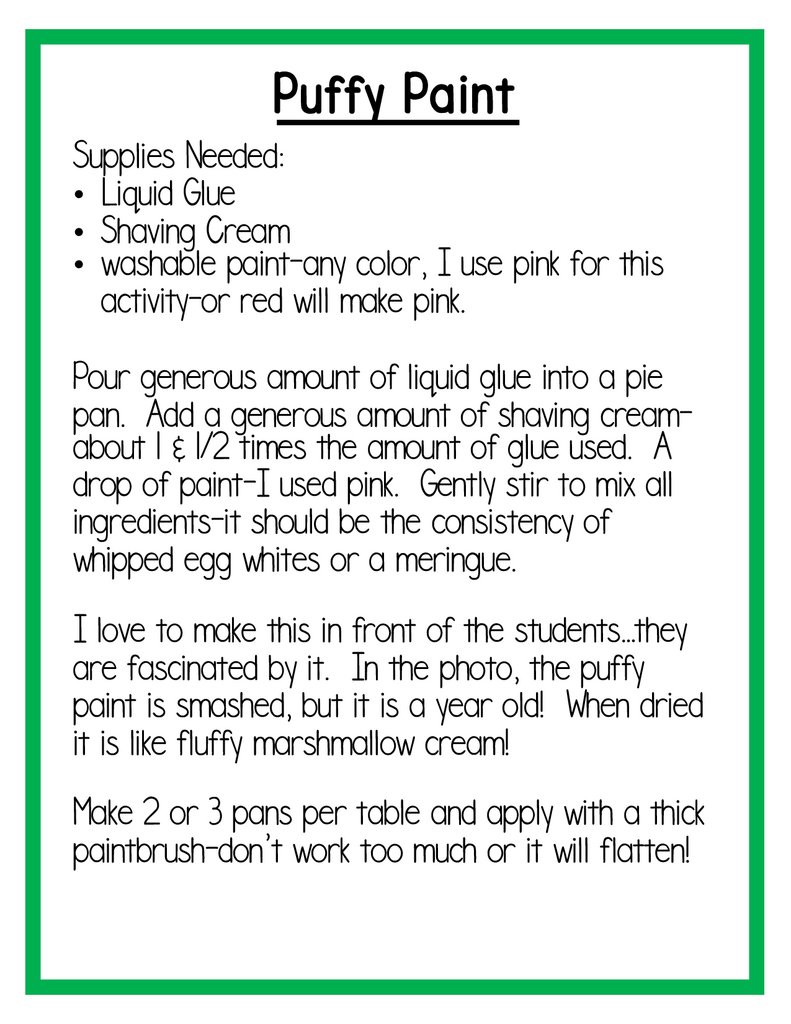
Puffy PaintSupplies Needed:
• Liquid Glue
• Shaving Cream
• washable paint-any color, I use pink for this
activity-or red will make pink.
Pour generous amount of liquid glue into a pie
pan. Add a generous amount of shaving creamabout 1 & 1/2 times the amount of glue used. A
drop of paint-I used pink. Gently stir to mix all
ingredients-it should be the consistency of
whipped egg whites or a meringue.
I love to make this in front of the students…they
are fascinated by it. In the photo, the puffy
paint is smashed, but it is a year old! When dried
it is like fluffy marshmallow cream!
Make 2 or 3 pans per table and apply with a thick
paintbrush-don’t work too much or it will flatten!
54.
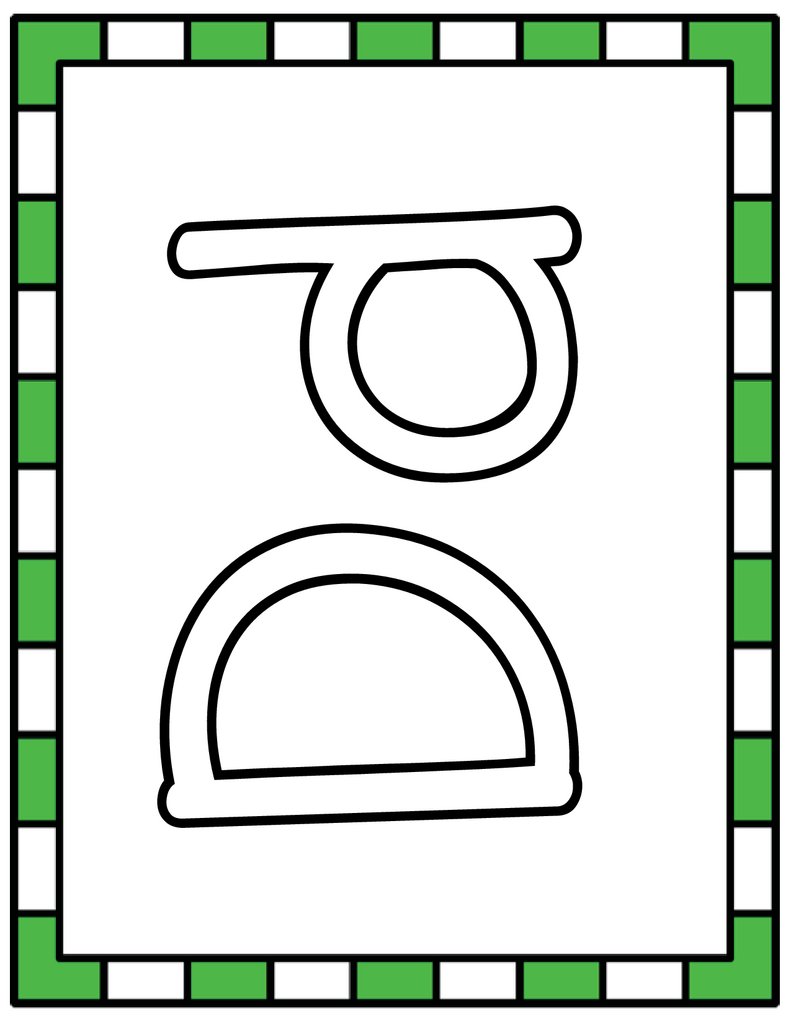
D is for Donut55.
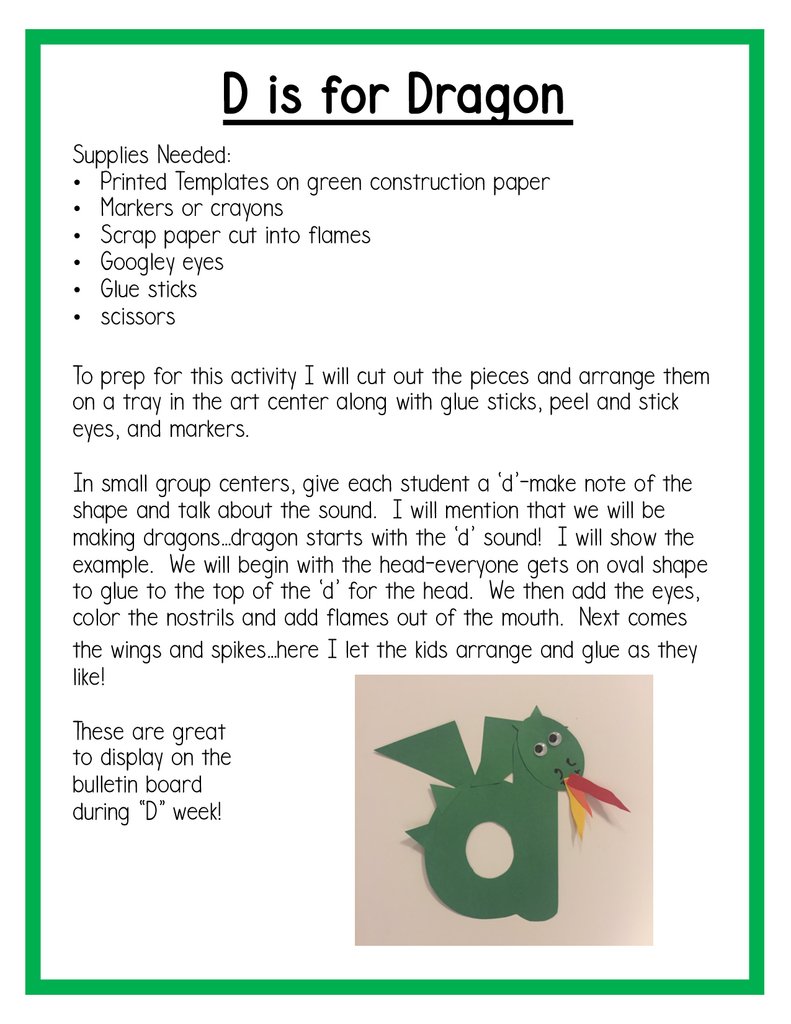
D is for DragonSupplies Needed:
• Printed Templates on green construction paper
• Markers or crayons
• Scrap paper cut into flames
• Googley eyes
• Glue sticks
• scissors
To prep for this activity I will cut out the pieces and arrange them
on a tray in the art center along with glue sticks, peel and stick
eyes, and markers.
In small group centers, give each student a ‘d’-make note of the
shape and talk about the sound. I will mention that we will be
making dragons…dragon starts with the ‘d’ sound! I will show the
example. We will begin with the head-everyone gets on oval shape
to glue to the top of the ‘d’ for the head. We then add the eyes,
color the nostrils and add flames out of the mouth. Next comes
the wings and spikes…here I let the kids arrange and glue as they
like!
These are great
to display on the
bulletin board
during “D” week!
56.
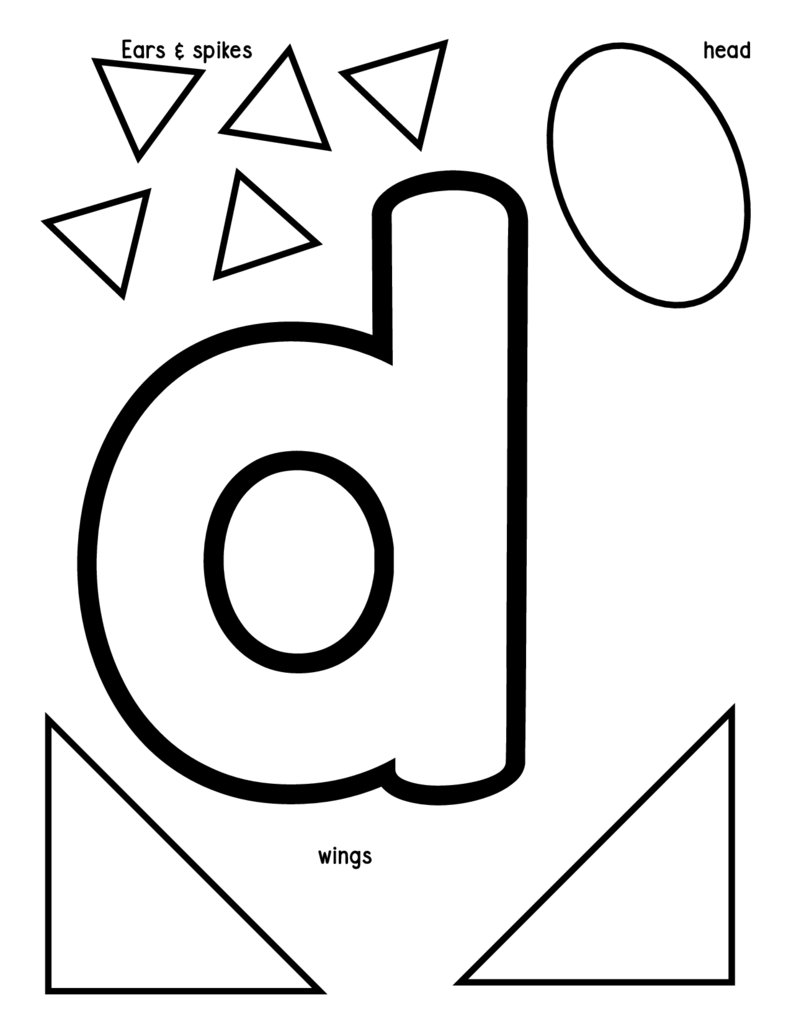
dEars & spikes
wings
head
57.
Terms of UseProducts by Teach Pre-K!
All rights reserved. Purchase of this item
entitles purchaser to reproduce the pages in
limited quantities for classroom use only. You
may not give away, sell, copy for others, or
redistribute the contents of this packet
electronically, or by
hard copy.
Additional licenses for multiple copies of this
product may be purchased at a reduced cost
through my store on the Teachers Pay Teachers
website.
Thank you for complying with these simple terms,
and enjoy this awesome resource!
Warmly,
Diane Lee
58.
Special thanks to theseamazing clip artists and font
designers!
Thank
You!