

")


Похожие презентации:


AQPRO-PREZ-1
1. AQPRO Academy Challenge
Confirmation Types & Market StructureSchematics Template (Insert Your Real
Charts Later)
2.
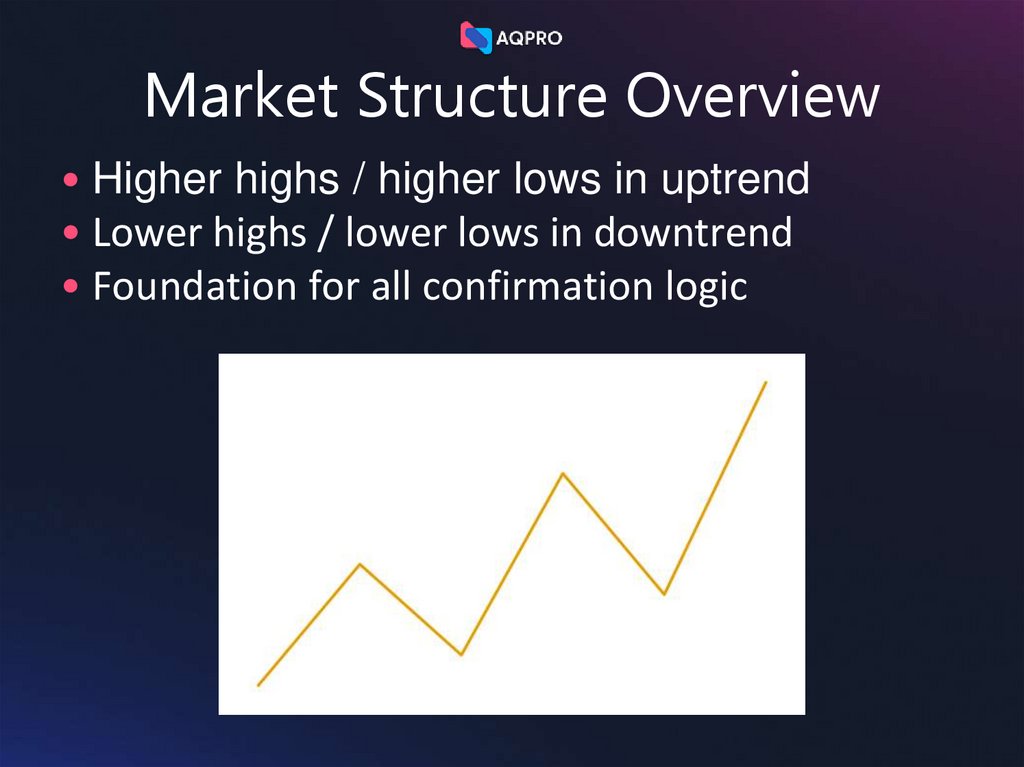
Market Structure Overview• Higher highs / higher lows in uptrend
• Lower highs / lower lows in downtrend
• Foundation for all confirmation logic
3.
Change of Character (CHOCH)• First sign of momentum shift
• Body close breaking prior swing
• Used as first confirmation in both pro-trend and
counter-trend trades
4. Break of Structure (BOS)
• Confirms continuation or deeper reversal• Valid BOS requires clear body close beyond
prior high/low
• Critical in counter-trend confirmation
5. Retest Zones
• Price often revisits broken levels• Retest of CHOCH or BOS is prime entry area
• Avoid chasing price — wait for price to come to
your level
6. Engulfing Confirmation
• Strong momentum candle in direction of trade• Confirms presence of aggressors in the market
• Final trigger for many pro-trend setups
7. Pro-Trend Setup Schematic
• Trade in direction of higher timeframe trend• 3-step confirmation:
CHOCH → Retest → Engulfing
• A+ setups with cleaner R:R and smoother
follow-through
8. Counter-Trend Setup Schematic
• Trading pullbacks against dominant trend• Requires extra confirmation:
CHOCH → Retest → BOS → Retest
• Used selectively at key HTF zones
9. Liquidity Sweeps
• Price hunts stops above highs / below lows• Sweeps often precede CHOCH or BOS
• Ideal areas for refined entries and take-profit
targets
10. Support & Resistance Zones
Support & Resistance Zones• Horizontal levels where price often reacts
• Combine with FVGs, OBs and liquidity for
stronger confluence
• Avoid trading S/R in isolation
11. Trend Continuation Model
• Aligns with HTF bias• Uses pullbacks into structure + confirmation
• Objective: catch legs inside the main trend
12. Reversal Model
• Focus on exhaustion + liquidity sweeps• Requires CHOCH + BOS on lower timeframes
• Best used at HTF extremes and key zones
13. Signal Confirmation Flow
• HTF Bias → Structure → Liquidity →Confirmation → Entry
• Process over prediction
• Repeatable decision-making instead of
emotional trades
14. Entry / Exit Logic
• Entry: after confirmation on LTF• Stop-loss: beyond liquidity or structural
invalidation
• Take-profit: at next liquidity pool or key HTF
level