


 Медицина
 БЖД
БЖДПохожие презентации:


Basic First Aid. Facilities Planning & Management
1.
Basic First AidFacilities Planning & Management
UW-Eau Claire
2.
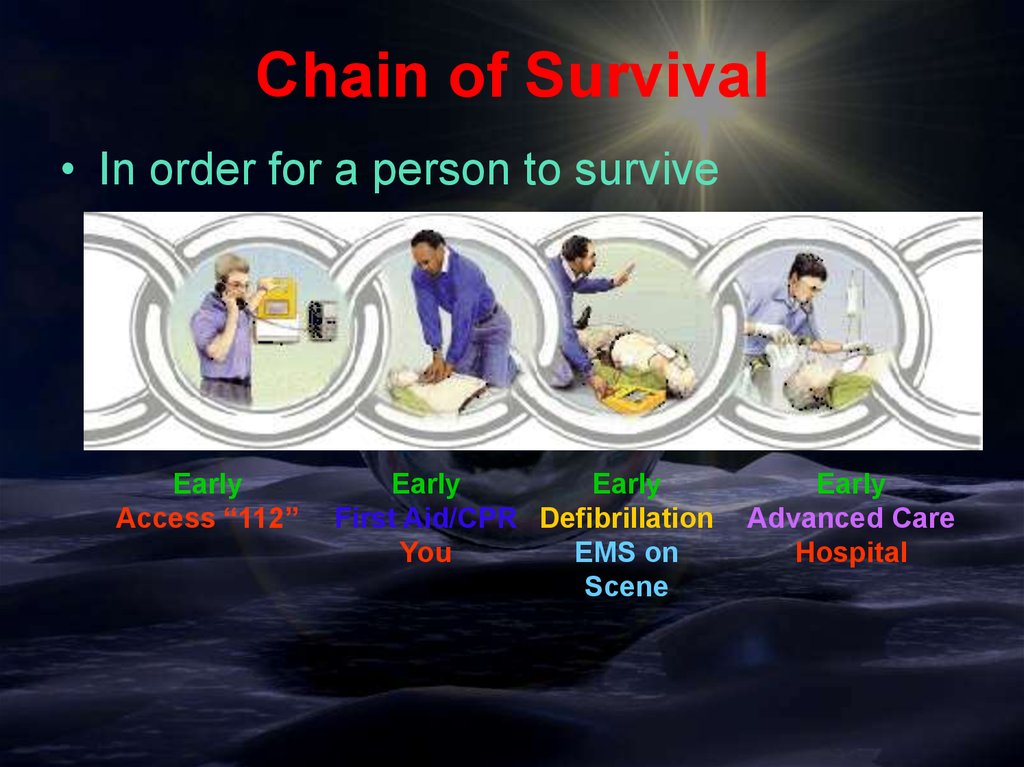
Chain of Survival• In order for a person to survive
Early
Access “112”
Early
Early
First Aid/CPR Defibrillation
You
EMS on
Scene
Early
Advanced Care
Hospital
3.
Basic First Aid• What Is First Aid?
– The immediate care given to an injured or suddenly
ill person.
– DOES NOT take the place of proper medical
treatment.
– Legal Considerations
• Implied Consent involves an unresponsive victim in a lifethreatening condition.
• It is assumed or “implied” that an unresponsive victim would
consent to lifesaving help.
• Only perform First Aid assistance for which you have been
trained.
4.
Scene Survey• When confronted with an accident or illness on
duty it is important to assess the situation to
determine what kind of emergency situation you
are dealing with, for your safety, the victim’s safety
and that of others.
• Do a quick survey of the scene that includes
looking for three elements:
– Hazards that could be dangerous to you, the victim, or
bystanders.
– The cause (mechanism) of the injury or illness.
– The number of victims.
Note: This survey should only take a few seconds.
5.
Initial Assessment• Goal of the initial assessment:
– Visually determine whether there are life-threatening
or other serious problems that require quick care.
• Breathing
• Bleeding
• Shock
• Burn
• Choking
• Heart Attack
• Fractures
– Determine if victim is conscious - by tap and shout.
Check for ABC as indicated:
• A = Airway Open? – Head-tilt/Chin-lift.
• B = Breathing? – Look, listen, and feel.
• C = Circulation? – Check for signs of circulation.
Note: These step-by-step initial assessment should not be
changed. It takes less than a minute to complete, unless firs
aid is required at any point.
6.
Victim Assessment Sequence• Assessment Sequence Components:
– If victim is responsive
• Ask them what injuries or difficulties they are
experiencing.
• Check and provide first aid for these complaints as
well as others that may be involved.
– If victim is not responsive (Unconscious or
incoherent).
• Observe for obvious signs of injury or illness:
– Check from head to toe
• Provide first aid/CPR for injuries or illness
observed.
7.
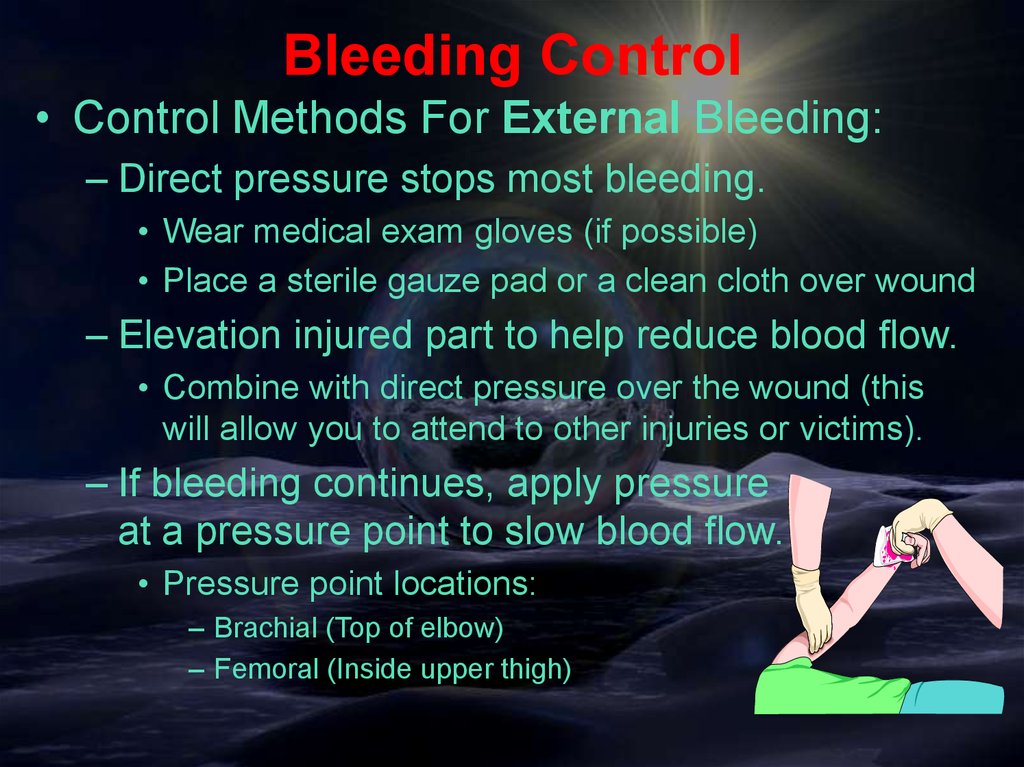
Bleeding Control• Control Methods For External Bleeding:
– Direct pressure stops most bleeding.
• Wear medical exam gloves (if possible)
• Place a sterile gauze pad or a clean cloth over wound
– Elevation injured part to help reduce blood flow.
• Combine with direct pressure over the wound (this
will allow you to attend to other injuries or victims).
– If bleeding continues, apply pressure
at a pressure point to slow blood flow.
• Pressure point locations:
– Brachial (Top of elbow)
– Femoral (Inside upper thigh)
8.
Bleeding Control Cont.• Control Methods For Internal Bleeding:
– Signs of internal bleeding:
Bruises or contusions of the skin
Painful, tender, rigid, bruised abdomen
Vomiting or coughing up blood
Stools that are black or contain bright red blood
– What to Do:
For severe internal bleeding, follow these steps:
• Monitor ABC’s (Airway Breathing Circulation)
• Keep the victim lying on his/her left side. (This will help
prevent expulsion of vomit from stomach, or allow the vomit
to drain and also prevent the victim from inhaling vomit).
• Treat for shock by raising the victim’s legs 8” – 12”
• Seek immediate medical attention
9.
Shock• Shock refers to circulatory system failure
that happens when insufficient amounts of
oxygenated blood is provided for every
body part. This can be as the result of:
– Loss of blood due to uncontrolled bleeding or
other circulatory system problem.
– Loss of fluid due to dehydration or excessive
sweating.
– Trauma (injury)
– Occurrence of an extreme emotional event.
10.
Shock Cont.• What to Look For
– Altered mental status
• Anxiety and restlessness
– Pale, cold, and clammy skin, lips, and nail beds
– Nausea and vomiting
– Rapid breathing and pulse
– Unresponsiveness when shock is severe
11.
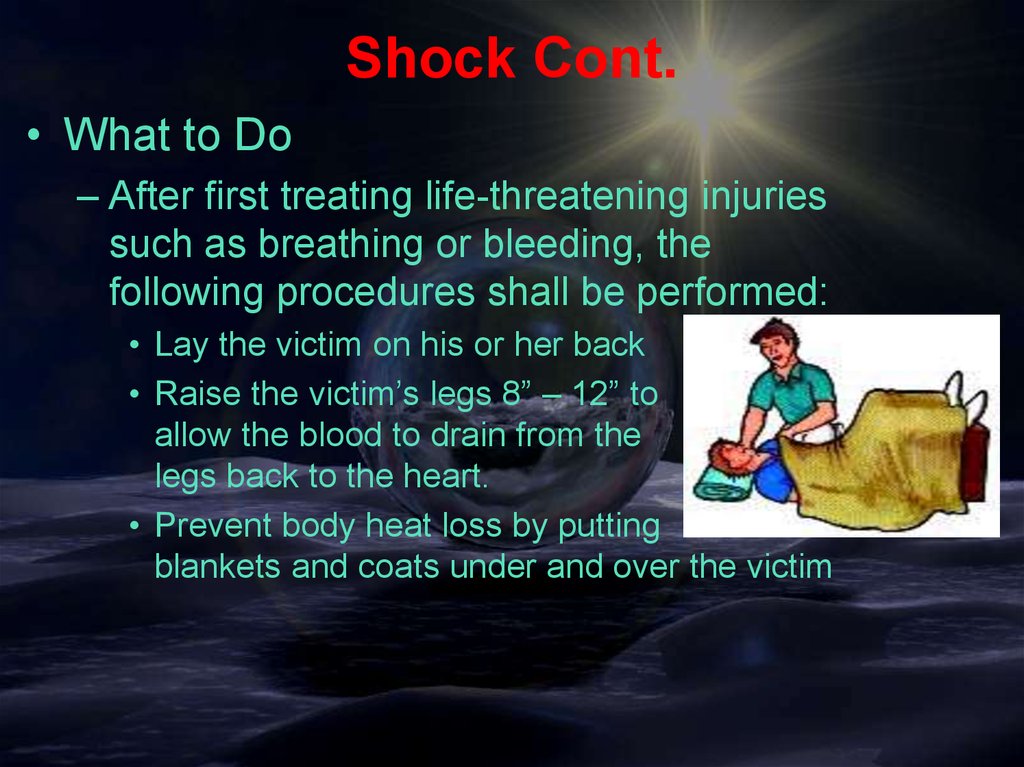
Shock Cont.• What to Do
– After first treating life-threatening injuries
such as breathing or bleeding, the
following procedures shall be performed:
• Lay the victim on his or her back
• Raise the victim’s legs 8” – 12” to
allow the blood to drain from the
legs back to the heart.
• Prevent body heat loss by putting
blankets and coats under and over the victim
12.
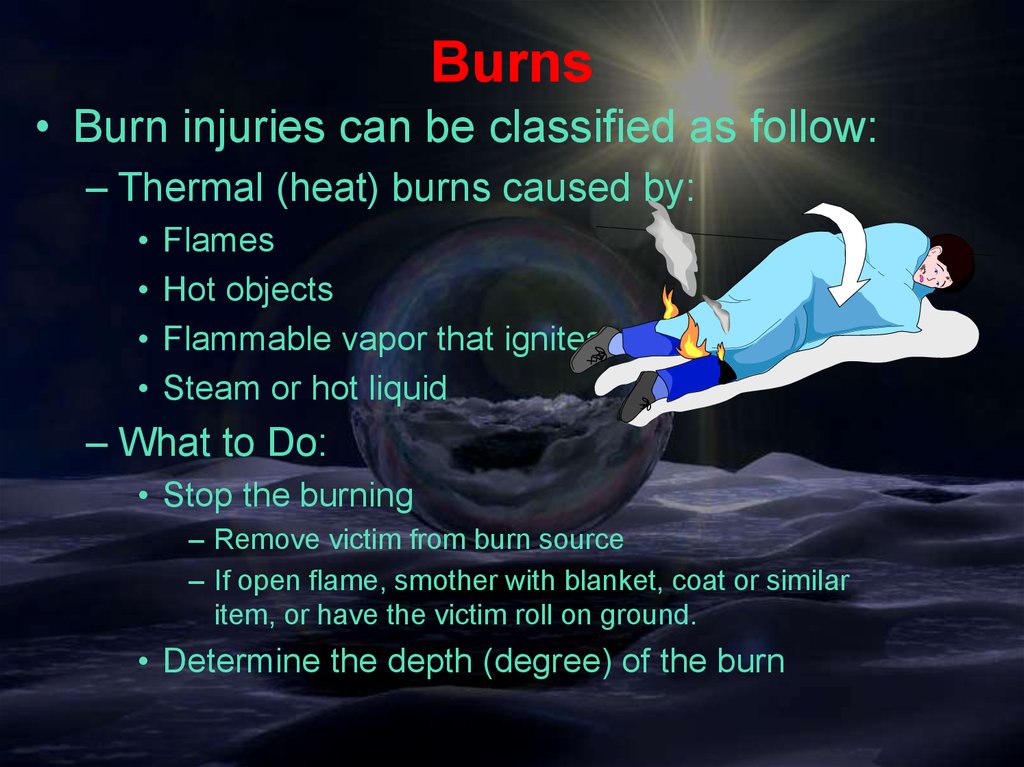
Burns• Burn injuries can be classified as follow:
– Thermal (heat) burns caused by:
Flames
Hot objects
Flammable vapor that ignites
Steam or hot liquid
– What to Do:
• Stop the burning
– Remove victim from burn source
– If open flame, smother with blanket, coat or similar
item, or have the victim roll on ground.
• Determine the depth (degree) of the burn
13.
Burns Cont.• Chemical burns
– The result of a caustic or corrosive substance
touching the skin caused by:
• Acids (batteries)
• Alkalis (drain cleaners- often more extensive)
• Organic compounds (oil products)
Facilities Planning & Management
UW-Eau Claire
14.
• What to Do:Burns Cont.
– Remove the chemical by flushing the area
with water
• Brush dry powder chemicals from the skin before
flushing
• Take precautions to protect yourself from exposure
to the chemical
– Remove the victim’s contaminated clothing and
jewelry while flushing with water
– Flush for 20 minutes all
chemical burns (skin, eyes)
– Cover the burned area with
a dry, sterile dressing
Seek medical attention
15.
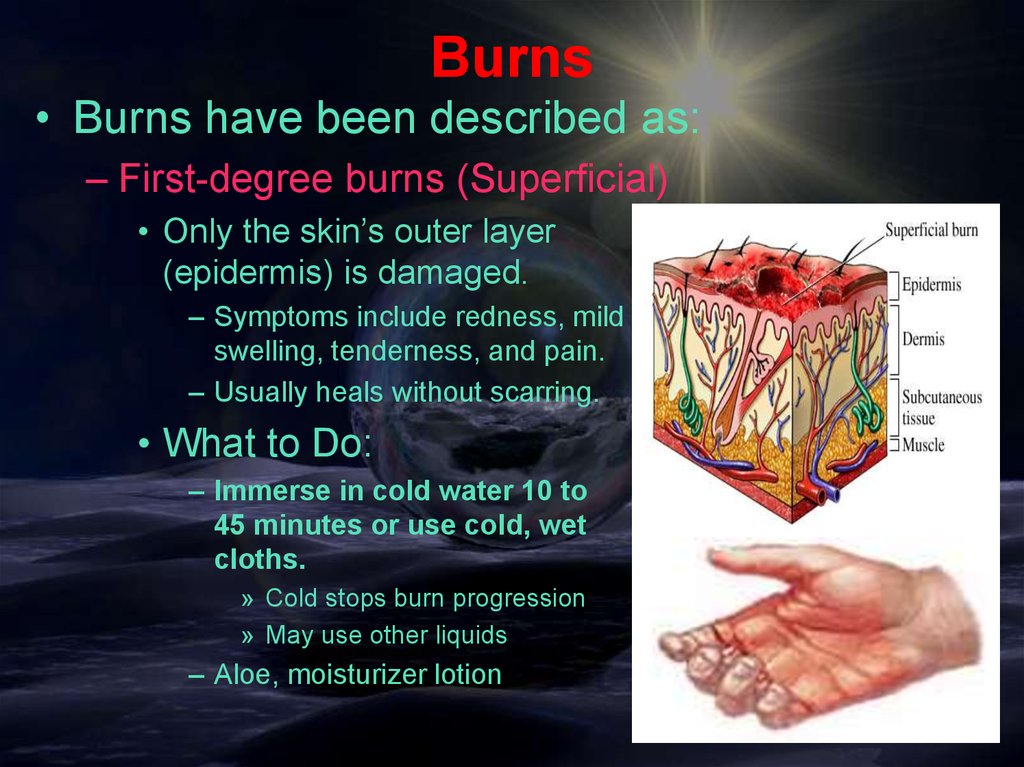
Burns• Burns have been described as:
– First-degree burns (Superficial)
• Only the skin’s outer layer
(epidermis) is damaged.
– Symptoms include redness, mild
swelling, tenderness, and pain.
– Usually heals without scarring.
• What to Do:
– Immerse in cold water 10 to
45 minutes or use cold, wet
cloths.
» Cold stops burn progression
» May use other liquids
– Aloe, moisturizer lotion
16.
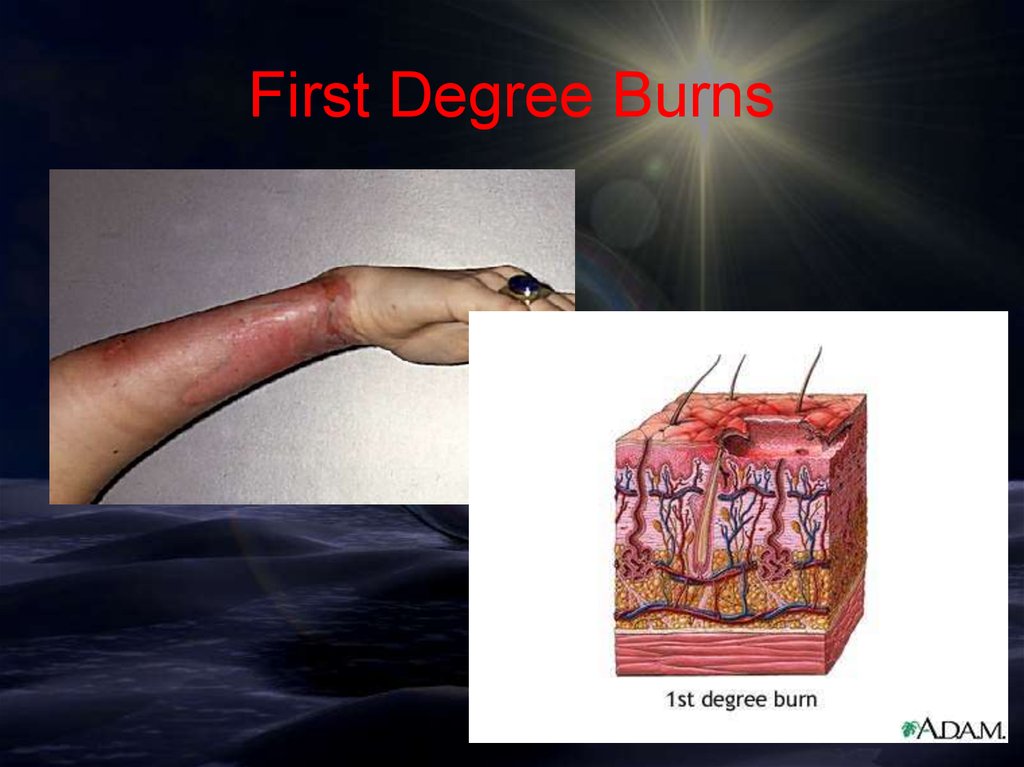
First Degree Burns17.
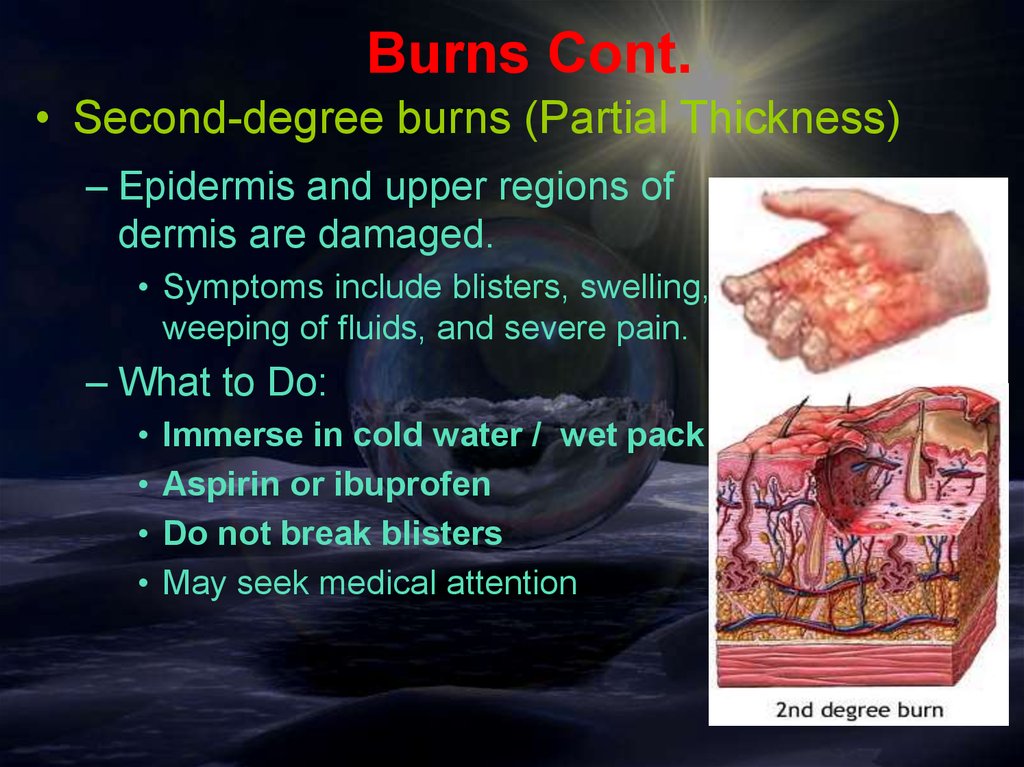
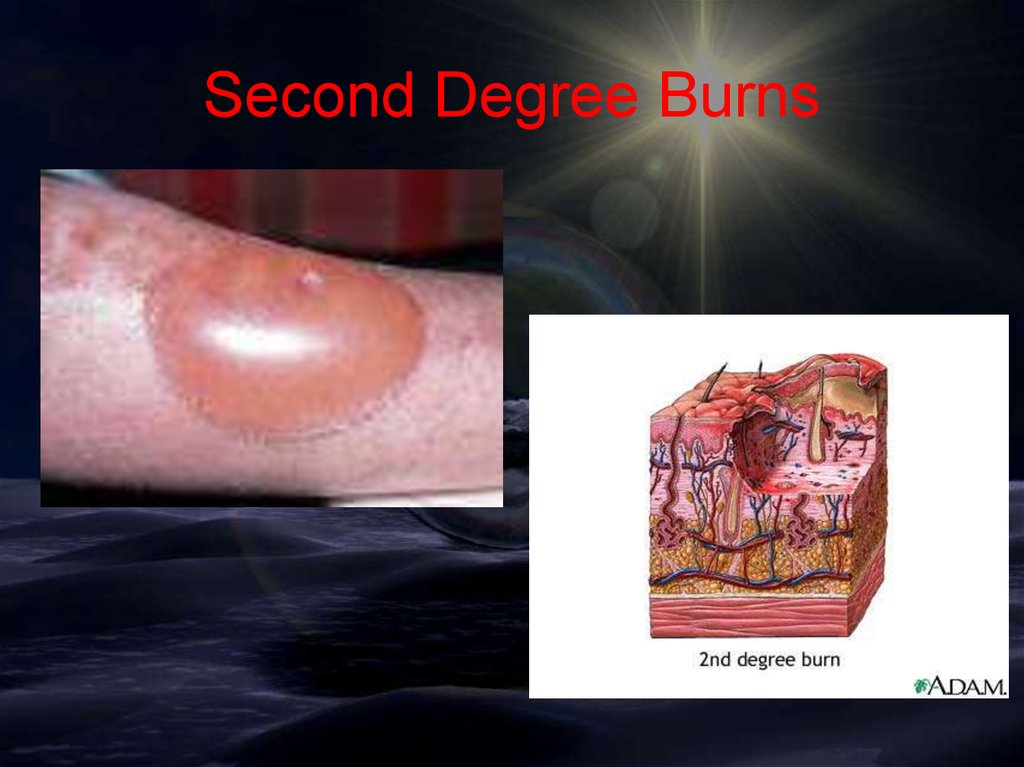
Burns Cont.• Second-degree burns (Partial Thickness)
– Epidermis and upper regions of
dermis are damaged.
• Symptoms include blisters, swelling,
weeping of fluids, and severe pain.
– What to Do:
Immerse in cold water / wet pack
Aspirin or ibuprofen
Do not break blisters
May seek medical attention
18.
Second Degree Burns19.
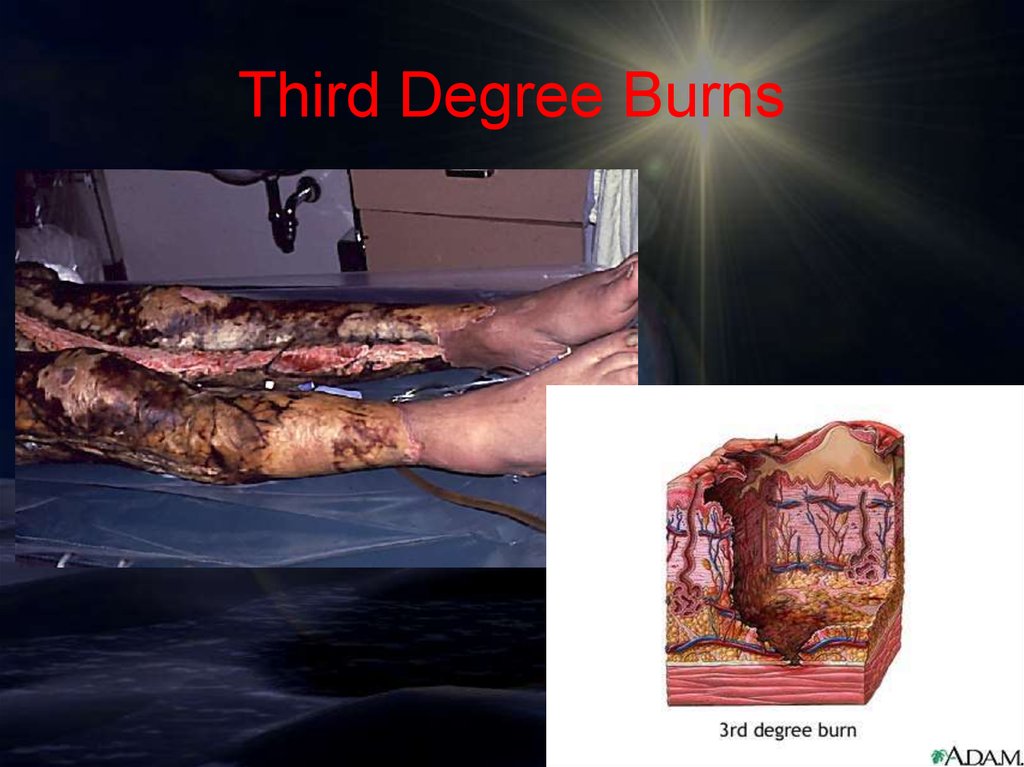
Burns Cont.• Third-degree burns (Full Thickness)
– Severe burns that penetrate all the skin layers,
into the underlying fat and muscle.
• Symptoms include: the burned area appears
gray-white, cherry red, or black; there is no initial
edema or pain (since nerve endings are destroyed)
– What to Do:
• Usually not necessary to apply cold to areas of third
degree
• Do not apply ointments
• Apply sterile, non-stick
dressings (do not use
plastic)
• Check ABC’s
• Treat for shock
• Get medical help
20.
Third Degree Burns21.
Burns Cont.• Electrical Burns
– A mild electrical shock can
cause serious internal injuries.
– There are three types of electrical injuries:
• Thermal burn (flame) – Objects in direct contact with
the skin are ignited by an electrical current.
– Mostly caused by the flames produced by the electrical
current and not by the passage of the electrical current or arc.
• Arc burn (Flash) – Occurs when electricity jumps, or
arcs, from one spot to another.
– Mostly cause extensive superficial injuries.
• True Electrical Injury (contact) – Occurs when an
electric current truly passes through the body.
22.
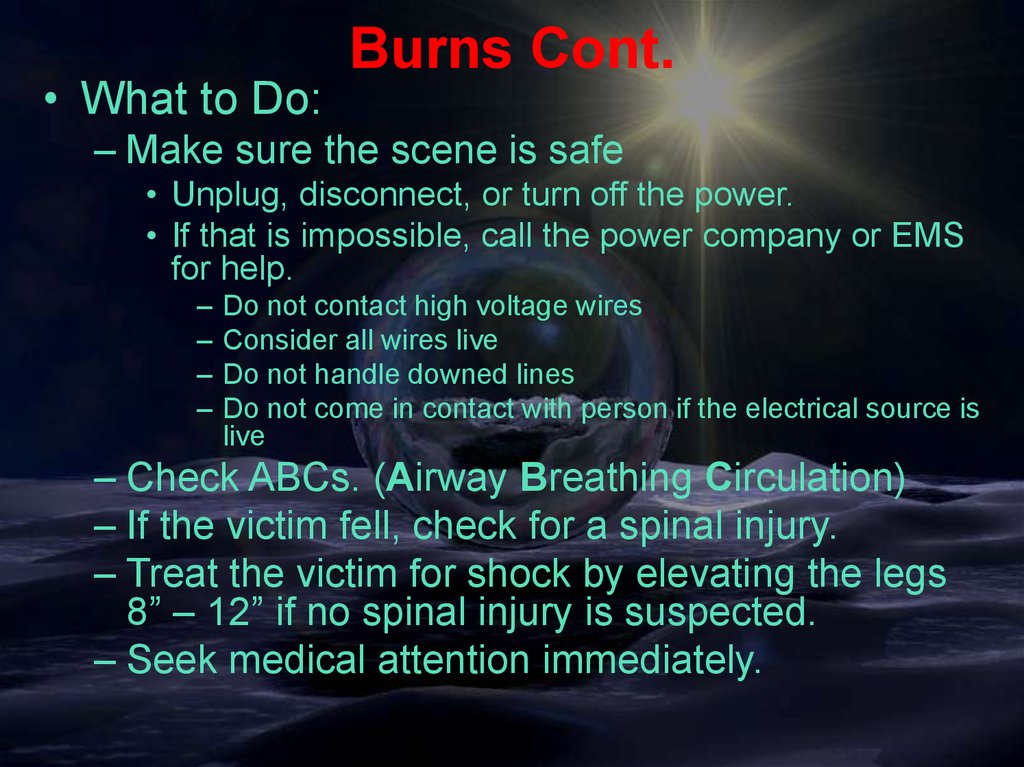
• What to Do:Burns Cont.
– Make sure the scene is safe
• Unplug, disconnect, or turn off the power.
• If that is impossible, call the power company or EMS
for help.
–
–
–
–
Do not contact high voltage wires
Consider all wires live
Do not handle downed lines
Do not come in contact with person if the electrical source is
live
– Check ABCs. (Airway Breathing Circulation)
– If the victim fell, check for a spinal injury.
– Treat the victim for shock by elevating the legs
8” – 12” if no spinal injury is suspected.
– Seek medical attention immediately.
23.
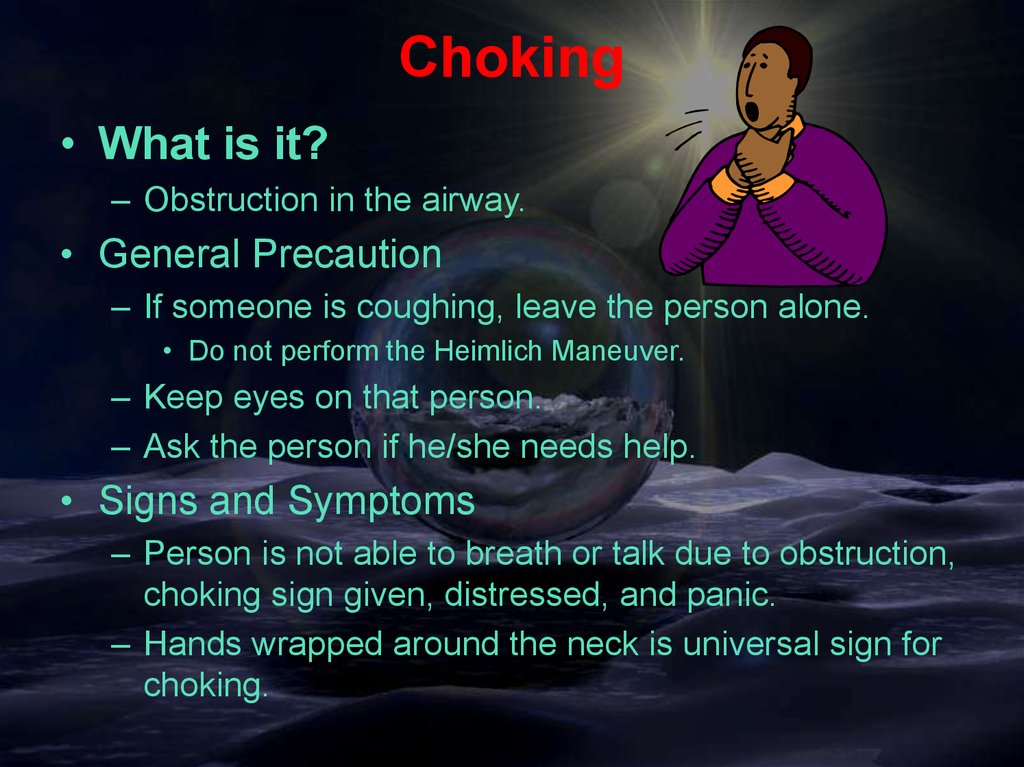
Choking• What is it?
– Obstruction in the airway.
• General Precaution
– If someone is coughing, leave the person alone.
• Do not perform the Heimlich Maneuver.
– Keep eyes on that person.
– Ask the person if he/she needs help.
• Signs and Symptoms
– Person is not able to breath or talk due to obstruction,
choking sign given, distressed, and panic.
– Hands wrapped around the neck is universal sign for
choking.
24.
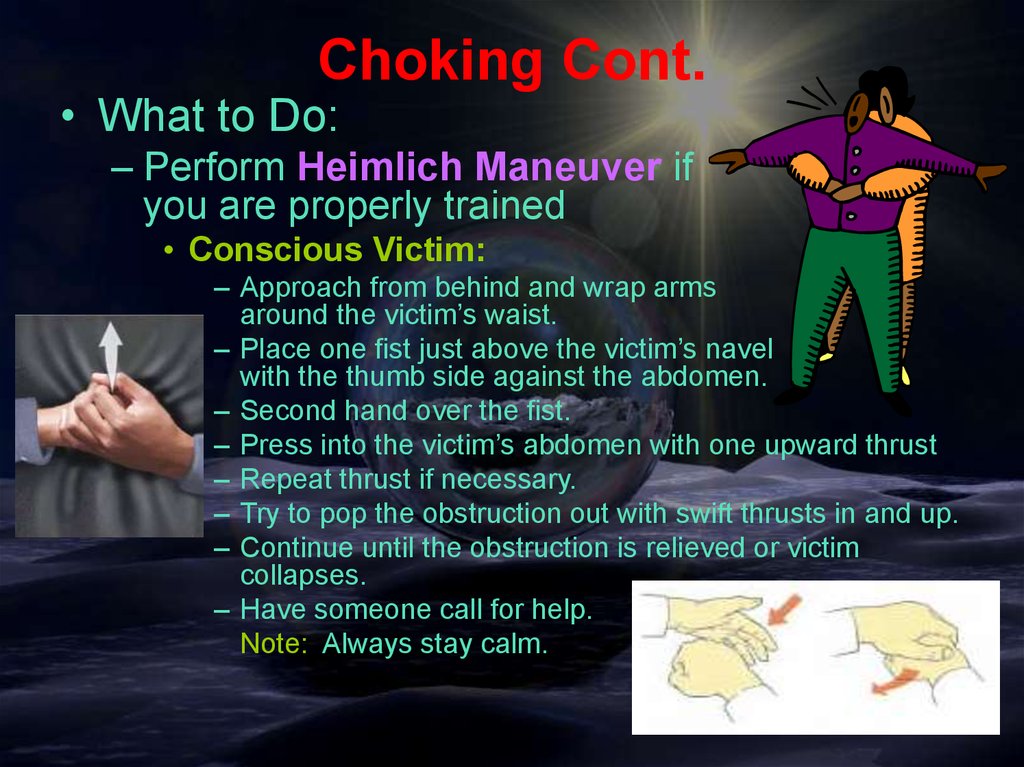
Choking Cont.• What to Do:
– Perform Heimlich Maneuver if
you are properly trained
• Conscious Victim:
– Approach from behind and wrap arms
around the victim’s waist.
– Place one fist just above the victim’s navel
with the thumb side against the abdomen.
– Second hand over the fist.
– Press into the victim’s abdomen with one upward thrust
– Repeat thrust if necessary.
– Try to pop the obstruction out with swift thrusts in and up.
– Continue until the obstruction is relieved or victim
collapses.
– Have someone call for help.
Note: Always stay calm.
25.
Choking Cont.• What to Do:
– Unconscious Victim:
• Ask someone to call 112 for help
• Lower victim to floor on back or left side and perform
Heimlich Maneuver
• Open airway with tongue-jaw lift
• Look inside mouth – if you cannot see anything, do a
finger sweep
• Try to give two full rescue breaths
• If these do not go in, reposition the
head and give another breath
• Perform abdominal thrusts
• Continue until successful or help arrives
26.
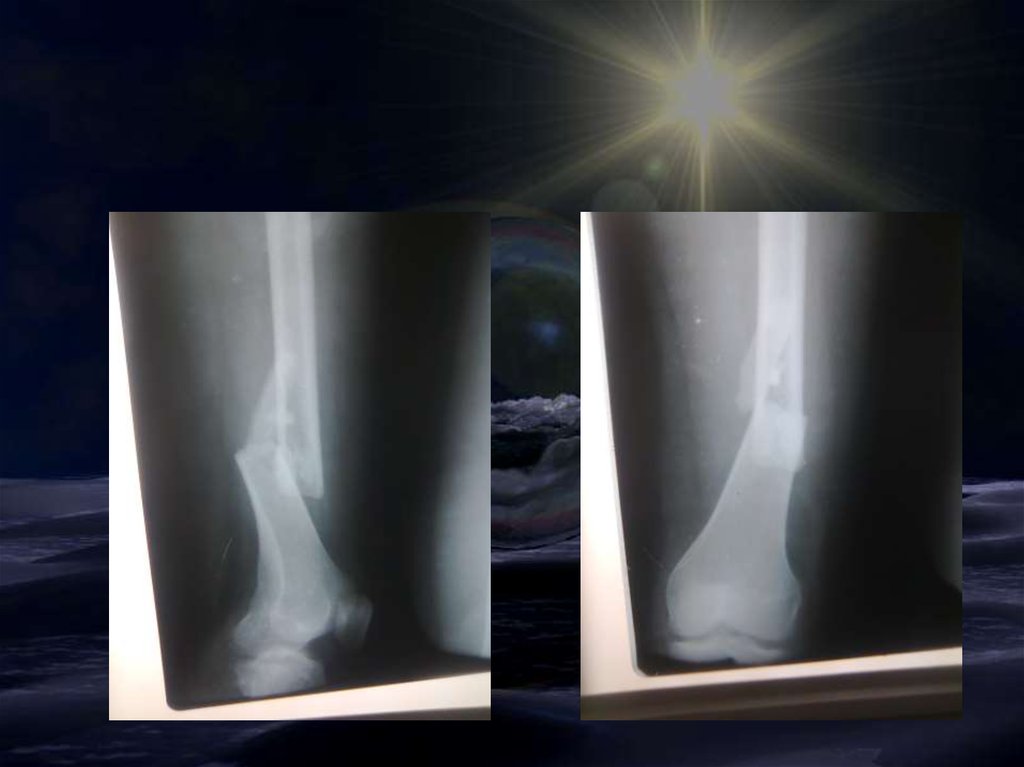
Fractures• There are two categories of fractures:
– Closed (Simple) fracture
• The skin is intact and no wound exists anywhere near
the fracture site.
– Open (Compound) fracture
• The skin over the fracture has been damaged or
broken.
• The wound may result from bone protruding through
the skin.
• The bone may not always be visible in the wound.
27.
28.
Fractures Cont.• What to Look for:
– General signs and Symptoms:
• Tenderness to touch.
• Swelling.
• Deformities may occur when bones are broken,
causing an abnormal shape.
• Open wounds break the skin.
• A grating sensation caused by broken bones
rubbing together
– can be felt and sometimes even heard.
– Do not move the injured limb in an attempt to detect it.
• Loss of use.
29.
Signs and Symptoms of Injury14-29
30.
Fractures Cont.• Additional signs and symptoms include:
– The history of the injury can lead to suspect
a fracture whenever a serious accident has
happened.
• The victim may have heard or felt the bone snap.
31.
Foreign Body in the Eye• Eye
– When on the pupil or embedded in the white of the eye
• Never try to remove the object
• Cover the injured eye with a clean pad
• Bandage both eyes
• Take the victim to the hospital
– When floating on the white of the eye
• Advise the victim not to rub the eye
• Have them sit down facing a light so that you can see into the
eye clearly
• Using your finger or thumb gently pull the eyelids of the
injured eye apart
• When you see the foreign body wash it out with clean water
• If the foreign body has not moved, try to lift it off with a moist
swab or the dampened corner of a tissue or handkerchief.
32.
Basic First Aid for Wounds• Open Wounds
– A break in the skin’s surface that results in
external bleeding and may allow bacteria to
enter the body that can cause infection
• Abrasion
– The top layer of skin is removed
with little or no blood loss
– Scrape
• Laceration
– A cut skin with jagged, irregular edges
and caused by a forceful tearing away
of skin tissue
• Incisions
– Smooth edges and resemble
a surgical or paper cut
33.
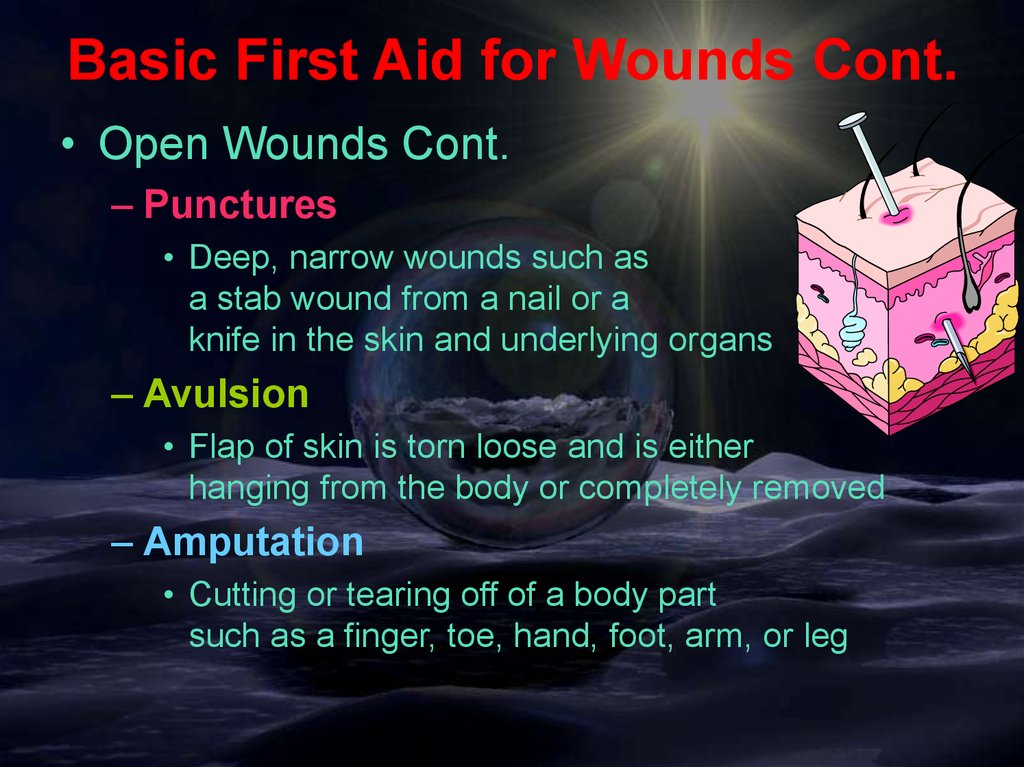
Basic First Aid for Wounds Cont.• Open Wounds Cont.
– Punctures
• Deep, narrow wounds such as
a stab wound from a nail or a
knife in the skin and underlying organs
– Avulsion
• Flap of skin is torn loose and is either
hanging from the body or completely removed
– Amputation
• Cutting or tearing off of a body part
such as a finger, toe, hand, foot, arm, or leg
34.
Basic First Aid for Wounds Cont.• What to Do:
– Wear gloves (if possible) and expose wound
– Control bleeding
– Clean wounds
• To prevent infection
• Wash shallow wound gently with soap and water
• Wash from the center out / Irrigate with water
– Severe wound?
• Clean only after bleeding has stopped
35.
Basic First Aid for Wounds Cont.• Wounds Care
– Remove small objects that do not flush out by
irrigation with sterile tweezers.
– If bleeding restarts, apply direct pressure.
– Use roller bandages (or tape dressing to the
body)
– Keep dressings dry and clean
– Change the dressing if it gets wet or dirty.
36.
Basic First Aid for Wounds Cont.• Signs of Wound Infection:
– Swelling, and redness around the wound
– A sensation of warmth
– Throbbing pain
– Fever / chills
– Swollen lymph nodes
– Red streaks
• Tetanus (lock jaw), should receive injection in
first 72 hours.
37.
Dressings and Bandages• The purpose of a dressing is to:
– Control bleeding
– Prevent infection and contamination
– Absorb blood and fluid drainage
– Protect the wound from further injury
• What to Do:
– Always wear gloves (if possible)
– Use a dressing large enough to extend
beyond the wound’s edges.
– Cover the dressing with bandages.
38.
Dressings and Bandages Cont.• Bandage can be used to:
– Hold a dressing in place over an open wound
– Apply direct pressure over a dressing to
control bleeding
– Prevent or reduce swelling
– Provide support and stability for an extremity
or joint
– Bandage should be clean but need not be
sterile.
39.
• What to Do:Amputation
– Control the bleeding
– Treat the victim for shock
– Recover the amputated part and whenever possible take
it with the victim
• To care for the amputated body part:
– The amputated part does not need to be cleaned
– Wrap the amputated part with a dry sterile gauze or
other clean cloth
– Put the wrapped amputated part in a plastic bag or other
waterproof container
– Keep the amputated part cool, but do not freeze
• Place the bag or container with the wrapped part on a bed of ice
Seek medical attention immediately
40.
External Bleeding• If an adult looses more than 1 liter of blood
or a child looses as little as 1/3 of that
amount loss is considered severe.
41.
Checking for Spinal Injuries• Spinal Injuries
– Head injuries may indicate that there are
possible spinal injuries
• It may have been moved suddenly in one or more
directions, damaging the spine.
– What to Look For
• General signs & symptoms
– Painful movement of the arms or legs
– Numbness, tingling, weakness, or burning sensation in
the arms or legs
– Loss of bowel or bladder control
– Paralysis of the arms or legs
– Deformity (odd-looking angle of the victim’s head & neck
42.
Checking for Spinal Injuries Cont.• What to Do:
– Stabilize the victim against any movement.
– Check ABCs. (Airway Breathing Circulation)
• Unresponsive Victim:
– Look for cuts, bruise, and deformities.
– Test response by pinching the victim’s hand,
and bare foot.
• If no reaction, assume the victim may have spinal
damage.
43.
Checking for Spinal Injuries Cont.• Responsive Victim
– Upper Extremity Checks:
• Victim wiggles fingers.
• Victim feels rescuer squeeze fingers.
• Victim squeeze rescuer’s hand.
– Lower Extremity Checks:
• Victim wiggles toes.
• Victim feels rescuer squeezes toes.
• Victim pushes foot against rescuer’s hand.
44.
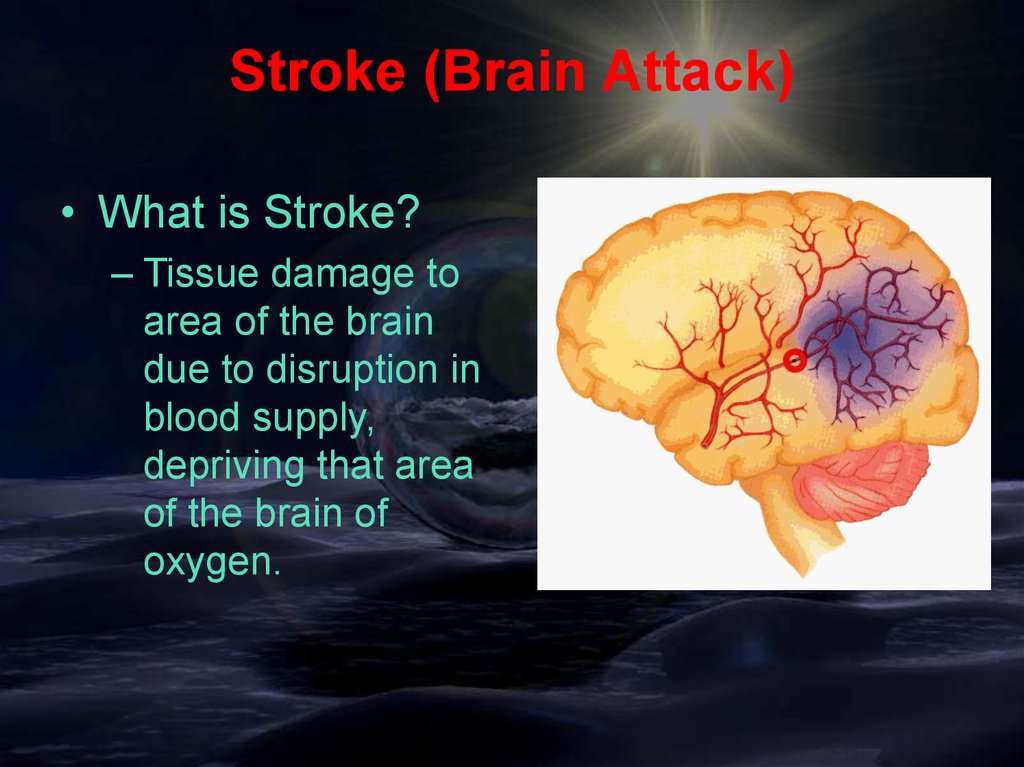
Stroke (Brain Attack)• What is Stroke?
– Tissue damage to
area of the brain
due to disruption in
blood supply,
depriving that area
of the brain of
oxygen.
45.
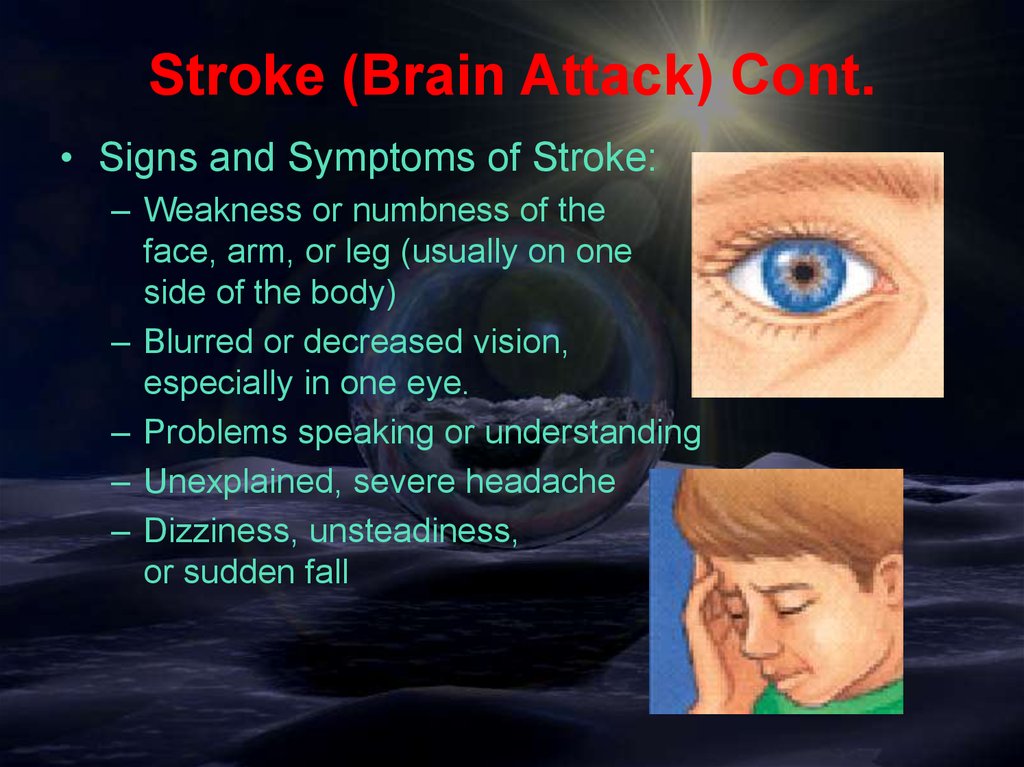
Stroke (Brain Attack) Cont.• Signs and Symptoms of Stroke:
– Weakness or numbness of the
face, arm, or leg (usually on one
side of the body)
– Blurred or decreased vision,
especially in one eye.
– Problems speaking or understanding
– Unexplained, severe headache
– Dizziness, unsteadiness,
or sudden fall
46.
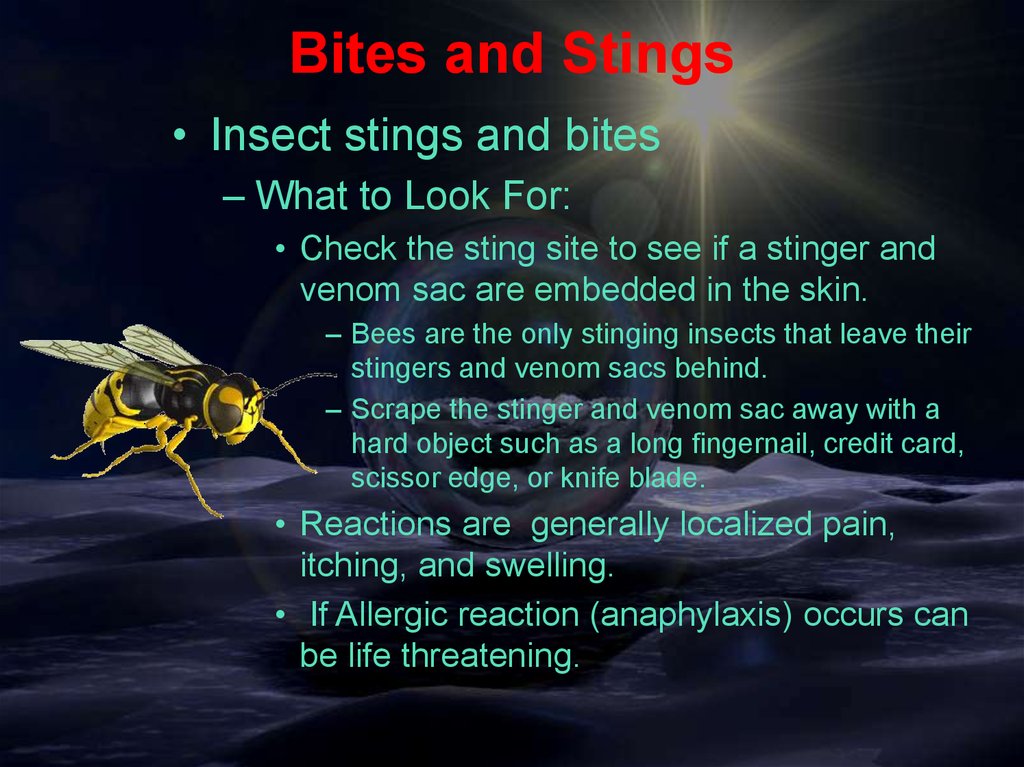
Bites and Stings• Insect stings and bites
– What to Look For:
• Check the sting site to see if a stinger and
venom sac are embedded in the skin.
– Bees are the only stinging insects that leave their
stingers and venom sacs behind.
– Scrape the stinger and venom sac away with a
hard object such as a long fingernail, credit card,
scissor edge, or knife blade.
• Reactions are generally localized pain,
itching, and swelling.
• If Allergic reaction (anaphylaxis) occurs can
be life threatening.
47.
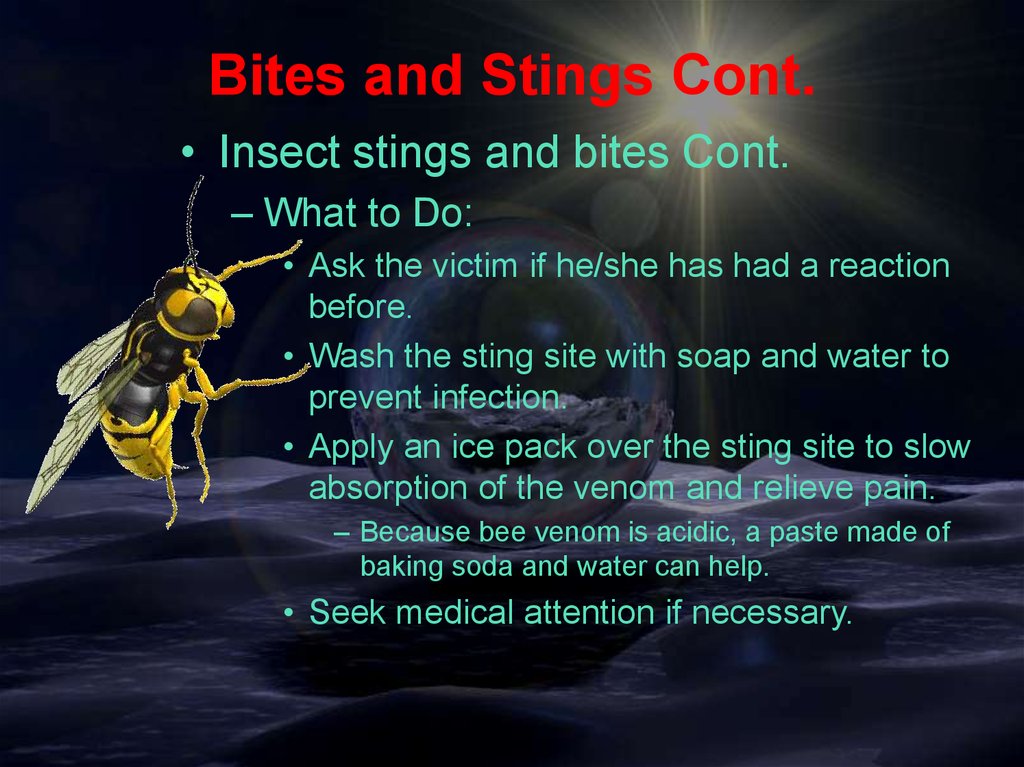
Bites and Stings Cont.• Insect stings and bites Cont.
– What to Do:
• Ask the victim if he/she has had a reaction
before.
• Wash the sting site with soap and water to
prevent infection.
• Apply an ice pack over the sting site to slow
absorption of the venom and relieve pain.
– Because bee venom is acidic, a paste made of
baking soda and water can help.
• Seek medical attention if necessary.
48.
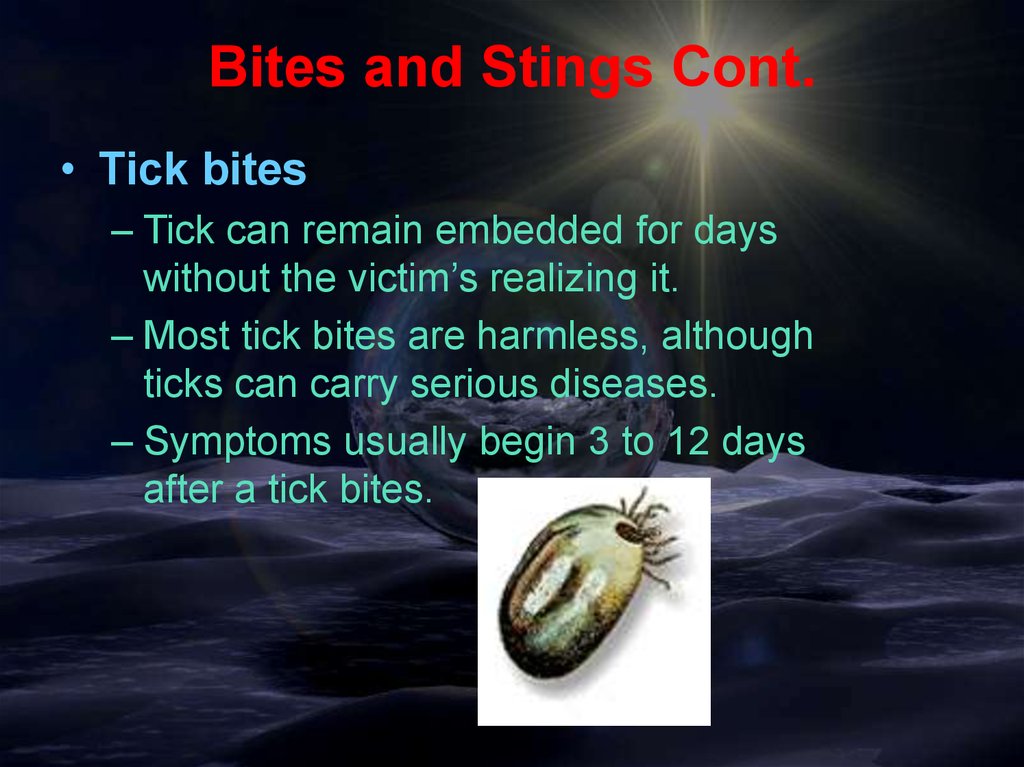
Bites and Stings Cont.• Tick bites
– Tick can remain embedded for days
without the victim’s realizing it.
– Most tick bites are harmless, although
ticks can carry serious diseases.
– Symptoms usually begin 3 to 12 days
after a tick bites.
49.
Bites and Stings Cont.• Tick Bites Cont.
– What to Do:
• The best way to remove a tick is with fine-pointed
tweezers. Grab as closely to the skin as possible
and pull straight back, using steady but gentle force.
• Wash the bite site with soap and water.
– Apply rubbing alcohol to further disinfect the area.
• Apply an ice pack to reduce pain.
• Calamine lotion may provide relief from itching.
– Keep the area clean.
• Continue to watch the bite site for about
one month for a rash.
– If rash appears, see a physician.
– Also watch for other signs such as fever,
aches, sensitivity to bright light, and
begins with leg weakness.
muscle
paralysis that