


")


 Интернет
 Программирование
Похожие презентации:


")


WebAPI
1.
2.
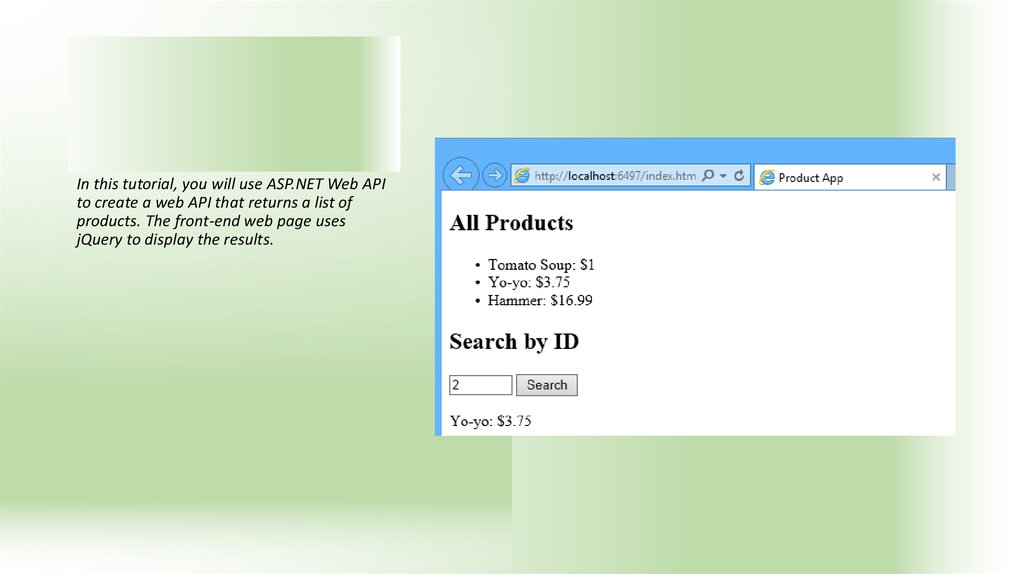
In this tutorial, you will use ASP.NET Web APIto create a web API that returns a list of
products. The front-end web page uses
jQuery to display the results.
3.
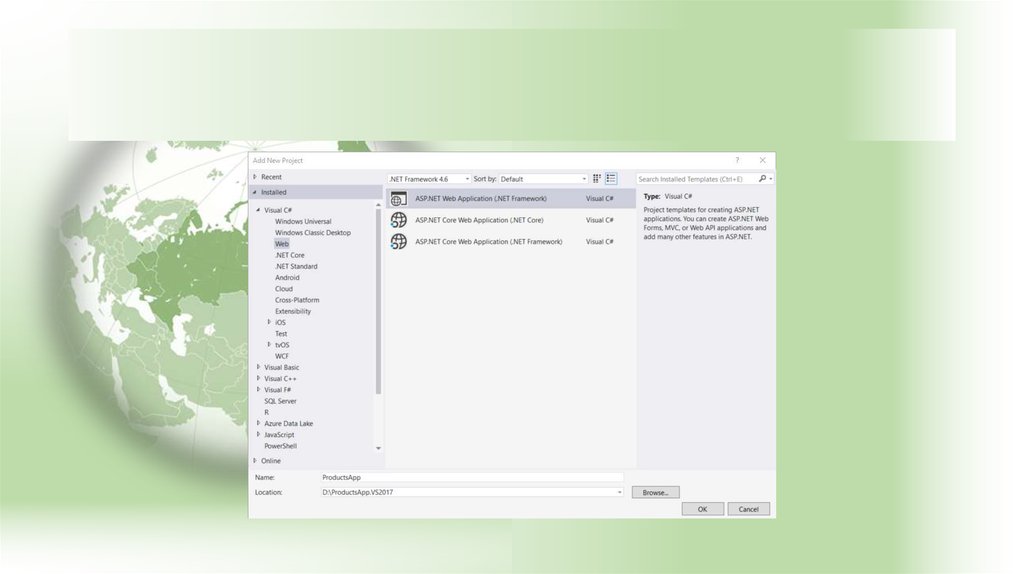
• Start Visual Studio and select New Project from the Start page. Or,from the File menu, select New and then Project.
• In the Templates pane, select Installed Templates and expand
the Visual C# node. Under Visual C#, select Web. In the list of project
templates, select ASP.NET Web Application. Name the project
"ProductsApp" and click OK.
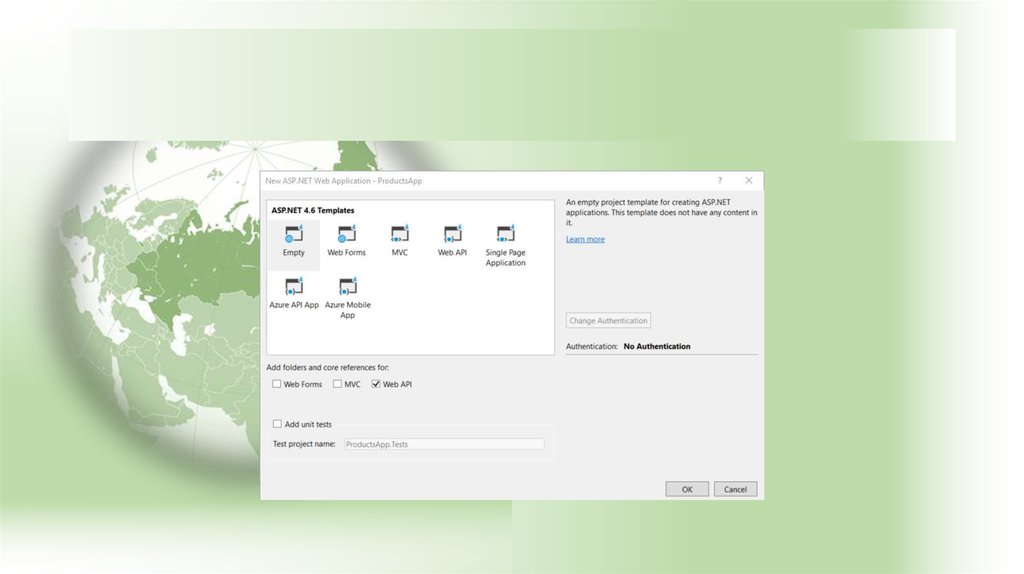
4.
5.
• In the New ASP.NET Project dialog, select the Empty template. Under"Add folders and core references for", check Web API. Click OK.
6.
7. Adding a Model
• A model is an object that represents the data in your application. ASP.NETWeb API can automatically serialize your model to JSON, XML, or some
other format, and then write the serialized data into the body of the HTTP
response message. As long as a client can read the serialization format, it
can deserialize the object. Most clients can parse either XML or JSON.
Moreover, the client can indicate which format it wants by setting the
Accept header in the HTTP request message.
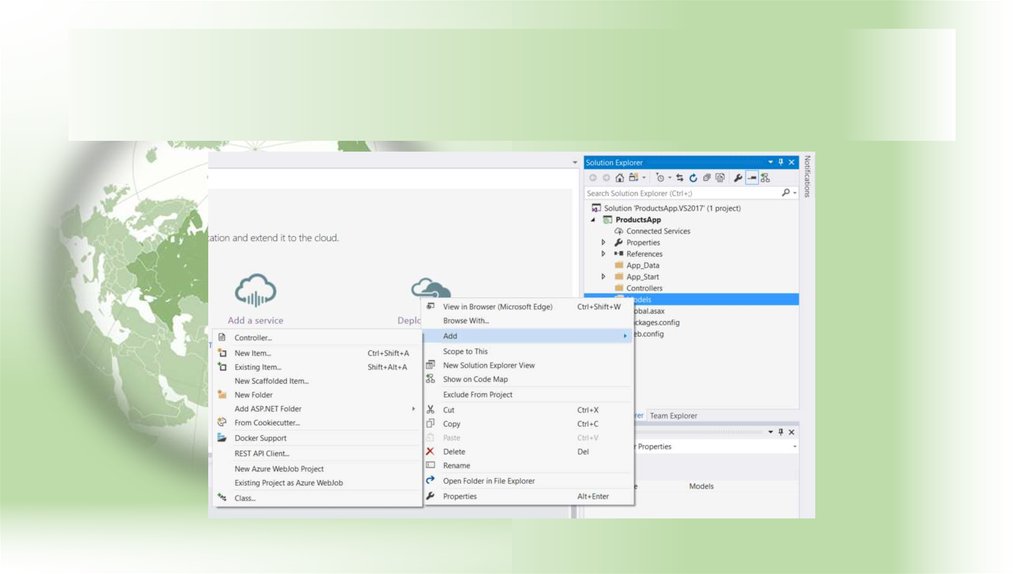
• Let's start by creating a simple model that represents a product.
• If Solution Explorer is not already visible, click the View menu and
select Solution Explorer. In Solution Explorer, right-click the Models folder.
From the context menu, select Add then select Class.
8.
9. Name the class "Product". Add the following properties to the Product class.
• namespace ProductsApp.Models•{
• public class Product
• {
public int Id { get; set; }
public string Name { get; set; }
public string Category { get; set; }
public decimal Price { get; set; }
• }
•}
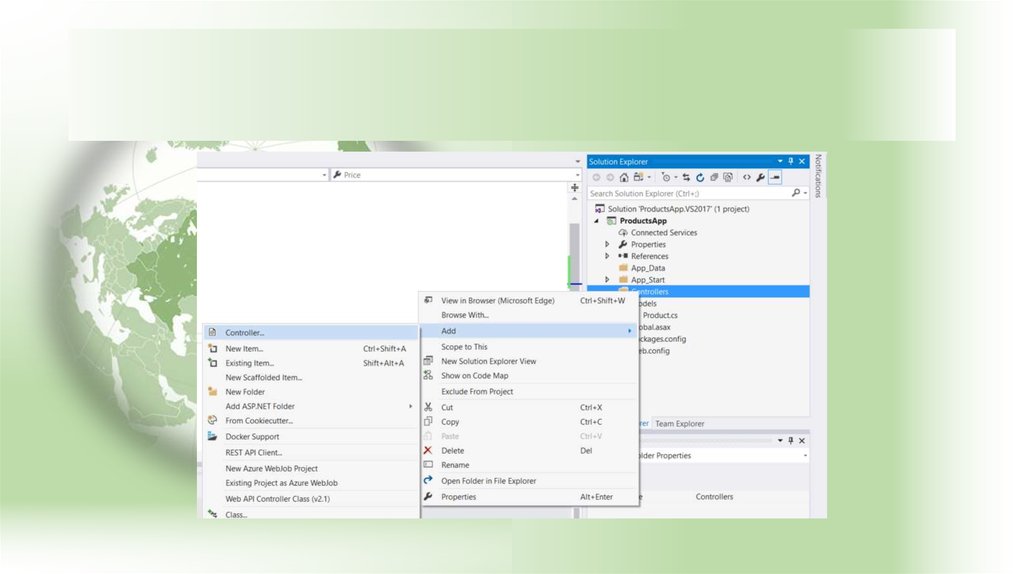
10. Adding a Controller
• In Web API, a controller is an object that handles HTTP requests. We'lladd a controller that can return either a list of products or a single
product specified by ID.
• In Solution Explorer, right-click the Controllers folder. Select Add and
then select Controller.
11.
12. In the Add Scaffold dialog, select Web API Controller - Empty. Click Add. (лучше – with r/w action)
13. In the Add Controller dialog, name the controller "ProductsController". Click Add.
14. The scaffolding creates a file named ProductsController.cs in the Controllers folder.
15. If this file is not open already, double-click the file to open it. Replace the code in this file with the following:
• public class ProductsController : ApiController{
Product[] products = new Product[]
{
new Product { Id = 1, Name = "Tomato Soup",
Category = "Groceries", Price = 1 },
new Product { Id = 2, Name = "Yo-yo",
Category = "Toys", Price = 3.75M },
new Product { Id = 3, Name = "Hammer",
Category = "Hardware", Price = 16.99M }
};
public IEnumerable<Product> GetAllProducts()
{
return products;
}
public IHttpActionResult GetProduct(int id)
{
var product = products.FirstOrDefault((p) =>
p.Id == id);
if (product == null)
{
return NotFound();
}
return Ok(product);
}
}
16.
• Вы делаете:• 1 – тестовый массив данных
• 2 – метод, который ищет элемент массива по его Id
• 3 – метод, который находит все элементы массива
• Далее эту информацию может запросить кто угодно (при
условии, что она развернута на сервере и сервер корректно
работает)
17.
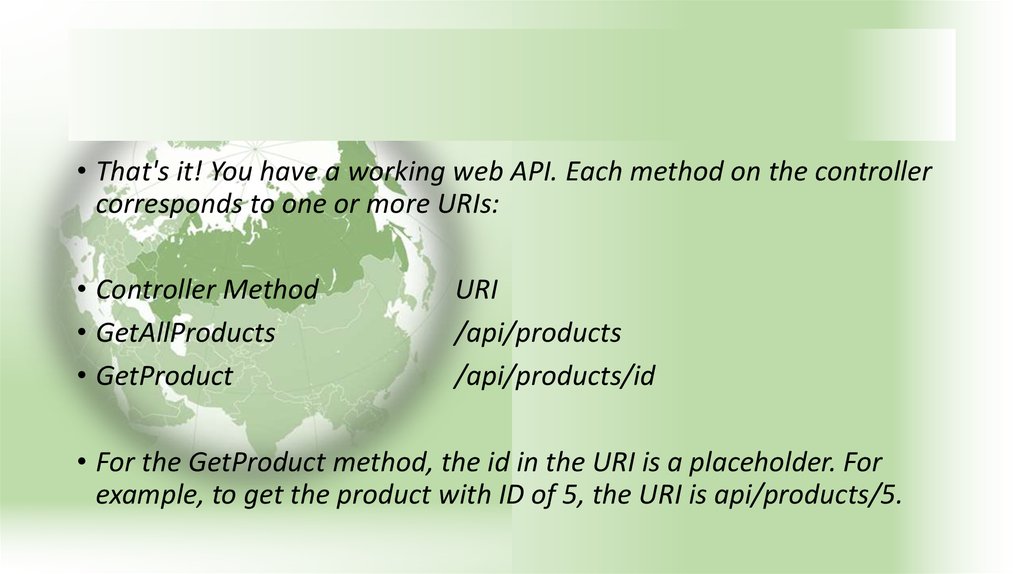
• That's it! You have a working web API. Each method on the controllercorresponds to one or more URIs:
• Controller Method
• GetAllProducts
• GetProduct
URI
/api/products
/api/products/id
• For the GetProduct method, the id in the URI is a placeholder. For
example, to get the product with ID of 5, the URI is api/products/5.
18. Calling the Web API with Javascript and jQuery
• In this section, we'll add an HTML page that uses AJAX to call the webAPI. We'll use jQuery to make the AJAX calls and also to update the
page with the results.
19. In Solution Explorer, right-click the project and select Add, then select New Item.
20. In the Add New Item dialog, select the Web node under Visual C#, and then select the HTML Page item. Name the page
21. Полный код по ссылке
• https://github.com/aspnet/Docs/blob/master/aspnet/webapi/overview/getting-started-with-aspnet-web-api/tutorial-your-firstweb-api/samples/sample3.html22. Получение всего списка данных
• $(document).ready(function () {• // Send an AJAX request
• $.getJSON(apiUrl)
.done(function (data) {
// On success, 'data' contains a list of products.
$.each(data, function (key, item) {
// Add a list item for the product.
$('<li>', { text: formatItem(item) }).appendTo($('#products'));
});
});
• });
23. Поиск по Id
• function find() {• var id = $('#prodId').val();
• $.getJSON(apiUrl + '/' + id)
.done(function (data) {
$('#product').text(formatItem(data));
})
.fail(function (jqXHR, textStatus, err) {
$('#product').text('Error: ' + err);
});
•}
24. Основное
• Страница обращается к сервису по адресу …• Функция поиска запрашивает по этому адресу данные getJSON
• Эти данные приходят по протоколу TCP/IP
• Собранные данные трактуются как данные в формате JSON
• «Распознанные» данные выводятся на страницу