


 Медицина
Похожие презентации:


Vital signs
1.
2.
3.
These measurements indicate if the circulatory, pulmonary, neurological, andendocrine body systems are functioning normally.
Because of their importance as indicators of the body’s physiological status and
response to physical, environmental, and psychological stressors, they are referred
to as vital signs.
Vital signs reveal sudden changes in a patient’s condition, as well as changes that
occur progressively over time.
Any difference between a patient’s normal baseline measurement and present vital
signs may indicate the need for nursing therapies and necessary medical
interventions.
You will frequently perform assessment of a patient’s level of comfort and pain
with vital sign measurements.
4.
5.
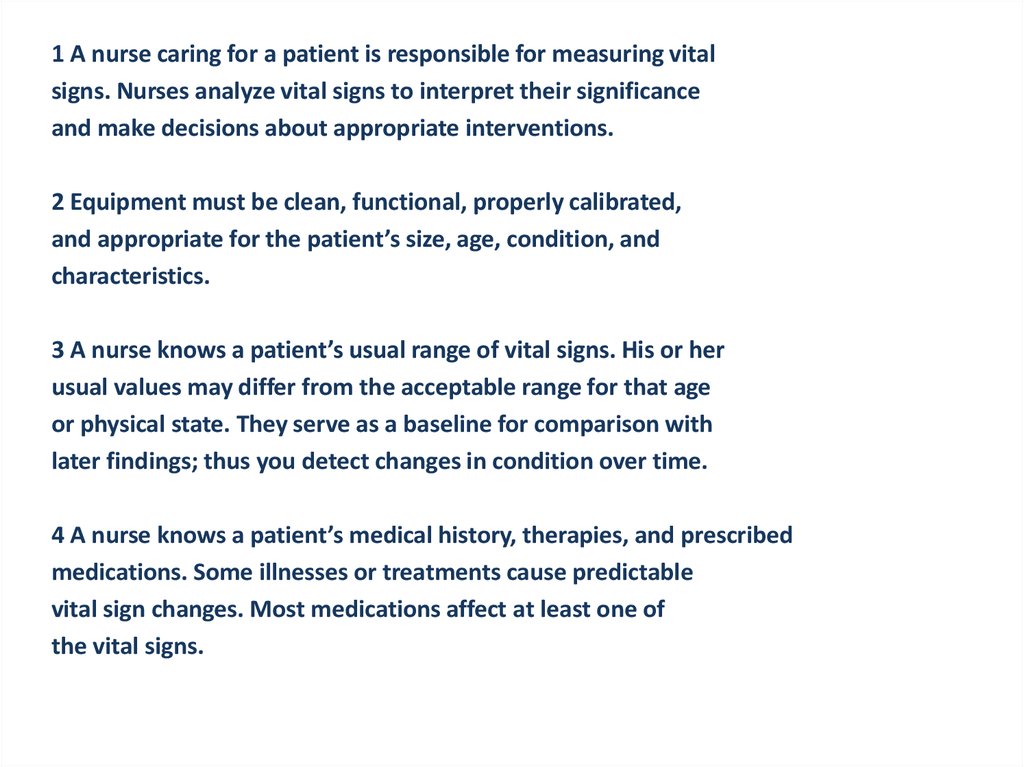
1 A nurse caring for a patient is responsible for measuring vitalsigns. Nurses analyze vital signs to interpret their significance
and make decisions about appropriate interventions.
2 Equipment must be clean, functional, properly calibrated,
and appropriate for the patient’s size, age, condition, and
characteristics.
3 A nurse knows a patient’s usual range of vital signs. His or her
usual values may differ from the acceptable range for that age
or physical state. They serve as a baseline for comparison with
later findings; thus you detect changes in condition over time.
4 A nurse knows a patient’s medical history, therapies, and prescribed
medications. Some illnesses or treatments cause predictable
vital sign changes. Most medications affect at least one of
the vital signs.
6.
5 Control or minimize environmental factors that affect vitalsigns. For example, assessing the patient’s temperature in a
warm, humid room may yield a value that is not a true indicator
of the patient’s condition.
6 Use an organized, systematic (step-by-step) approach when
taking vital signs ensures accuracy of findings.
7 Based on the patient’s condition, collaborate with the health
care provider to decide the minimum frequency of vital sign
assessment for each patient. Following surgery or treatment
intervention, measure vital signs more frequently to detect complications.
In a clinic or outpatient setting take vital signs before the health care provider
examines the patient and after any invasive procedures. As a patient’s physical
condition worsens, it is important to monitor the vital signs as often as every 5 to
15 minutes.
You are responsible for judging whether more frequent assessments are necessary.
7.
8.
Its main job is to pump blood to different body parts so that oxygen and other vitalnutrients will be transported to cells, tissues, organs, and other body systems.
Normally, a heartbeat has two sounds: “lub” and “dub”. A lub sound is created when
the upper chambers of your heart contract to squeeze the blood down to your
ventricles.
This, in turn, causes the lower chambers of your heart to contract pushing blood upward
into the aorta (largest artery), resulting in a dub sound.
The blood from each contraction of your heart creates a bulge in the artery. This bulge is
the pulse you feel.
9.
The pulse can be felt anywhere an artery close to your skin such as:Your wrist (radial)
Inner part of your elbow (brachial)
Side of your throat (carotid)
Temple (temporal)
Groin (femoral)
Back of your knee (popliteal)
Inner part of your ankle joint (posterior tibial)
Foot (dorsalis pedis)
Your pulse rate is exactly equal to your heartbeat because the contractions
that your heart creates increase the pressure within your arteries that lead
to a palpable pulse. Therefore, checking for your pulse rate is a direct
measure of your heart rate.
10.
11.
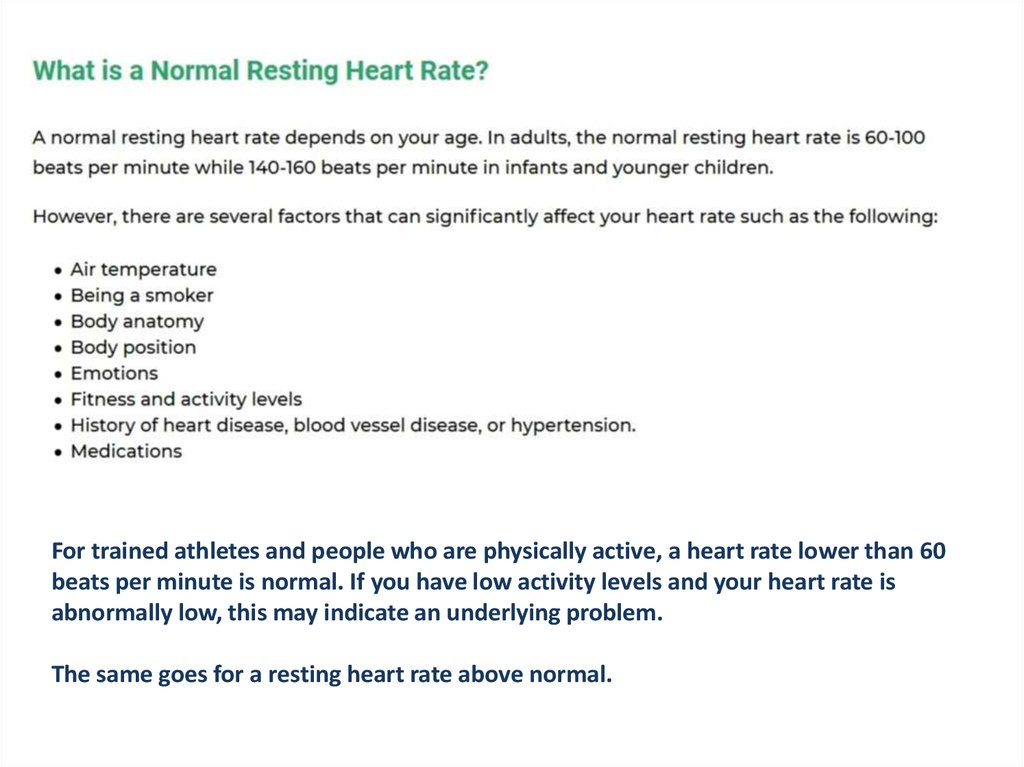
For trained athletes and people who are physically active, a heart rate lower than 60beats per minute is normal. If you have low activity levels and your heart rate is
abnormally low, this may indicate an underlying problem.
The same goes for a resting heart rate above normal.
12.
13.
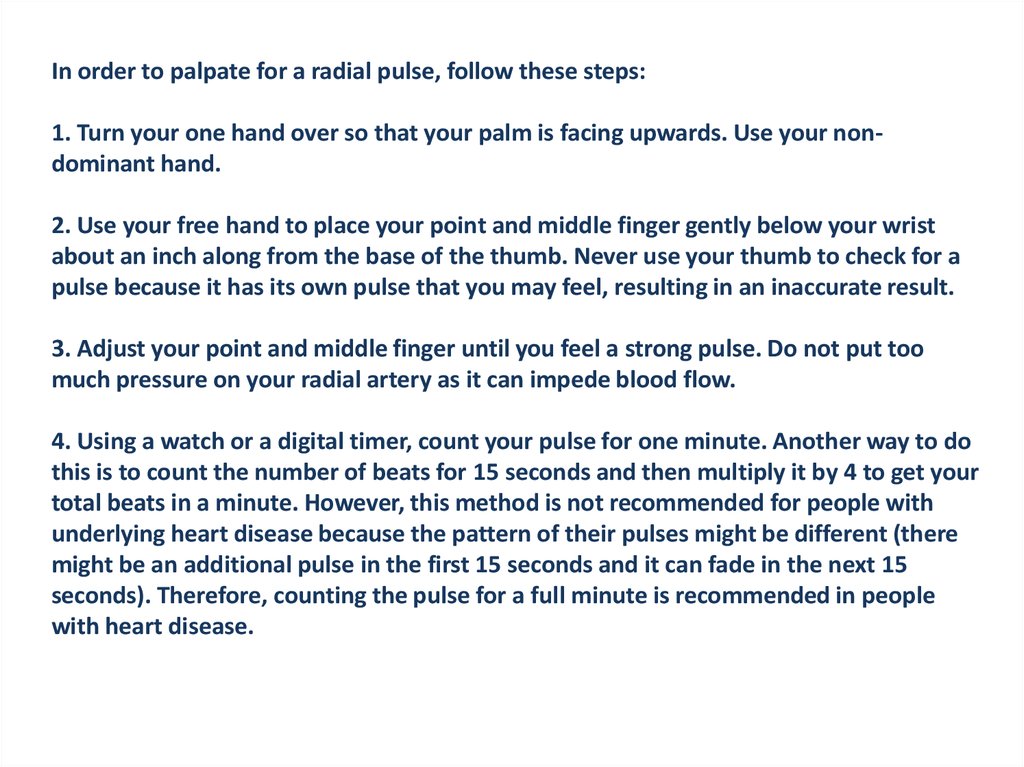
In order to palpate for a radial pulse, follow these steps:1. Turn your one hand over so that your palm is facing upwards. Use your nondominant hand.
2. Use your free hand to place your point and middle finger gently below your wrist
about an inch along from the base of the thumb. Never use your thumb to check for a
pulse because it has its own pulse that you may feel, resulting in an inaccurate result.
3. Adjust your point and middle finger until you feel a strong pulse. Do not put too
much pressure on your radial artery as it can impede blood flow.
4. Using a watch or a digital timer, count your pulse for one minute. Another way to do
this is to count the number of beats for 15 seconds and then multiply it by 4 to get your
total beats in a minute. However, this method is not recommended for people with
underlying heart disease because the pattern of their pulses might be different (there
might be an additional pulse in the first 15 seconds and it can fade in the next 15
seconds). Therefore, counting the pulse for a full minute is recommended in people
with heart disease.
14.
15.
In adults, the normal respiratory rate range from 10 to 20 breathsper minute while it can go as high as 30 to 60 breaths per minute
in younger children.
16.
17.
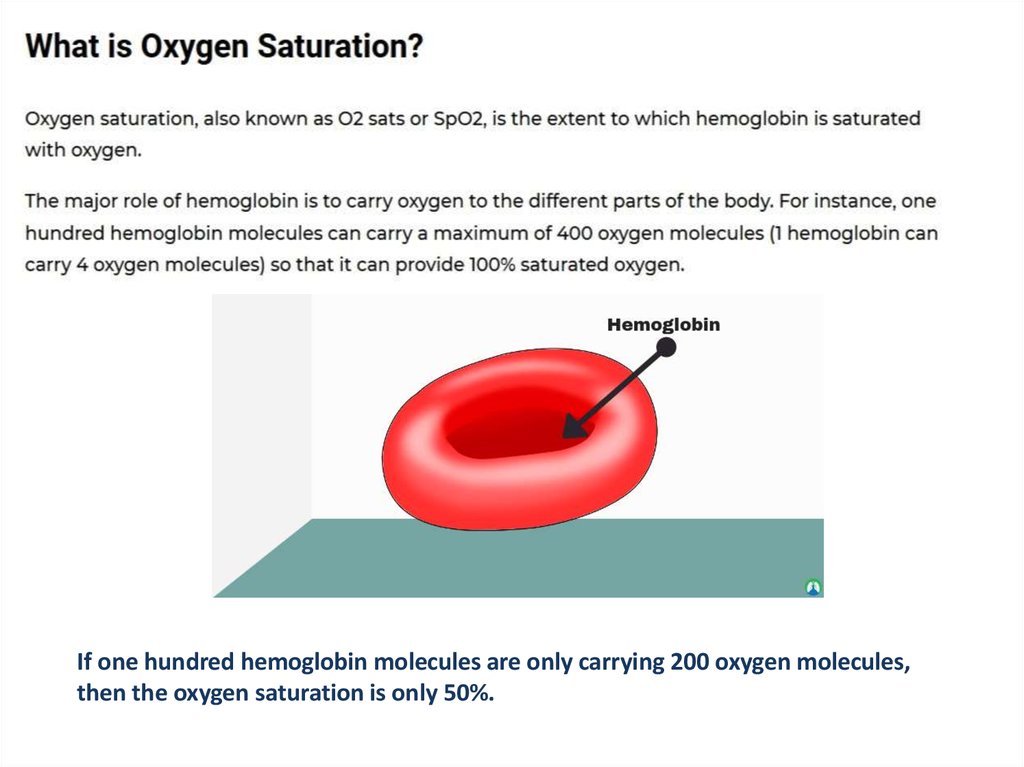
If one hundred hemoglobin molecules are only carrying 200 oxygen molecules,then the oxygen saturation is only 50%.
18.
In healthy adults and children, normal oxygen saturation ranges from 95% to100%. For people with abnormally low oxygen saturation levels, additional
oxygen may be administered via nasal cannula or facemask.
Oxygen saturation levels are dependent upon several factors such as the
following:
Ability of hemoglobin to carry oxygen molecules.
Gas exchange in the lungs.
Oxygen availability.
The concentration of hemoglobin in red blood cells.
19.
20.
21.
For instance, the blood pressure reading is 120/80 mmHg. 120 is the systolicreading while 80 is the diastolic reading. The ideal blood pressure for healthy
adults is 120/80 mmHg.
Like all other vital signs, the blood pressure reading can be affected by activity
levels, stress, diet, medications, and underlying medical conditions.
22.
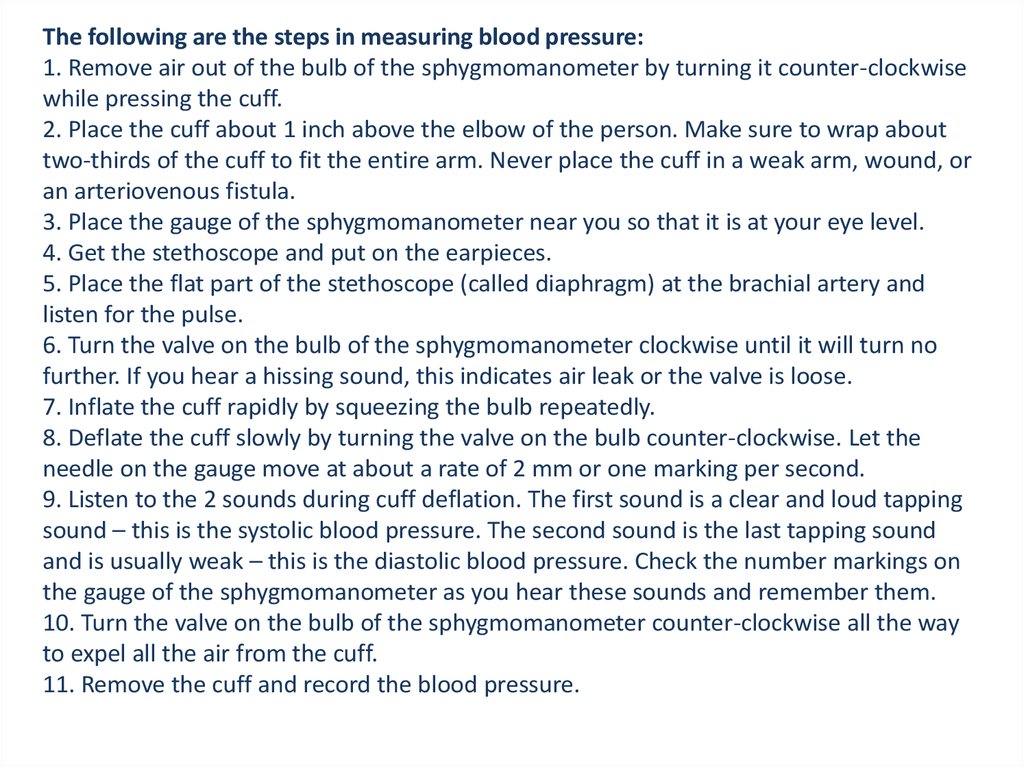
The following are the steps in measuring blood pressure:1. Remove air out of the bulb of the sphygmomanometer by turning it counter-clockwise
while pressing the cuff.
2. Place the cuff about 1 inch above the elbow of the person. Make sure to wrap about
two-thirds of the cuff to fit the entire arm. Never place the cuff in a weak arm, wound, or
an arteriovenous fistula.
3. Place the gauge of the sphygmomanometer near you so that it is at your eye level.
4. Get the stethoscope and put on the earpieces.
5. Place the flat part of the stethoscope (called diaphragm) at the brachial artery and
listen for the pulse.
6. Turn the valve on the bulb of the sphygmomanometer clockwise until it will turn no
further. If you hear a hissing sound, this indicates air leak or the valve is loose.
7. Inflate the cuff rapidly by squeezing the bulb repeatedly.
8. Deflate the cuff slowly by turning the valve on the bulb counter-clockwise. Let the
needle on the gauge move at about a rate of 2 mm or one marking per second.
9. Listen to the 2 sounds during cuff deflation. The first sound is a clear and loud tapping
sound – this is the systolic blood pressure. The second sound is the last tapping sound
and is usually weak – this is the diastolic blood pressure. Check the number markings on
the gauge of the sphygmomanometer as you hear these sounds and remember them.
10. Turn the valve on the bulb of the sphygmomanometer counter-clockwise all the way
to expel all the air from the cuff.
11. Remove the cuff and record the blood pressure.
23.
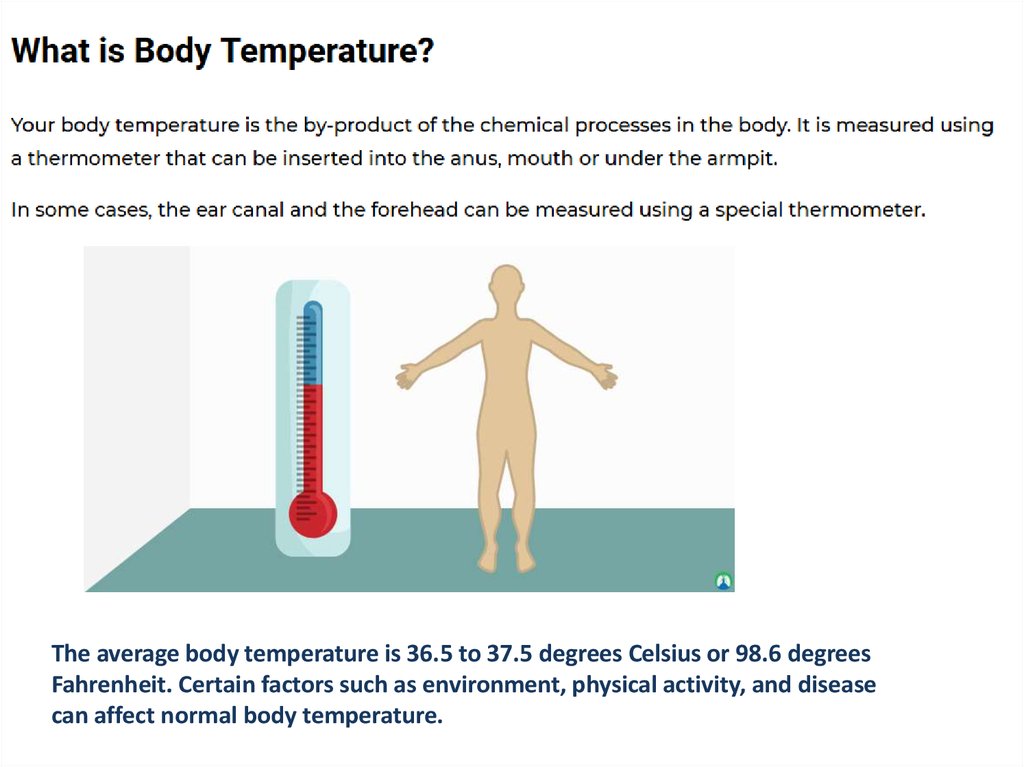
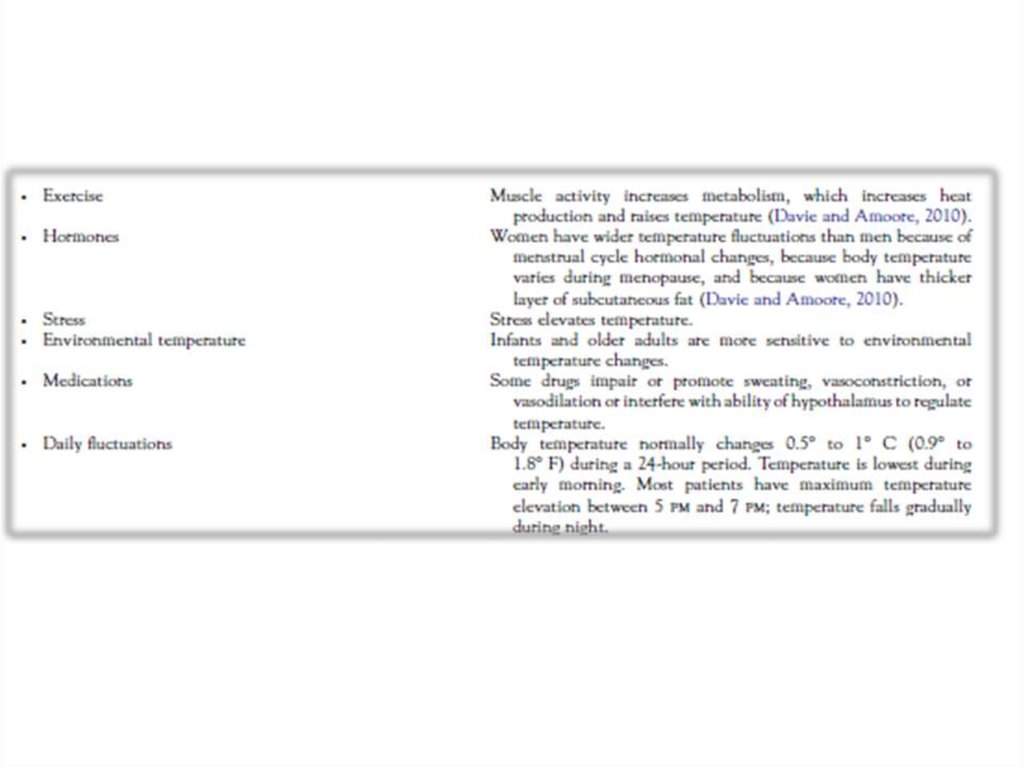
The average body temperature is 36.5 to 37.5 degrees Celsius or 98.6 degreesFahrenheit. Certain factors such as environment, physical activity, and disease
can affect normal body temperature.
24.
25.
26.
27.
28.
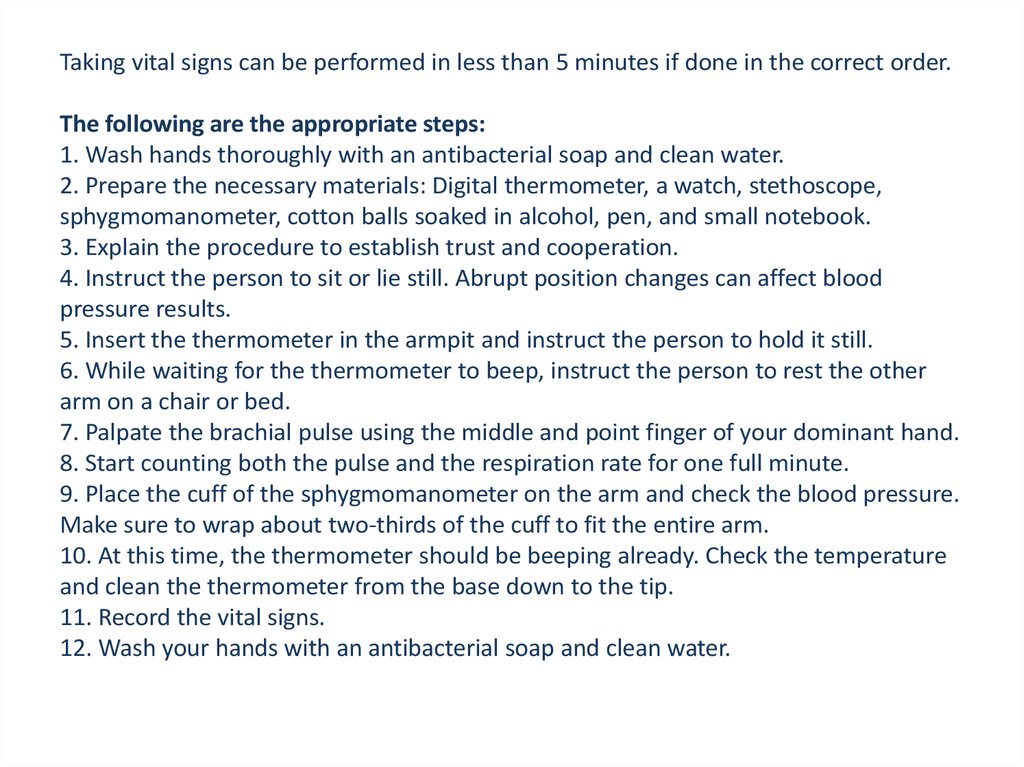
Taking vital signs can be performed in less than 5 minutes if done in the correct order.The following are the appropriate steps:
1. Wash hands thoroughly with an antibacterial soap and clean water.
2. Prepare the necessary materials: Digital thermometer, a watch, stethoscope,
sphygmomanometer, cotton balls soaked in alcohol, pen, and small notebook.
3. Explain the procedure to establish trust and cooperation.
4. Instruct the person to sit or lie still. Abrupt position changes can affect blood
pressure results.
5. Insert the thermometer in the armpit and instruct the person to hold it still.
6. While waiting for the thermometer to beep, instruct the person to rest the other
arm on a chair or bed.
7. Palpate the brachial pulse using the middle and point finger of your dominant hand.
8. Start counting both the pulse and the respiration rate for one full minute.
9. Place the cuff of the sphygmomanometer on the arm and check the blood pressure.
Make sure to wrap about two-thirds of the cuff to fit the entire arm.
10. At this time, the thermometer should be beeping already. Check the temperature
and clean the thermometer from the base down to the tip.
11. Record the vital signs.
12. Wash your hands with an antibacterial soap and clean water.