


 Интернет
 Образование
Похожие презентации:


Online Education
1.
Online Education2.
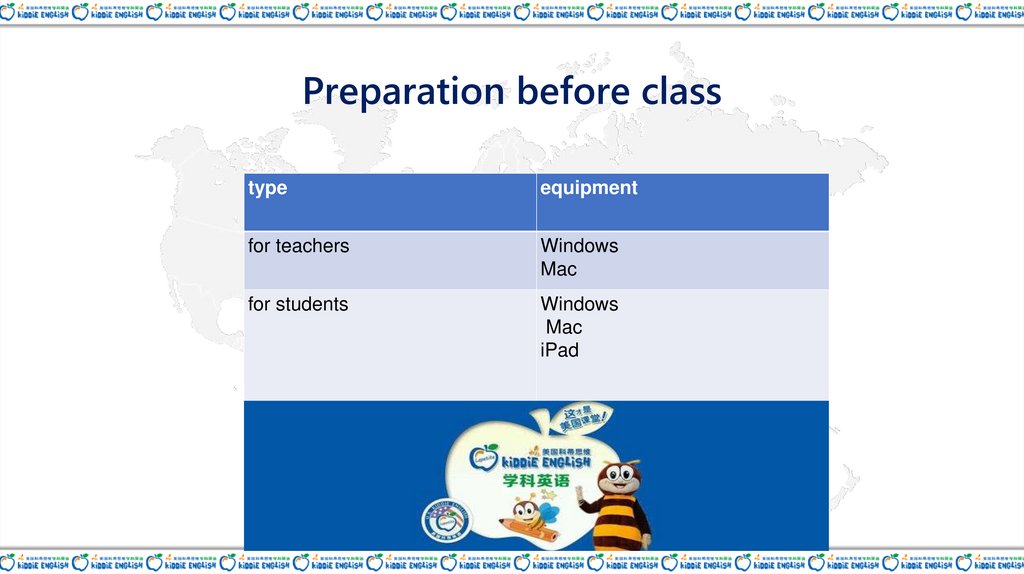
Preparation before classtype
equipment
for teachers
Windows
Mac
for students
Windows
Mac
iPad
3.
Teachers' equipmentcomputer:
Either desktop or laptop. Operating system requirements: win7 and above, i5
processor, memory 4G or above. Windows xp is currently not supported.
headphones: In order to ensure the effectiveness of the class, it is recommended to use
headphones.
internet:
Bandwidth requirements of up and down 2M or more (cable network is
recommended; When using the wireless network, it is recommended to be close to the router to ensure
the stability of the network.microphone:
microphone: Ensure the equipment is normal.
speaker:
Ensure the equipment is normal.
4.
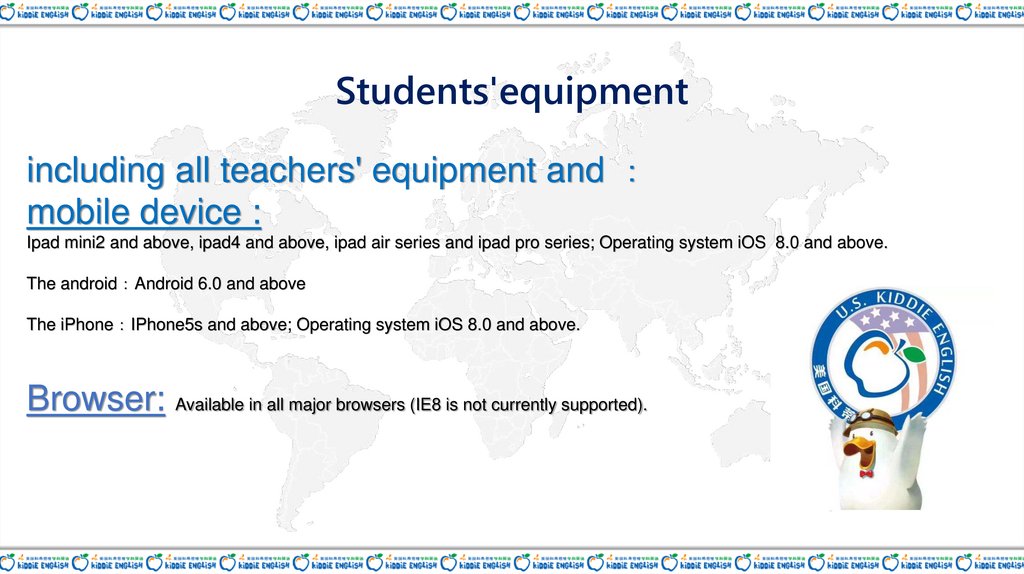
Students'equipmentincluding all teachers' equipment and
mobile device :
Ipad mini2 and above, ipad4 and above, ipad air series and ipad pro series; Operating system iOS 8.0 and above.
The android Android 6.0 and above
The iPhone IPhone5s and above; Operating system iOS 8.0 and above.
Browser: Available in all major browsers (IE8 is not currently supported).
5.
Notice1.Check the current system of DirectX version number, need to be greater than 10, if there is a
problem, can refer to "DirectX detection", did not install DirectX or did not start will affect the
class
2.In case of 360 security interception, please allow to use live cloud products.
3.Through QQ and others video, check whether the microphone and headphones are normal.
4.Turn off unnecessary applications during class to ensure that the audio and video of the
device is not occupied.
5.Log in the live cloud, and after entering the classroom, conduct equipment self-check to
ensure that the microphone, headset and camera are selected correctly.
6.
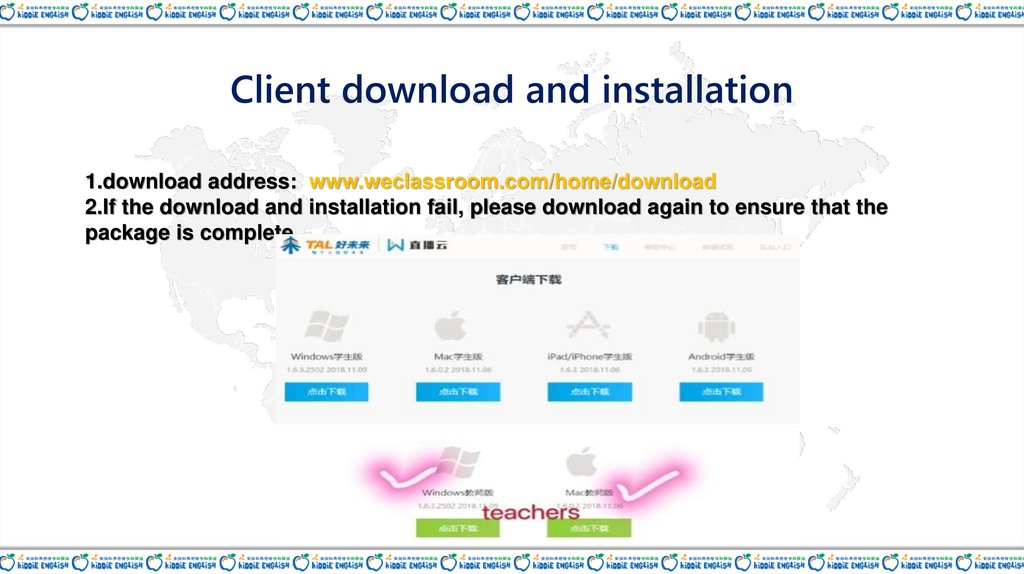
Client download and installation1.download address: www.weclassroom.com/home/download
2.If the download and installation fail, please download again to ensure that the
package is complete.
7.
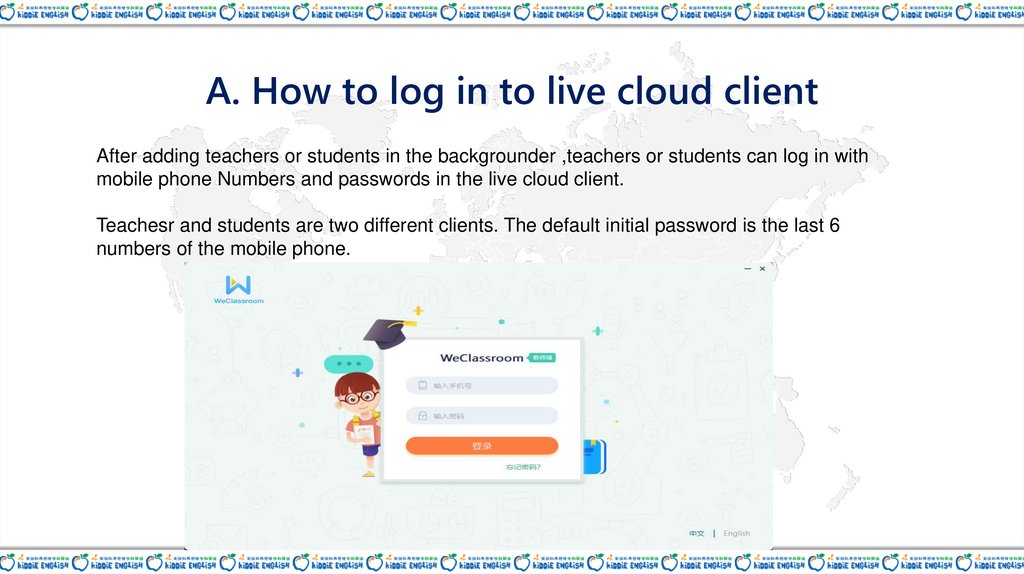
A. How to log in to live cloud clientAfter adding teachers or students in the backgrounder ,teachers or students can log in with
mobile phone Numbers and passwords in the live cloud client.
Teachesr and students are two different clients. The default initial password is the last 6
numbers of the mobile phone.
8.
Initial login verificationUsers who log in for the first time need to complete the mobile phone number .After login, you
can enter the curriculum page.
Password Reset
If the user forgets the password, he can enter the password recovery page through the "forget
password" 忘记密码 of the login page, enter the account to get the verification code, and set
the new password. The orign password of email is abc123.
9.
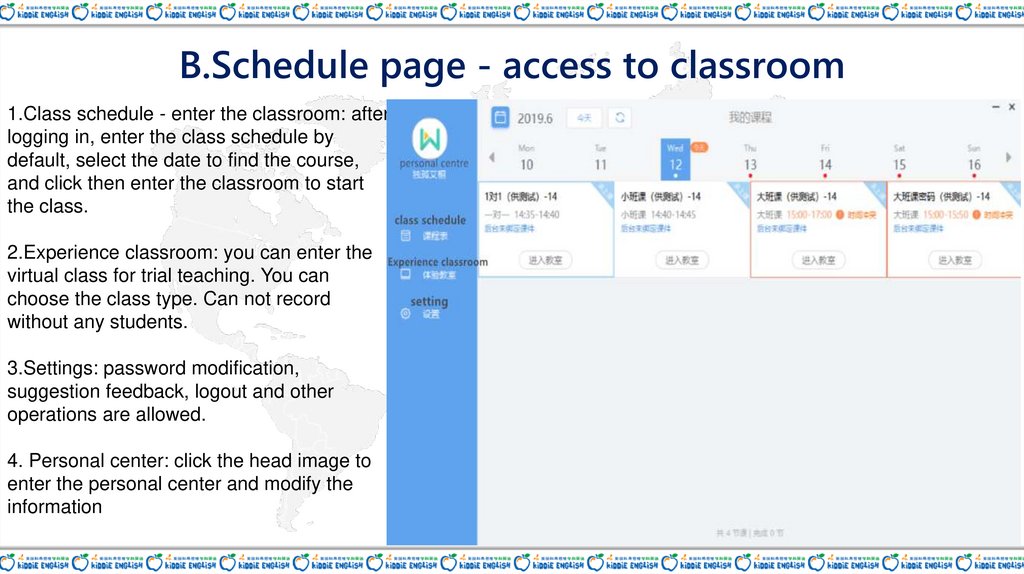
B.Schedule page - access to classroom1.Class schedule - enter the classroom: after
logging in, enter the class schedule by
default, select the date to find the course,
and click then enter the classroom to start
the class.
2.Experience classroom: you can enter the
virtual class for trial teaching. You can
choose the class type. Can not record
without any students.
3.Settings: password modification,
suggestion feedback, logout and other
operations are allowed.
4. Personal center: click the head image to
enter the personal center and modify the
information
10.
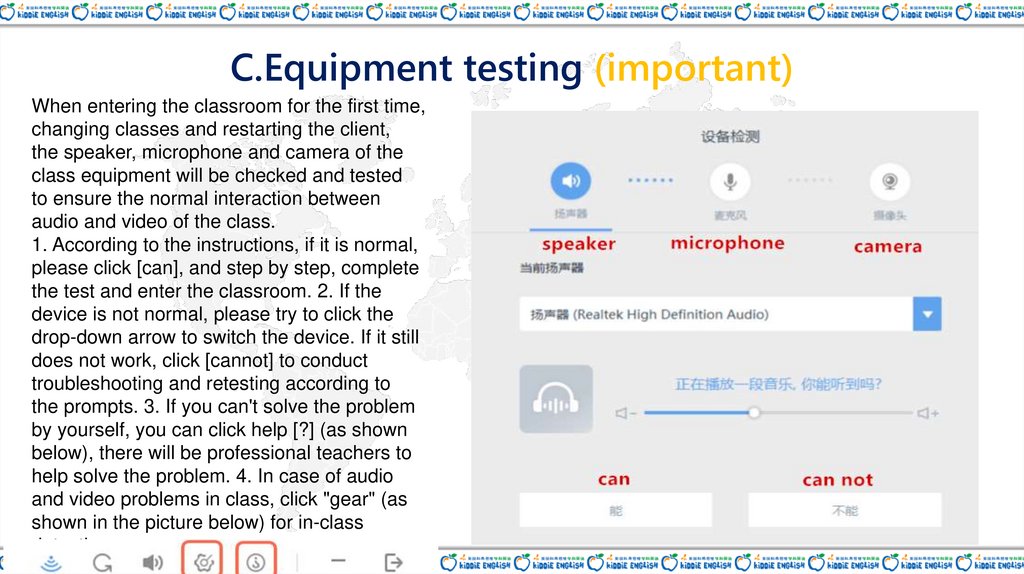
C.Equipment testing (important)When entering the classroom for the first time,
changing classes and restarting the client,
the speaker, microphone and camera of the
class equipment will be checked and tested
to ensure the normal interaction between
audio and video of the class.
1. According to the instructions, if it is normal,
please click [can], and step by step, complete
the test and enter the classroom. 2. If the
device is not normal, please try to click the
drop-down arrow to switch the device. If it still
does not work, click [cannot] to conduct
troubleshooting and retesting according to
the prompts. 3. If you can't solve the problem
by yourself, you can click help [?] (as shown
below), there will be professional teachers to
help solve the problem. 4. In case of audio
and video problems in class, click "gear" (as
shown in the picture below) for in-class
detection.
11.
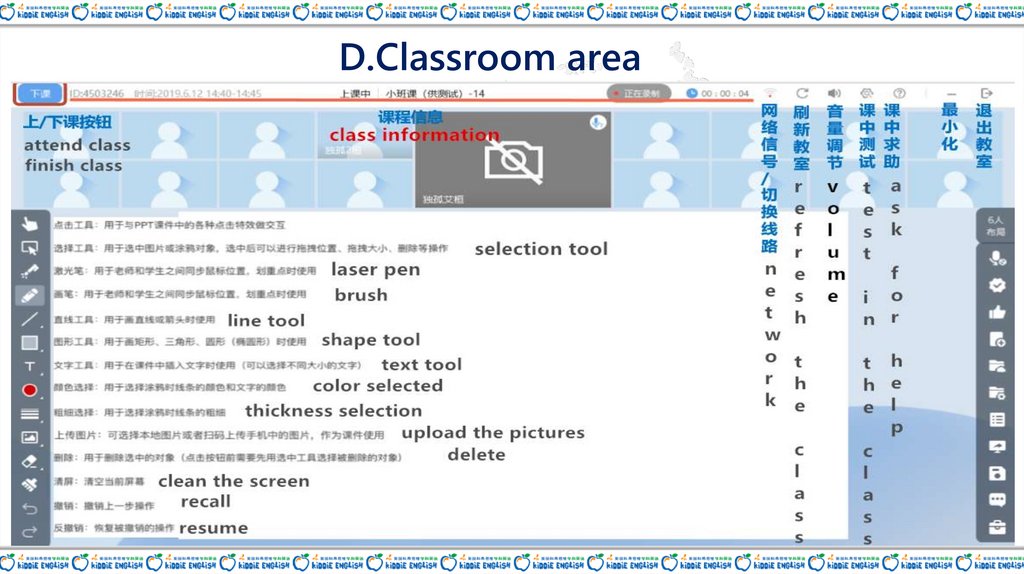
D.Classroom area12.
E.Video window operation areaWhen the mouse is moved to the video
window of the teacher, operation buttons
are displayed, including [switch camera]
and [switch microphone] from right to
left) buttons, as shown in the picture
below.
Hover the mouse over the student video window to
display the operation buttons, including [switch on the
microphone], [switch on the camera], [give the right to
withdraw], [issue the reward](from right to left) as shown in
the picture below.
13.
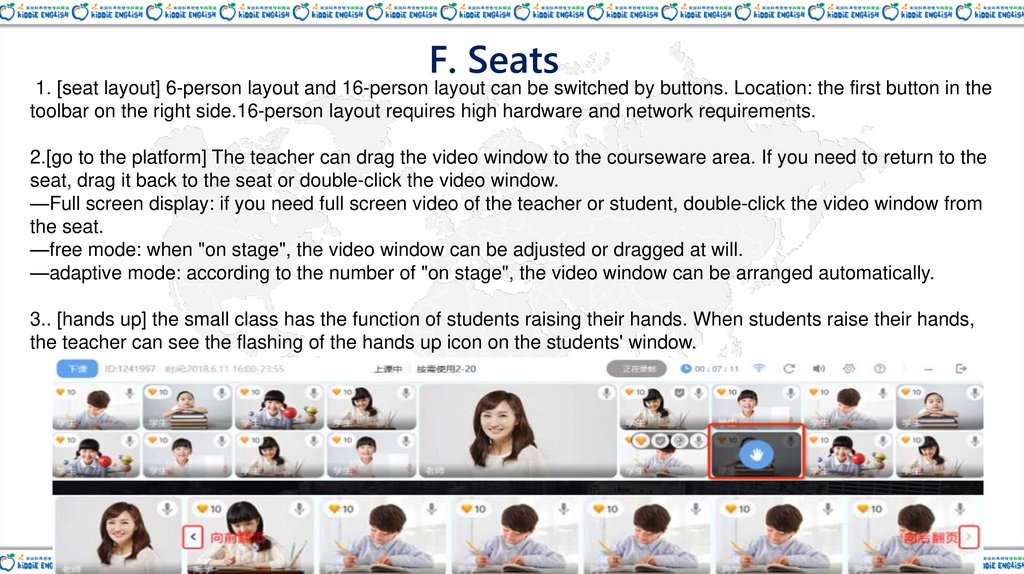
F. Seats1. [seat layout] 6-person layout and 16-person layout can be switched by buttons. Location: the first button in the
toolbar on the right side.16-person layout requires high hardware and network requirements.
2.[go to the platform] The teacher can drag the video window to the courseware area. If you need to return to the
seat, drag it back to the seat or double-click the video window.
—Full screen display: if you need full screen video of the teacher or student, double-click the video window from
the seat.
—free mode: when "on stage", the video window can be adjusted or dragged at will.
—adaptive mode: according to the number of "on stage", the video window can be arranged automatically.
3.. [hands up] the small class has the function of students raising their hands. When students raise their hands,
the teacher can see the flashing of the hands up icon on the students' window.
14.
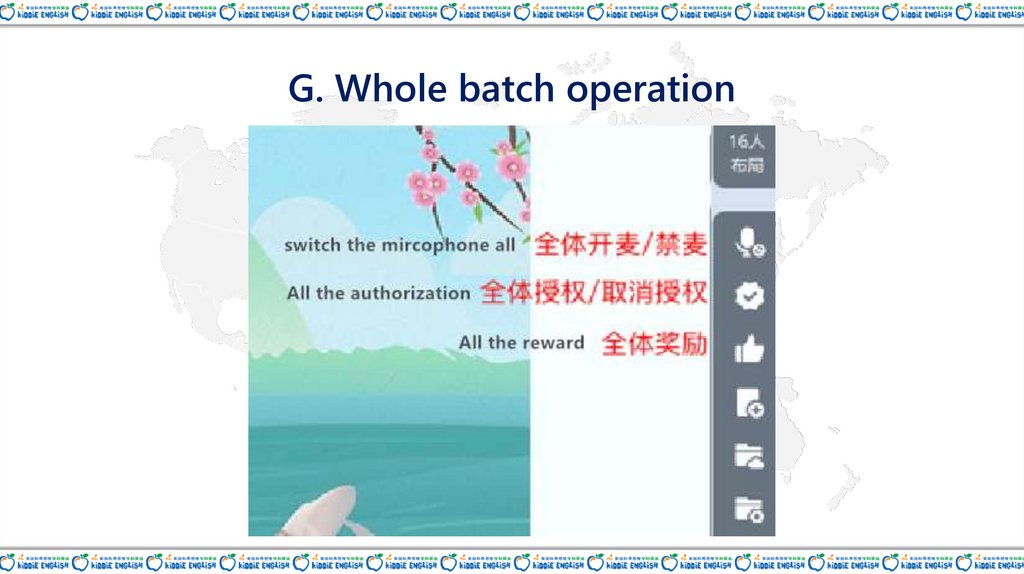
G. Whole batch operation15.
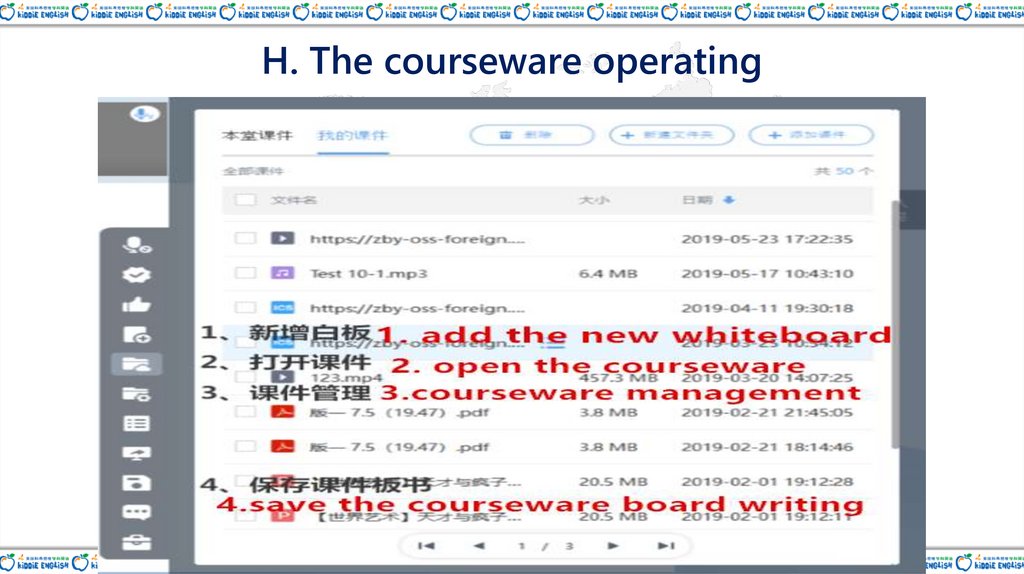
H. The courseware operating16.
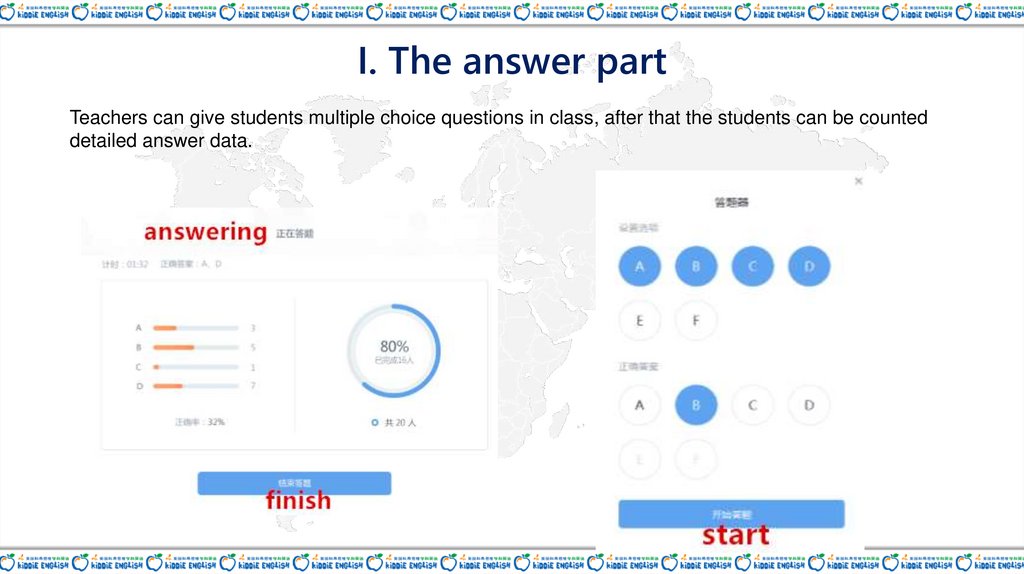
I. The answer partTeachers can give students multiple choice questions in class, after that the students can be counted
detailed answer data.
17.
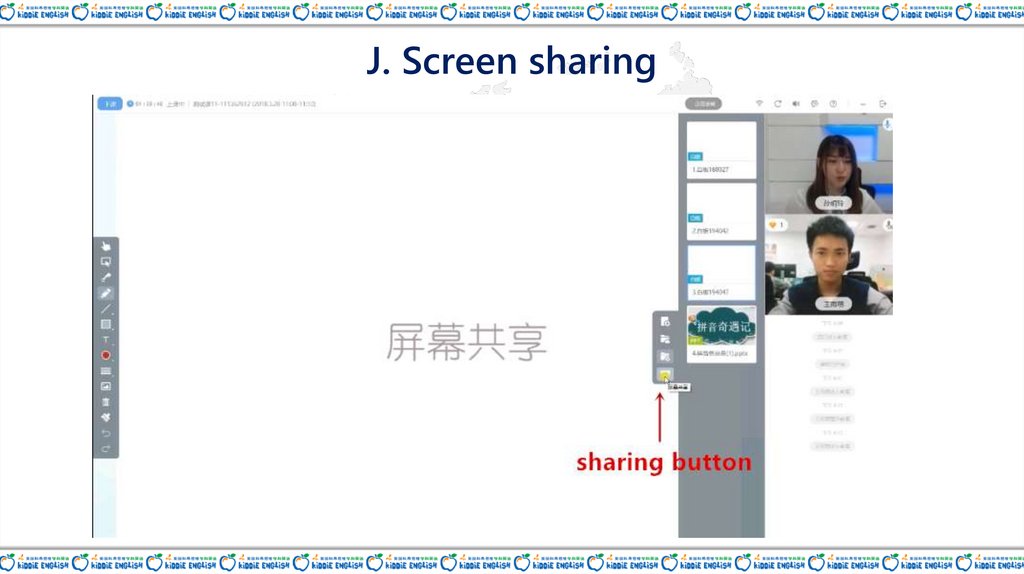
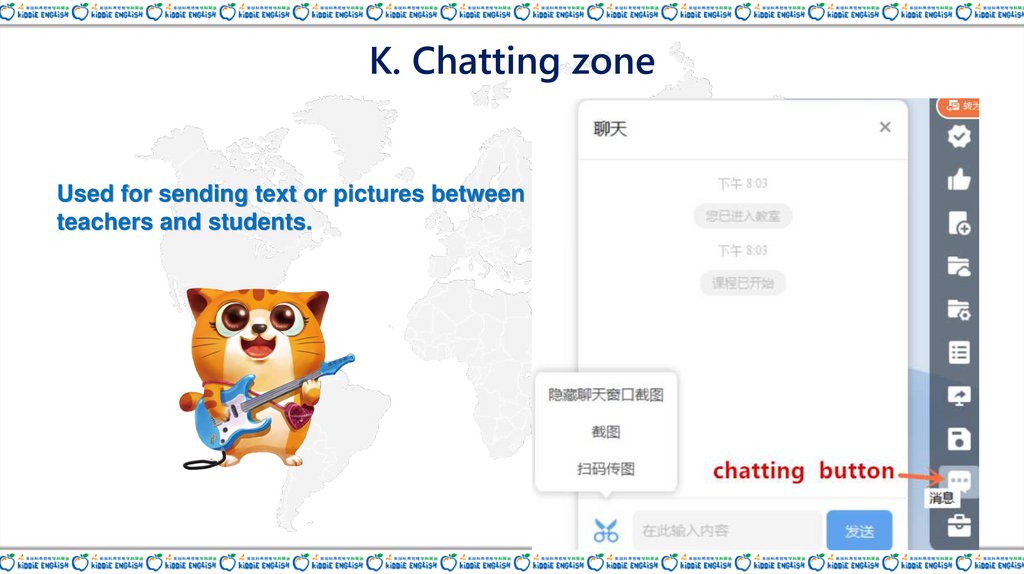
J. Screen sharing18.
K. Chatting zoneUsed for sending text or pictures between
teachers and students.
19.
L. Tool boxDice
Timer
Responder
20.
M. Evaluation and replay after classTeachers click “ finish the class” ,then will see the page
below.