Похожие презентации:
Shrink compensation
1. Shrink Compensation
2. Application Summary
Material shrinkage occurs in thermoplastics as they transition fromliquid state to solid state during the curing process.
The ProJet Accelerator Client Software has features that allow the
user to compensate for the natural shrinkage of the material in order
to fine tune the accuracy of a part.
The following instructions will explain the process for entering shrink
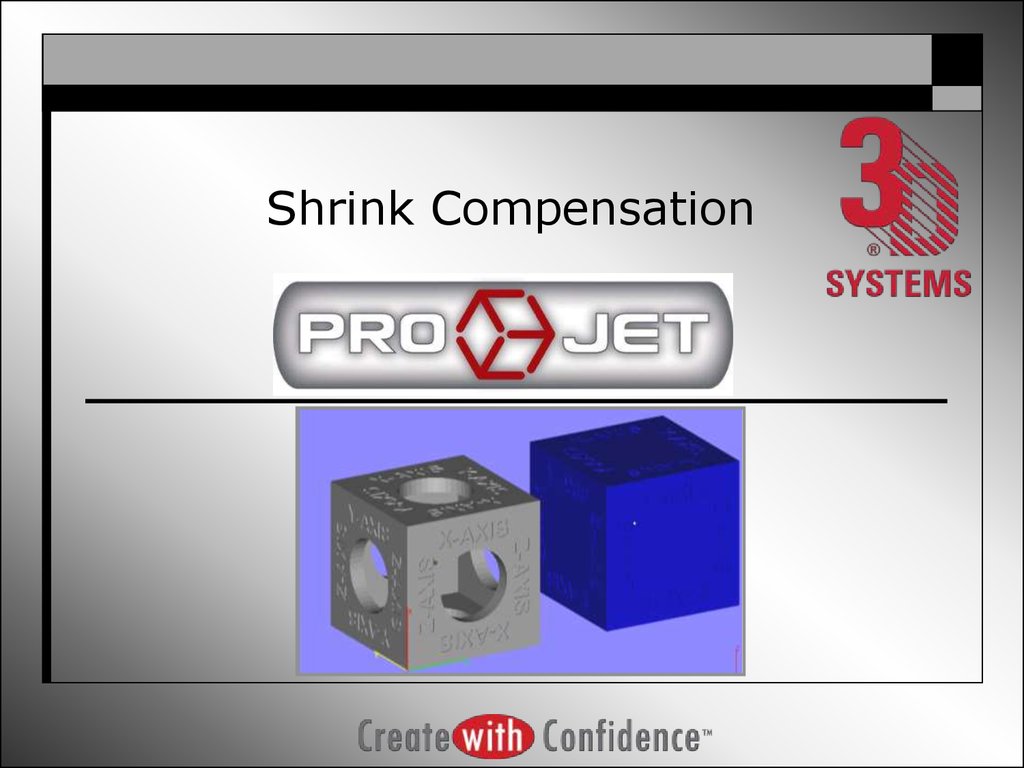
compensation and calibrating a machines using standard calibration
cubes. This process can be used for measuring and dialing in
accuracy for any geometry.
3. Shrink Compensation Values for VisiJet Materials
These shrink compensation values serve as general guidelines tosetting shrink compensation. Part building and cleaning in a
controlled process will best determine the optimal shrink
compensation values for a particular geometry.
Material
X value
Y value
Z value
SR200
1.01%
1.01%
0.00%
HR200
1.01%
1.01%
0.00%
EX200
1.01%
0.75%
0.00%
MX
0.60%
0.60%
0.00%
DP200
1.01%
1.01%
0.00%
MP200
1.01%
0.75%
0.00%
4. Enter Default Shrink Comps for Material in Use
• Open ProJet AcceleratorClient software and select
the desired printer.
• Select the “Submit” icon to
start a build session.
• Select the “Options…” icon
as indicated.
• Within the “Options” panel,
enter shrink compensations
values for X or Y or Z
•SEE TABLE ABOVE FOR
SHRINK COMP VALUES FOR
THE MATERIAL BEING
USED.
5. Build Calibration Cubes (1st Iteration)
• Use the two calibration cubes (solid and hollow) that accompanythis manual.
• Set up build with one of each calibration cube in the correct
orientation.
• Build and post process
calibration cubes using
standard cleaning methods.
6. Take Measurements and Determine Scaling Factor
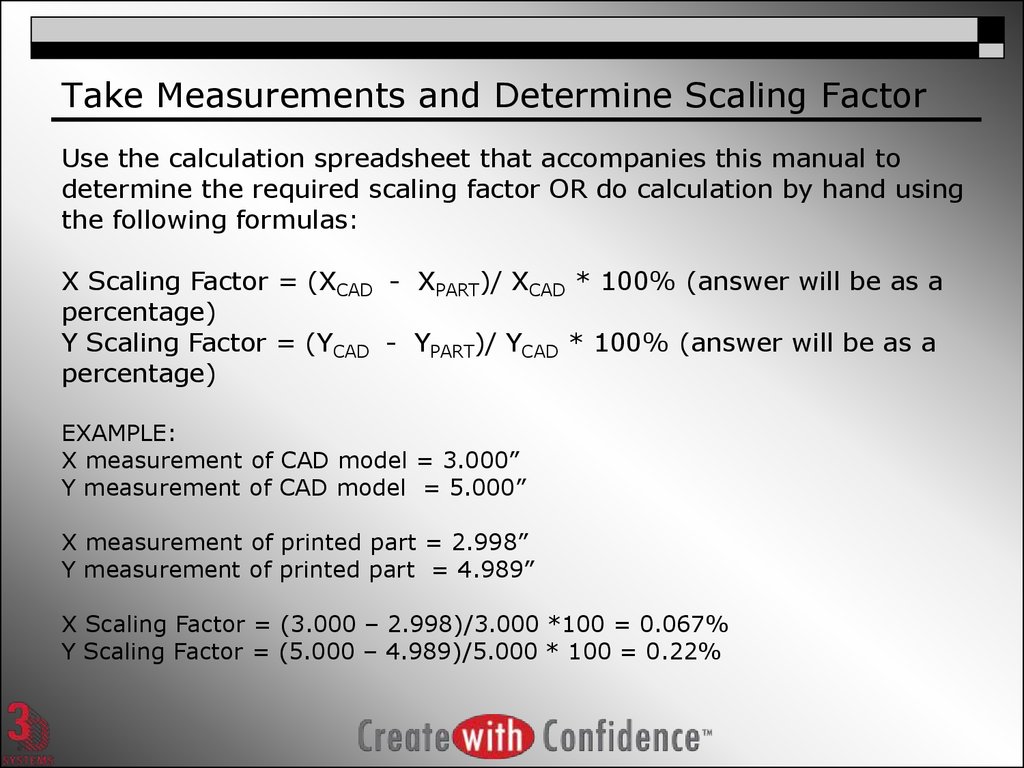
Use the calculation spreadsheet that accompanies this manual todetermine the required scaling factor OR do calculation by hand using
the following formulas:
X Scaling Factor = (XCAD - XPART)/ XCAD * 100% (answer will be as a
percentage)
Y Scaling Factor = (YCAD - YPART)/ YCAD * 100% (answer will be as a
percentage)
EXAMPLE:
X measurement of CAD model = 3.000”
Y measurement of CAD model = 5.000”
X measurement of printed part = 2.998”
Y measurement of printed part = 4.989”
X Scaling Factor = (3.000 – 2.998)/3.000 *100 = 0.067%
Y Scaling Factor = (5.000 – 4.989)/5.000 * 100 = 0.22%
7. Enter “Scaling Factor” for Repeat Build (2nd Iteration)
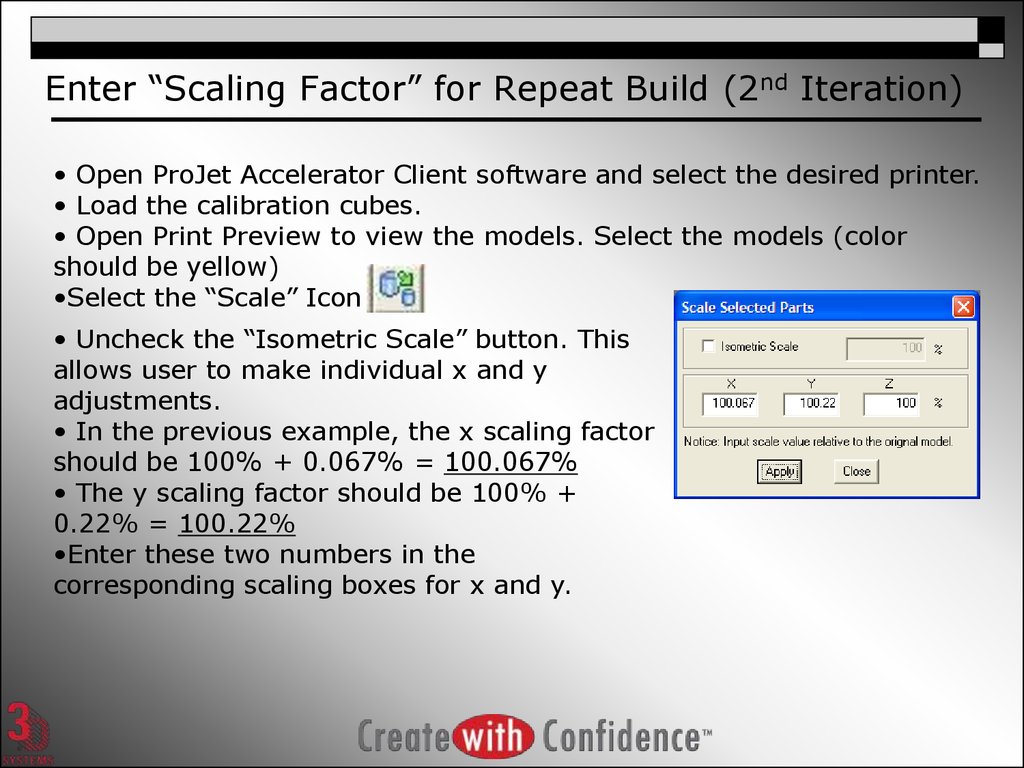
• Open ProJet Accelerator Client software and select the desired printer.• Load the calibration cubes.
• Open Print Preview to view the models. Select the models (color
should be yellow)
•Select the “Scale” Icon
• Uncheck the “Isometric Scale” button. This
allows user to make individual x and y
adjustments.
• In the previous example, the x scaling factor
should be 100% + 0.067% = 100.067%
• The y scaling factor should be 100% +
0.22% = 100.22%
•Enter these two numbers in the
corresponding scaling boxes for x and y.
8. Modify Default Shrink Comp Values
Another alternative is to applythe x,y or z scaling factors to
the default shrink comp values.
For Example - Change the X
shrink comp to: 1.02% +
0.067% = 1.087%
9. FINAL NOTES AND TIPS
• Once the calibration cubes have been used to determine optimumshrink compensation values, these values can remain in the software
to be used with all builds.
• 1- 2 iterations should be sufficient to achieve the desired
dimensional accuracy based on a controlled part cleaning process.
• This process should be performed in both HD mode and UHD mode
to fully understand how parts may behave in the different modes.



 Программное обеспечение
 Английский язык


