


 Электроника
Похожие презентации:


")


LAM2 JTAG Connection. For Cheetah 4/5
1.
LAM2 JTAG ConnectionFor Cheetah 4/5
2.
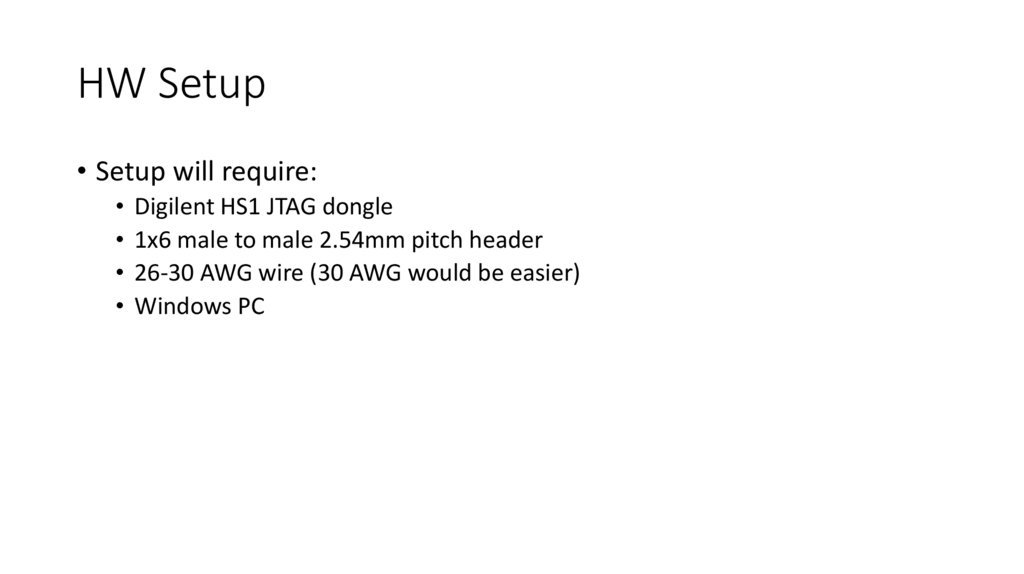
HW Setup• Setup will require:
Digilent HS1 JTAG dongle
1x6 male to male 2.54mm pitch header
26-30 AWG wire (30 AWG would be easier)
Windows PC
3.
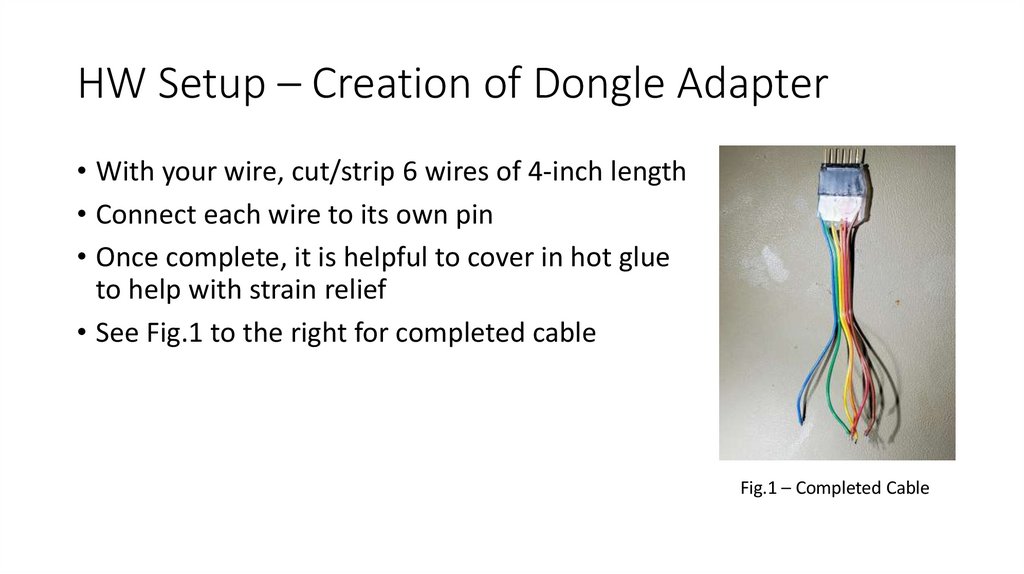
HW Setup – Creation of Dongle Adapter• With your wire, cut/strip 6 wires of 4-inch length
• Connect each wire to its own pin
• Once complete, it is helpful to cover in hot glue
to help with strain relief
• See Fig.1 to the right for completed cable
Fig.1 – Completed Cable
4.
HW Setup – Cable Connection to Board• Remove the back of the control box
and you will see the back of the lower
PCB, shown in Fig.2
• In Fig.2 there are two solder locations:
• TP60-63 and VCC are located to the right
and indicated with red marker (please
only view the Test pads as there is also
more rework done in similar location)
• GND is to the left of the MCU
programming port in red. It is the GND of
a Cap
Fig.2 – Back of Lower PCB
5.
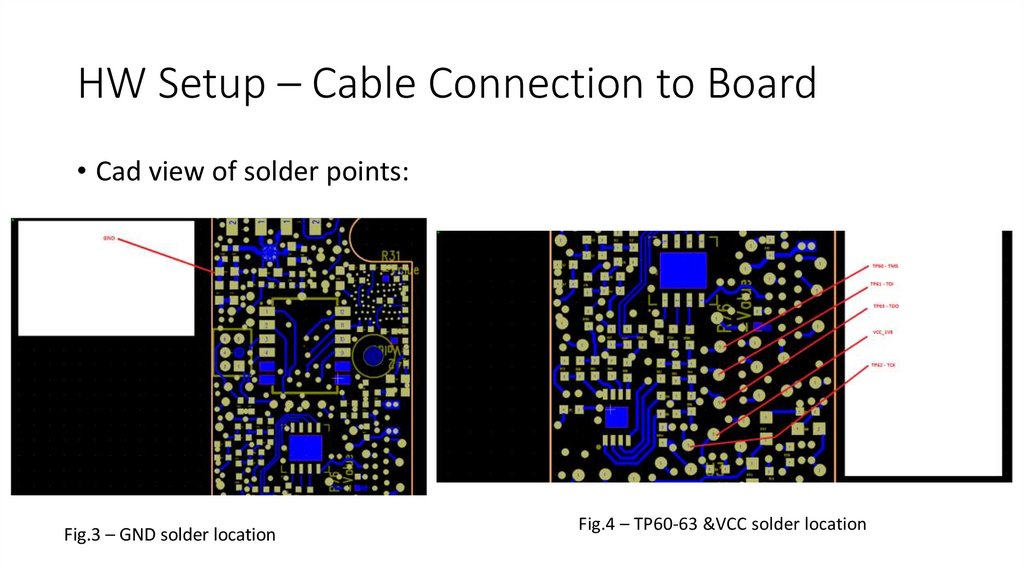
HW Setup – Cable Connection to Board• Cad view of solder points:
Fig.3 – GND solder location
Fig.4 – TP60-63 &VCC solder location
6.
HW Setup - Pinout• Pinout and picture of
completed soldering
JTAG Signal JTAG Header Pin Wirecolor
TMS
1
TDI
2
TDO
3
TCK
4
GND
5
VDD
6
Lower Board Wire Solder Location
TP60
TP61
TP63
TP62
GND
VCC_1V8
Table 1 - Pinout
Cable
Color
Blue
Green
Yellow
Orange
Red
Brown
Fig.5 – Connector soldered
7.
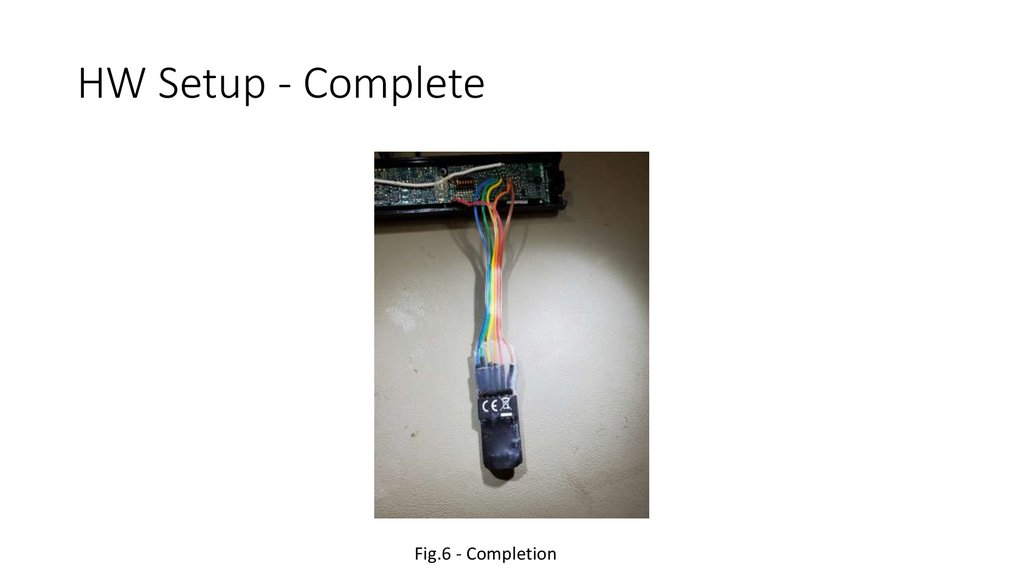
HW Setup - CompleteFig.6 - Completion
8.
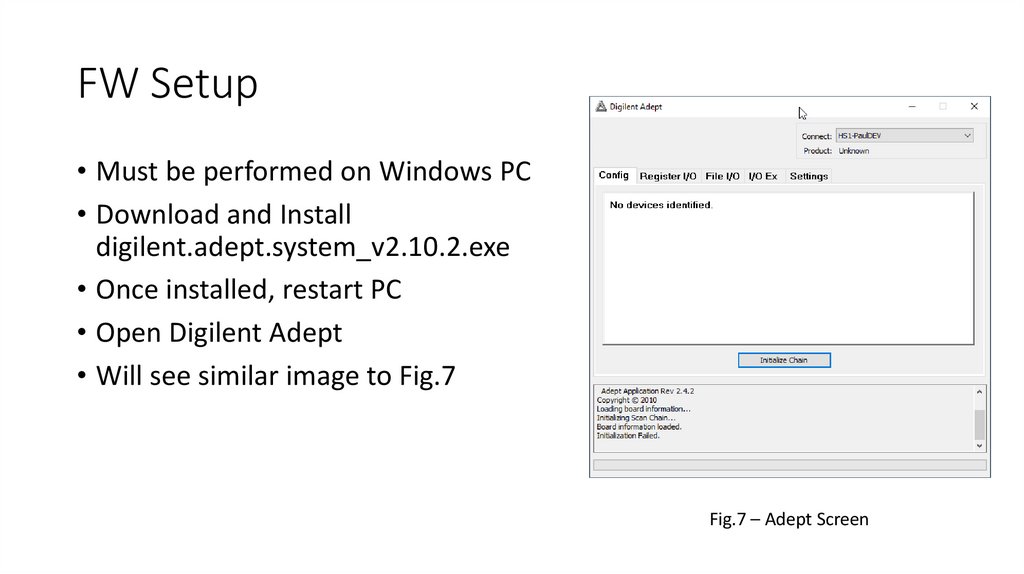
FW Setup• Must be performed on Windows PC
• Download and Install
digilent.adept.system_v2.10.2.exe
• Once installed, restart PC
• Open Digilent Adept
• Will see similar image to Fig.7
Fig.7 – Adept Screen
9.
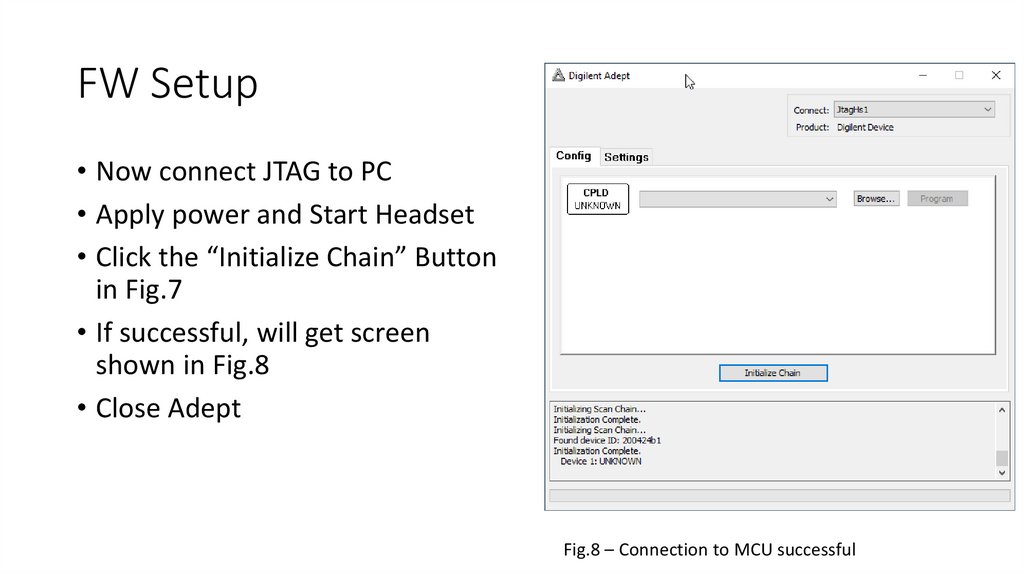
FW Setup• Now connect JTAG to PC
• Apply power and Start Headset
• Click the “Initialize Chain” Button
in Fig.7
• If successful, will get screen
shown in Fig.8
• Close Adept
Fig.8 – Connection to MCU successful
10.
FW SetupOpen Avserve
Select “Dummy”
Allow 30 seconds to comply
Select “JTAG-EX”
Allow 30 seconds to comply
Open AVBoot UI
Jump to BL
Go back to Avserve and select “Dummy”
Connect UAC Cable to headset
Select “USB” in Avserve
Program LAM2 fw as usual in AVBootUI