


 Медицина
Похожие презентации:


Dermatoglyphic method of medical genetics
1.
Medical Academy NamedAfter S.I. Georgievsky
Vernadsky CFU
Name:Ravi Kumar Nishad
Group:La1 202(2)
Topic:Dermatoglyphic method of medical genetics
Teacher’s name:Mam Svetlana Smirnova
2.
Introductionto
dermatoglyphi
All too often when we teach genetics we limit ourselves to the
“tried and true “ single gene traits and “shy away” from more
complex forms of genetic inheritance. After, all it is difficult
enough to explain Mendelian Laws without the added complexity
of quantitative variations. Ironically, understanding the
relationship between genetic information and phenotypic
expression at the organism level has more to do with the
interaction of many genes than it does to any one gene in
isolation. Dermal ridges are an example of a trait that shows
quantitative variation, is inherited, and is easily analysed in the
teaching laboratory. Further,sophisticated mathematical
treatments need not be applied to teach the relationship between
polygenic inheritance and expression.
3.
Dermatoglyphiand
development
Dermal ridges originates from fetal volar pads composed of
mesenchymal tissue starting at the sixth to seventh week of
development. In general, small pads produce arches and larger
pads produce loops or whorls. Lateral displacement of the volar
pad creates asymmetry of the pattern. Ridges become visible at
about 3 months and are completed by the sixth month of prenatal
development.
4.
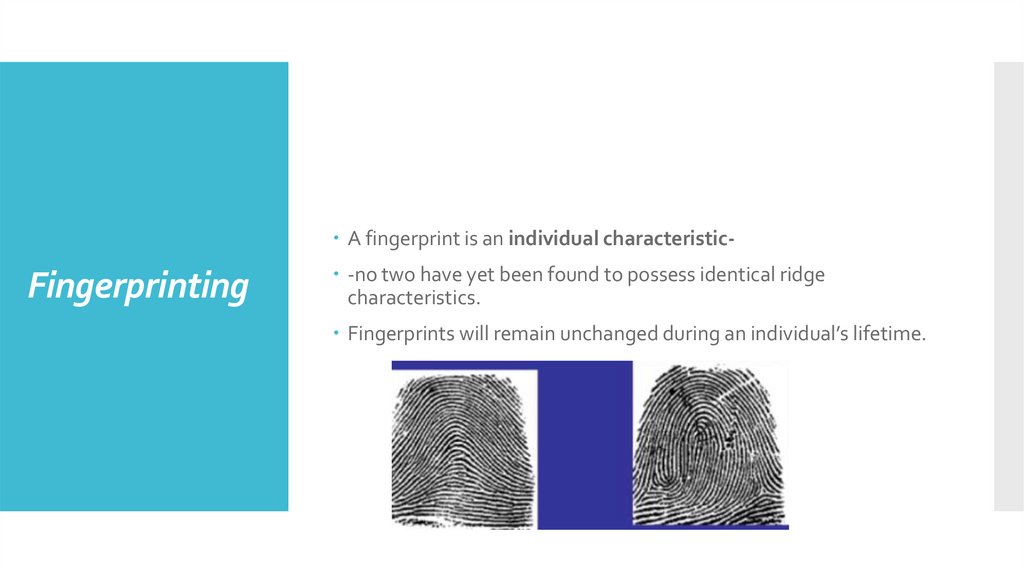
A fingerprint is an individual characteristic-Fingerprinting
-no two have yet been found to possess identical ridge
characteristics.
Fingerprints will remain unchanged during an individual’s lifetime.
5.
Skin is composed of layers of cells.Epidermis (outer portion) and dermis as inner skin.
Anatomy of
the Fingerprint
In a cross section- a boundary of cells separating the epidermis
from the dermis is made up of dermal papillae-these determine
the form and pattern of ridges on the surface.
Dermal papillae develop in the foetus and remain unchanged
during life.
6.
Types offingerprints
7.
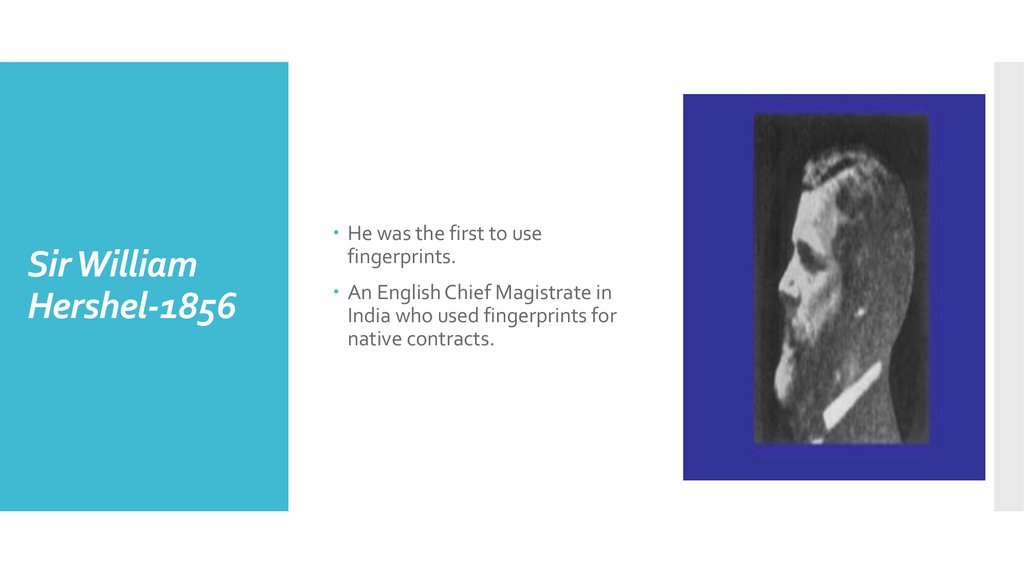
Sir WilliamHershel-1856
He was the first to use
fingerprints.
An English Chief Magistrate in
India who used fingerprints for
native contracts.
8.
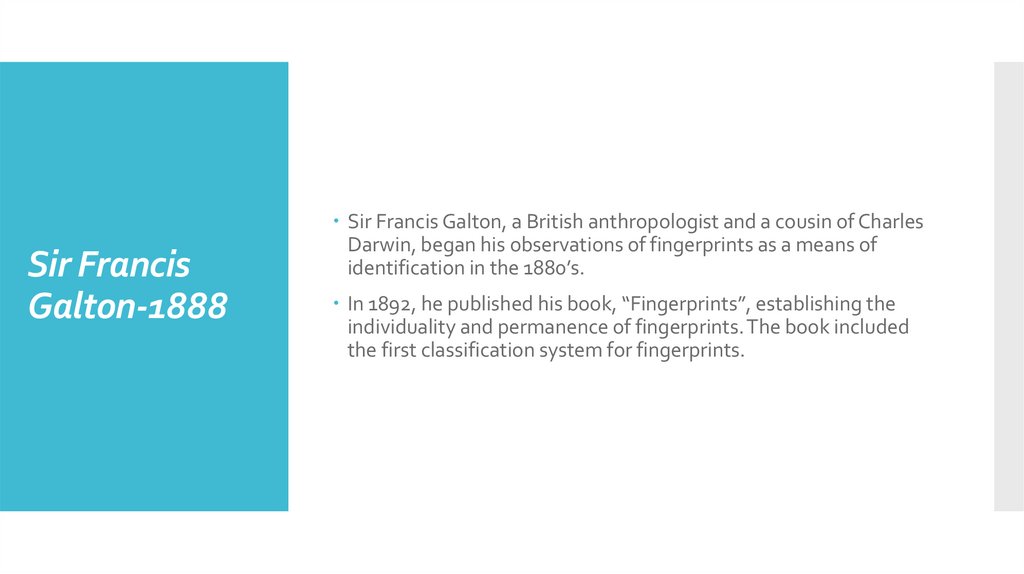
Sir FrancisGalton-1888
Sir Francis Galton, a British anthropologist and a cousin of Charles
Darwin, began his observations of fingerprints as a means of
identification in the 1880’s.
In 1892, he published his book, “Fingerprints”, establishing the
individuality and permanence of fingerprints. The book included
the first classification system for fingerprints.
9.
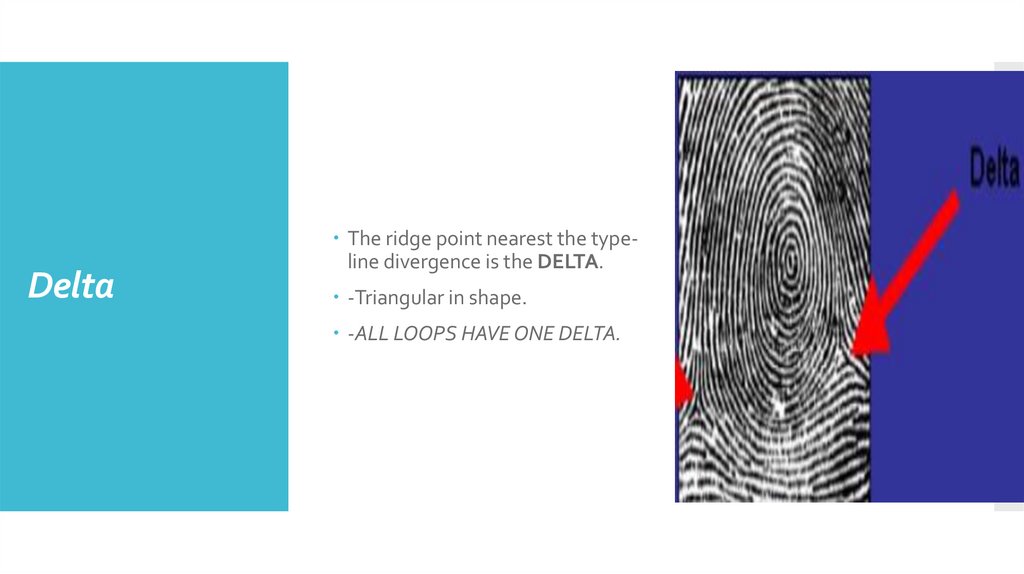
DeltaThe ridge point nearest the typeline divergence is the DELTA.
-Triangular in shape.
-ALL LOOPS HAVE ONE DELTA.
10.
CoreCore=center of the pattern
11.
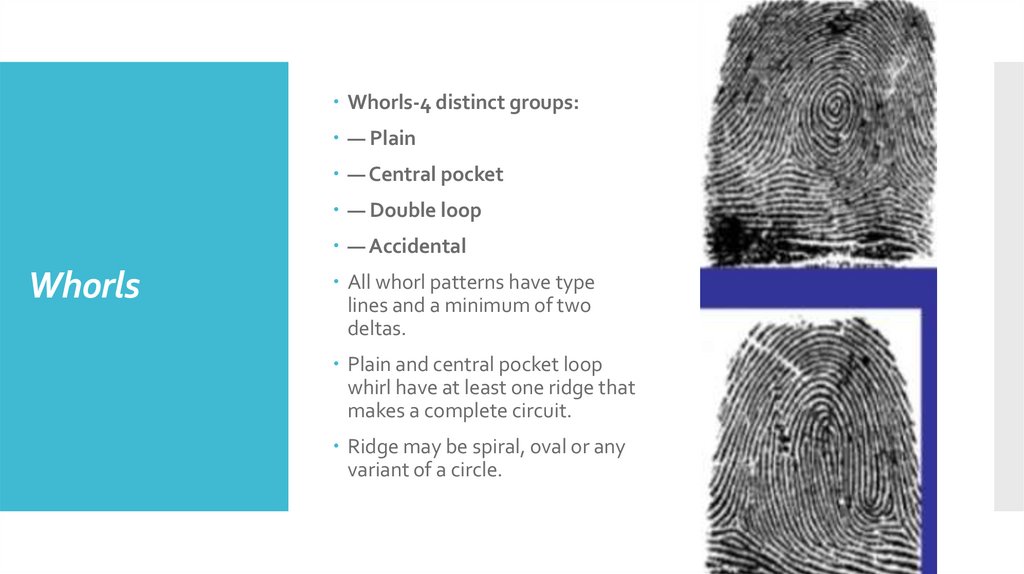
Whorls-4 distinct groups:— Plain
— Central pocket
— Double loop
— Accidental
Whorls
All whorl patterns have type
lines and a minimum of two
deltas.
Plain and central pocket loop
whirl have at least one ridge that
makes a complete circuit.
Ridge may be spiral, oval or any
variant of a circle.
12.
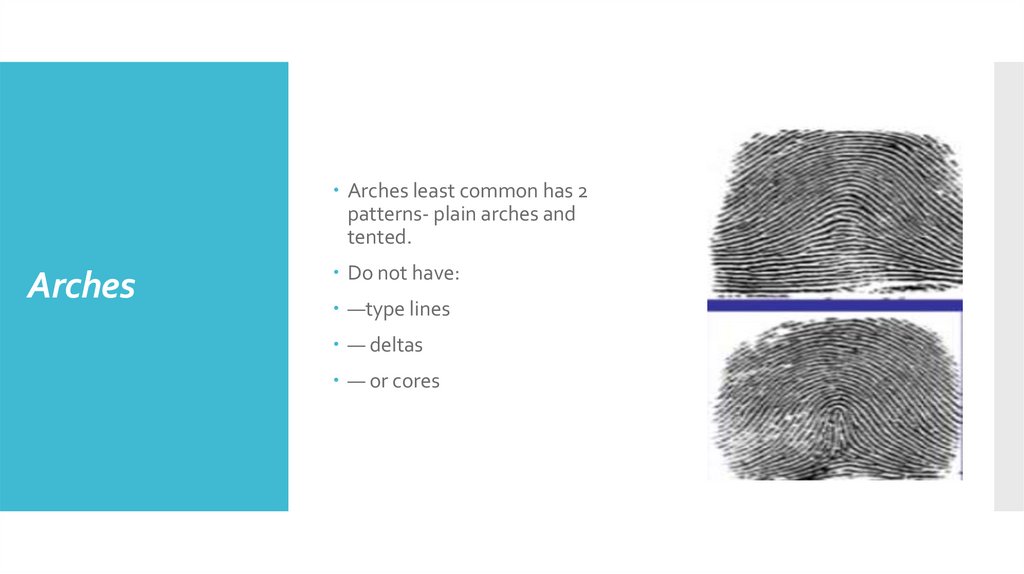
Arches least common has 2patterns- plain arches and
tented.
Arches
Do not have:
—type lines
— deltas
— or cores
13.
Methods ofdetecting
fingerprints
The method of choice will depend on the surface being lifted or
tested.
Hard and non-absorbent surfaces (glass, mirror, tile, etc) require
different approaches than soft and porous-paper, cloth, or
cardboard.
The most challenging thing an examiner faces is finding the
location of latent prints.
14.
Ultravioletimaging
systems
35mm black and white film.
Scene scope excels at detecting prints on surfaces that a
forensic light source would find difficult or impossible.
15.
The most cost effective chemical development method isNinhydrin.
Ninhydrin is used on paper, cardboard, or other porous surfaces.
Ninhydrin
The problem with spraying Ninhydrin solutions is that, since
Ninhydrin reacts with amino acids, any exposure to your body,
especially to your eyes or lungs, could have serious results. This
potentially dangerous exposure is minimised by dipping or
painting.
16.
Preservationof developed
prints
Once visualised, it must be permanently preserved for future
comparisons and possible use in court as evidence.
Camera with close up lens.
Fixed focus to take photographs on 1:1 scale when lens is held
exactly flush against the print surface to avoid distortion.
Photograph prints relative location with other evidential items.
17.
If on small surface-transport without destroying the print.Protect with cellophane bag.
Permanent
record of prints
If large surface objects that have been developed with a powder
can best be preserved by lifting.
Done with broad adhesive tape.
Fingerprint covered with adhesive side and pulled up, the powder
will be transferred to the tape.
Digital imaging may be used to enhance contrast, enlarge details
and compare individual points on prints to others in question.