


 Интернет
 Программирование
Похожие презентации:


SVG: Syntax Sprites Animation
1.
<SVG>: Syntax SpritesAnimation
2.
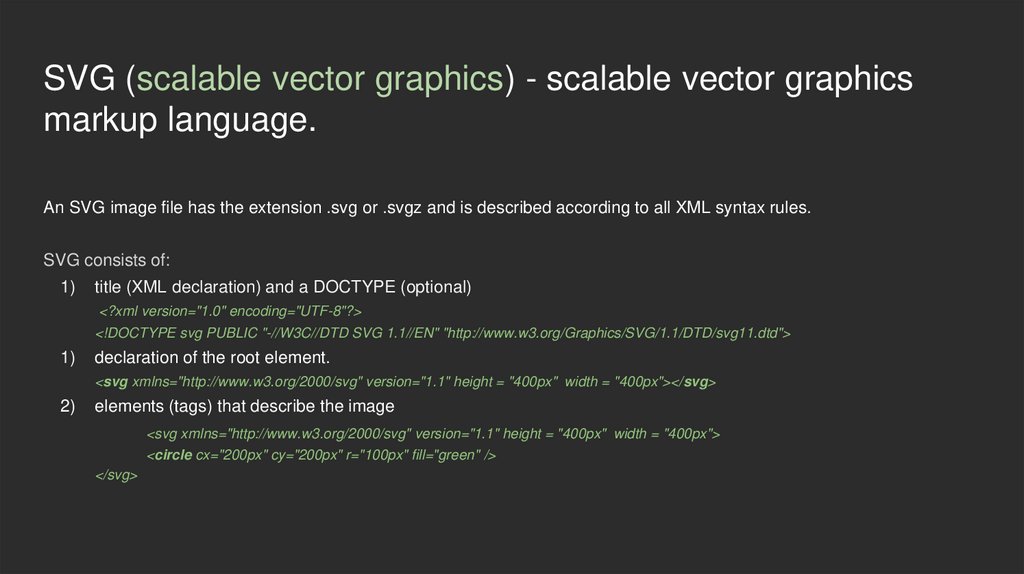
SVG (scalable vector graphics) - scalable vector graphicsmarkup language.
An SVG image file has the extension .svg or .svgz and is described according to all XML syntax rules.
SVG consists of:
1)
title (XML declaration) and a DOCTYPE (optional)
<?xml version="1.0" encoding="UTF-8"?>
<!DOCTYPE svg PUBLIC "-//W3C//DTD SVG 1.1//EN" "http://www.w3.org/Graphics/SVG/1.1/DTD/svg11.dtd">
1)
declaration of the root element.
<svg xmlns="http://www.w3.org/2000/svg" version="1.1" height = "400px" width = "400px"></svg>
2)
elements (tags) that describe the image
<svg xmlns="http://www.w3.org/2000/svg" version="1.1" height = "400px" width = "400px">
<circle cx="200px" cy="200px" r="100px" fill="green" />
</svg>
3.
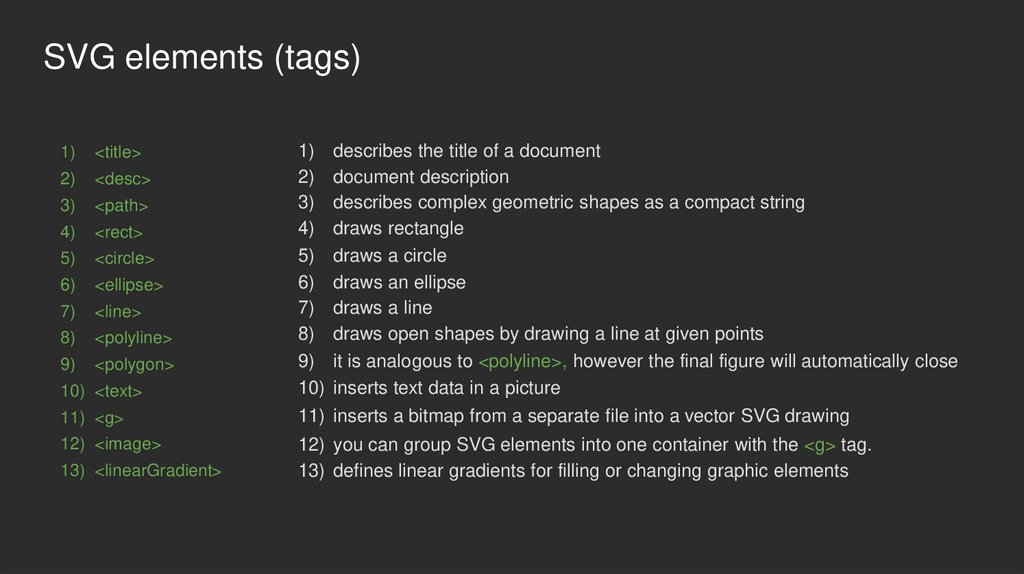
SVG elements (tags)1)
<title>
2)
<desc>
3)
<path>
4)
<rect>
5)
<circle>
6)
<ellipse>
7)
<line>
8)
<polyline>
9)
<polygon>
1)
2)
3)
4)
describes the title of a document
document description
describes complex geometric shapes as a compact string
draws rectangle
5)
6)
7)
8)
draws
draws
draws
draws
a circle
an ellipse
a line
open shapes by drawing a line at given points
10) <text>
9) it is analogous to <polyline>, however the final figure will automatically close
10) inserts text data in a picture
11) <g>
11) inserts a bitmap from a separate file into a vector SVG drawing
12) <image>
12) you can group SVG elements into one container with the <g> tag.
13) defines linear gradients for filling or changing graphic elements
13) <linearGradient>
4.
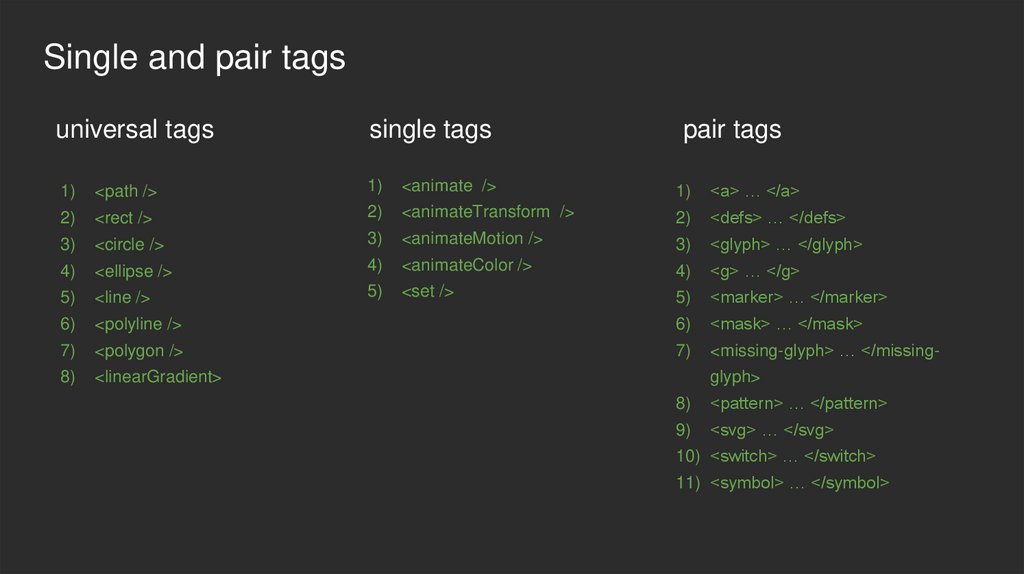
Single and pair tagsuniversal tags
single tags
pair tags
1)
<path />
1)
<animate />
1)
<a> … </a>
2)
<rect />
2)
<animateTransform />
2)
<defs> … </defs>
3)
<circle />
3)
<animateMotion />
3)
<glyph> … </glyph>
4)
<ellipse />
4)
<animateColor />
4)
<g> … </g>
5)
<line />
5)
<set />
5)
<marker> … </marker>
6)
<polyline />
6)
<mask> … </mask>
7)
<polygon />
7)
<missing-glyph> … </missing-
8)
<linearGradient>
glyph>
8)
<pattern> … </pattern>
9)
<svg> … </svg>
10) <switch> … </switch>
11) <symbol> … </symbol>
5.
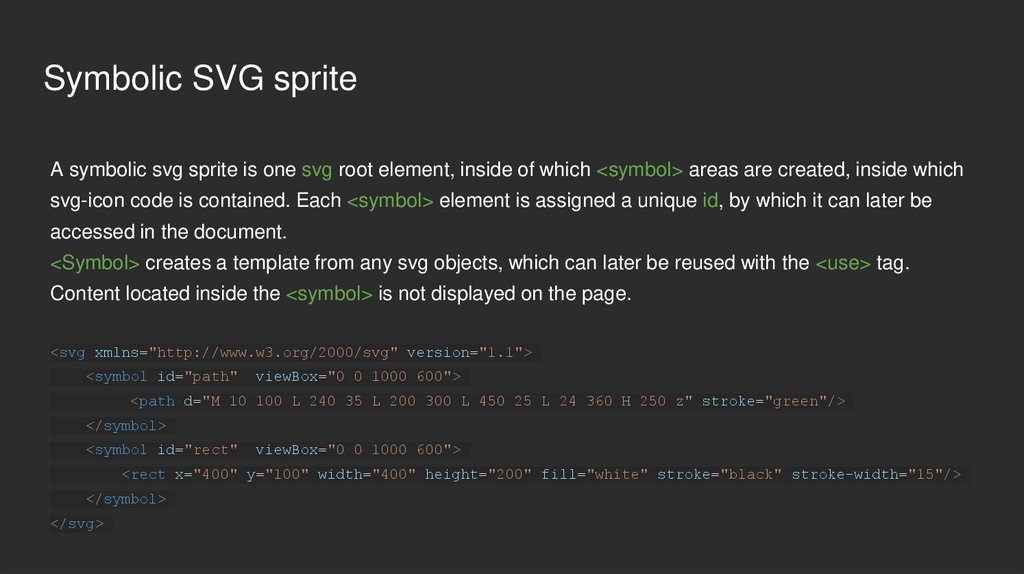
Symbolic SVG spriteA symbolic svg sprite is one svg root element, inside of which <symbol> areas are created, inside which
svg-icon code is contained. Each <symbol> element is assigned a unique id, by which it can later be
accessed in the document.
<Symbol> creates a template from any svg objects, which can later be reused with the <use> tag.
Content located inside the <symbol> is not displayed on the page.
<svg xmlns="http://www.w3.org/2000/svg" version="1.1">
<symbol id="path"
viewBox="0 0 1000 600">
<path d="M 10 100 L 240 35 L 200 300 L 450 25 L 24 360 H 250 z" stroke="green"/>
</symbol>
<symbol id="rect"
viewBox="0 0 1000 600">
<rect x="400" y="100" width="400" height="200" fill="white" stroke="black" stroke-width="15"/>
</symbol>
</svg>
6.
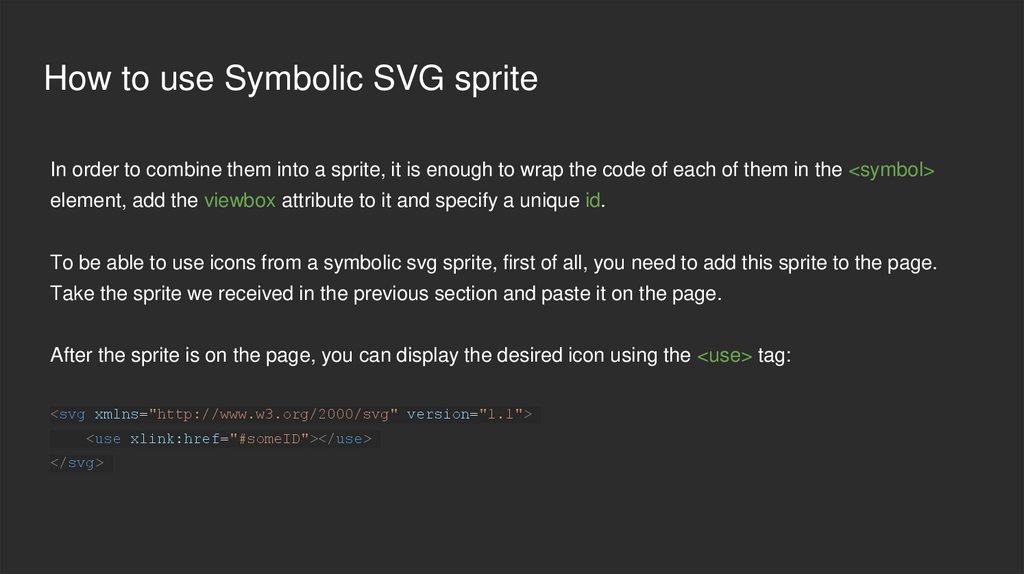
How to use Symbolic SVG spriteIn order to combine them into a sprite, it is enough to wrap the code of each of them in the <symbol>
element, add the viewbox attribute to it and specify a unique id.
To be able to use icons from a symbolic svg sprite, first of all, you need to add this sprite to the page.
Take the sprite we received in the previous section and paste it on the page.
After the sprite is on the page, you can display the desired icon using the <use> tag:
<svg xmlns="http://www.w3.org/2000/svg" version="1.1">
<use xlink:href="#someID"></use>
</svg>
7.
SVG animationSMIL - is the markup language recommended by the W3C for describing multimedia
presentations.
In SVG, each individual geometric figure can be assigned its own animated instructions,
made to move.
CSS - has better browser support; SMIL - has great functionality.
8.
When can we use SMIL1. Do what CSS could not do (animate an unsupported attribute, etc.)
2. Need to have more precise control over the animation.
3. Make path morphing (animation of attribute d at <path> tag)
4. Sync animations
5. Make interactive animations
9.
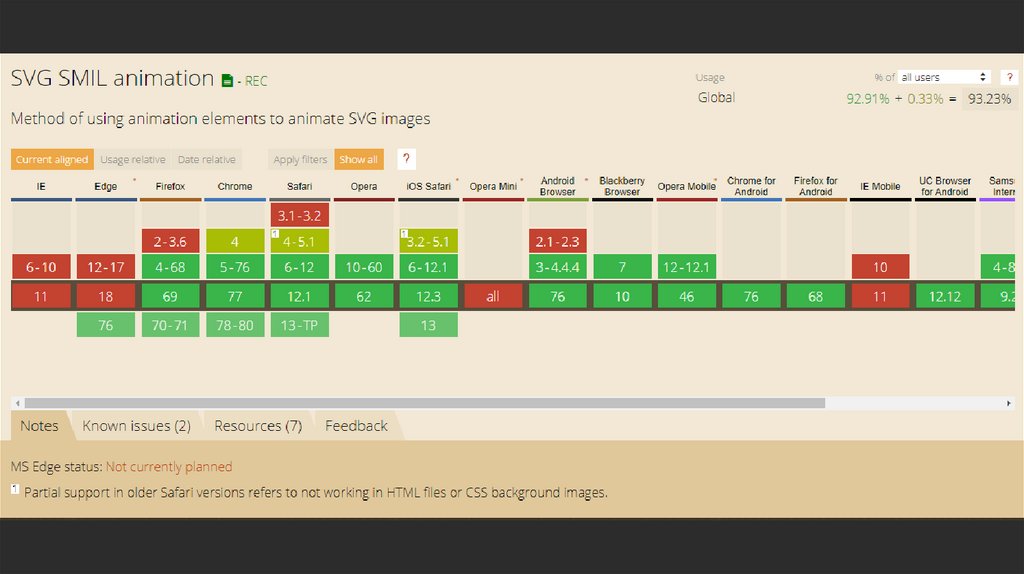
Browser support10.
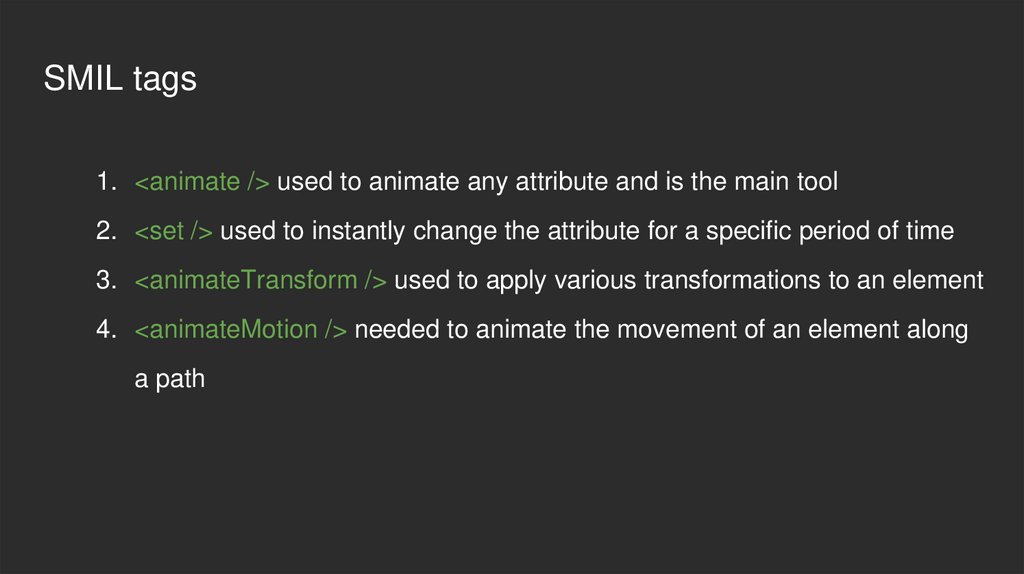
SMIL tags1. <animate /> used to animate any attribute and is the main tool
2. <set /> used to instantly change the attribute for a specific period of time
3. <animateTransform /> used to apply various transformations to an element
4. <animateMotion /> needed to animate the movement of an element along
a path
11.
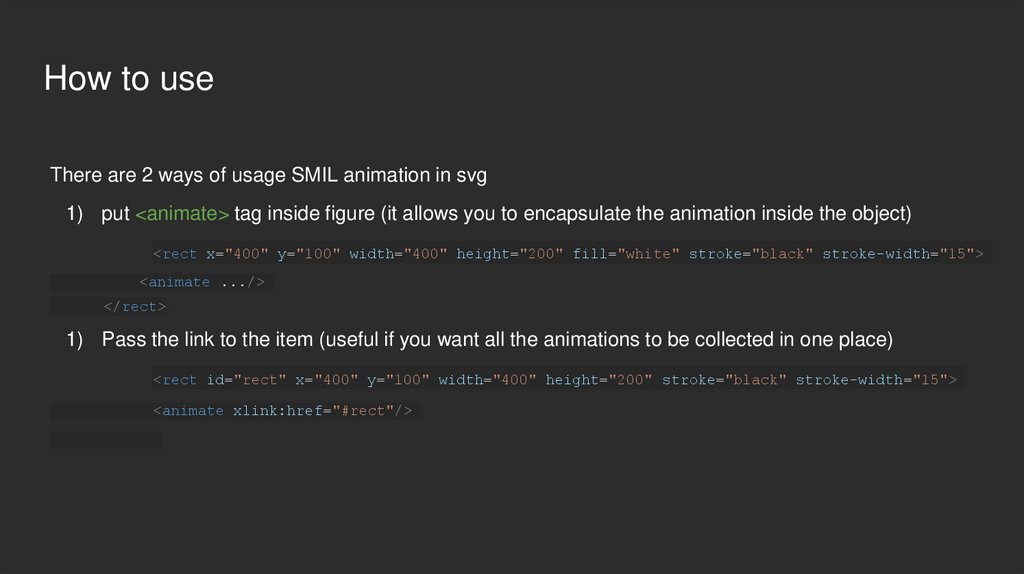
How to useThere are 2 ways of usage SMIL animation in svg
1) put <animate> tag inside figure (it allows you to encapsulate the animation inside the object)
<rect x="400" y="100" width="400" height="200" fill="white" stroke="black" stroke-width="15">
<animate .../>
</rect>
1) Pass the link to the item (useful if you want all the animations to be collected in one place)
<rect id="rect" x="400" y="100" width="400" height="200" stroke="black" stroke-width="15">
<animate xlink:href="#rect"/>
12.
Animate attributes1. attributeName - defines figure attribute where we apply animation
2. attributeType (useless) - CSS/XML/auto - defines what type of attribute we
are using
3. from - defines the start point of animation
4. to - defines end point of animation
5. by - defines “jump” of animation
6. values - defines multiply points for animation
13.
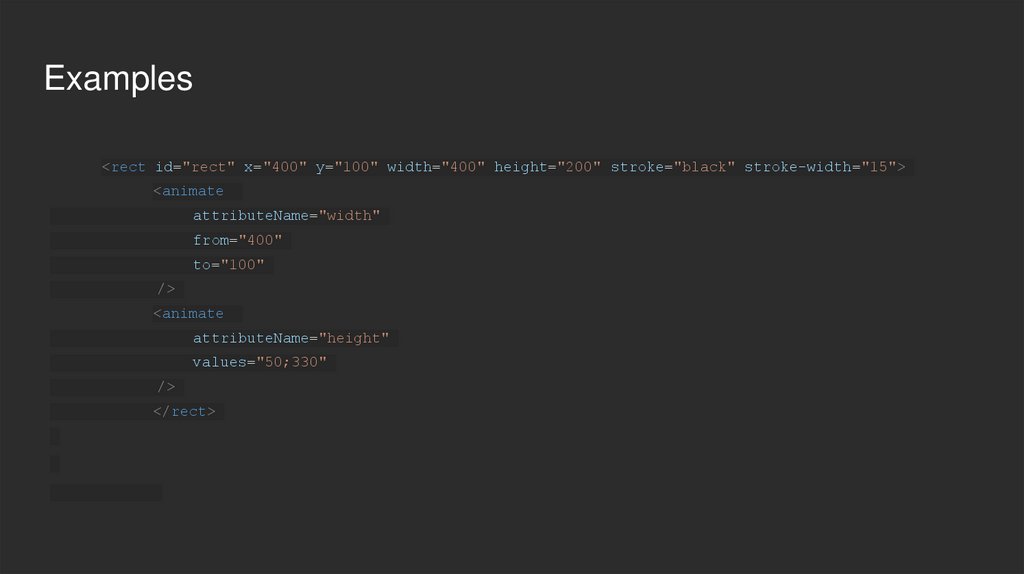
Examples<rect id="rect" x="400" y="100" width="400" height="200" stroke="black" stroke-width="15">
<animate
attributeName="width"
from="400"
to="100"
/>
<animate
attributeName="height"
values="50;330"
/>
</rect>
14.
Timing attributes1. dur - defines duration of animation
2. fill (remove/freeze) - defines element’s behavior after animation end
3. repeatCount (number/indefinite) - defines iteration count
4. begin (time/click) - defines end point of animation start
5. restart (always/whenNotActive/never) - restarts animation on condition
6. repeatDur - stops animation after setted time
15.
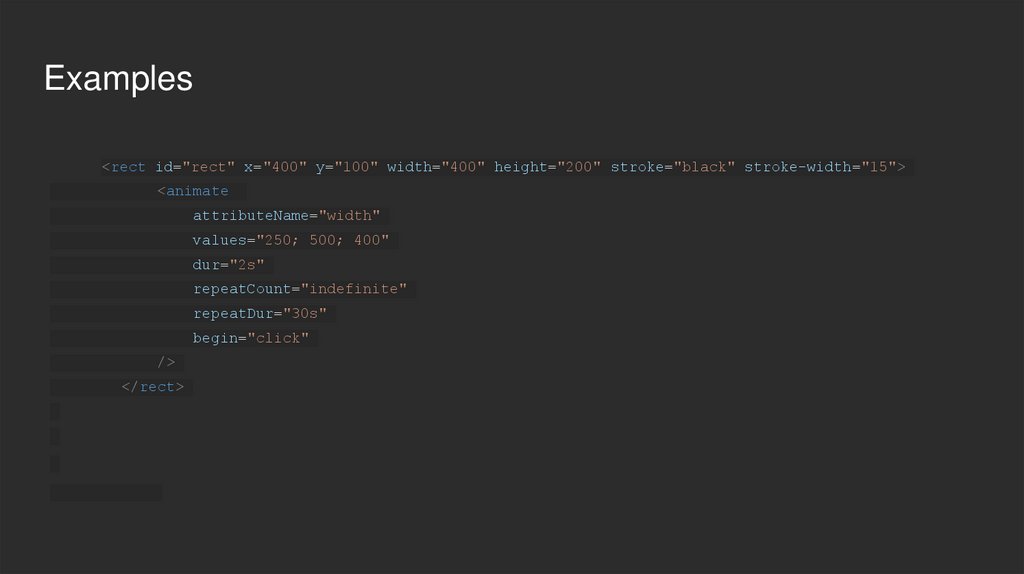
Examples<rect id="rect" x="400" y="100" width="400" height="200" stroke="black" stroke-width="15">
<animate
attributeName="width"
values="250; 500; 400"
dur="2s"
repeatCount="indefinite"
repeatDur="30s"
begin="click"
/>
</rect>
16.
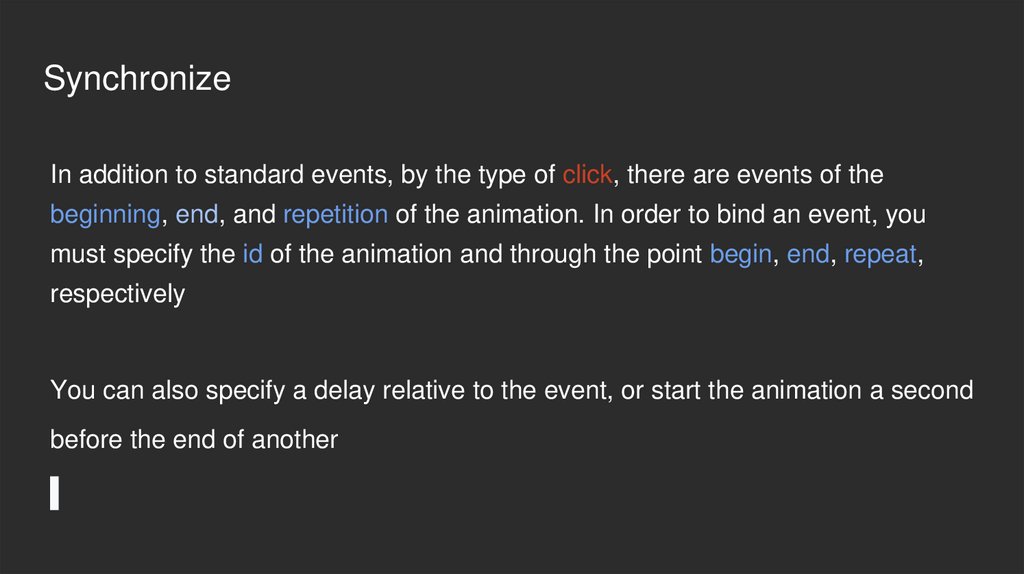
SynchronizeIn addition to standard events, by the type of click, there are events of the
beginning, end, and repetition of the animation. In order to bind an event, you
must specify the id of the animation and through the point begin, end, repeat,
respectively
You can also specify a delay relative to the event, or start the animation a second
before the end of another
17.
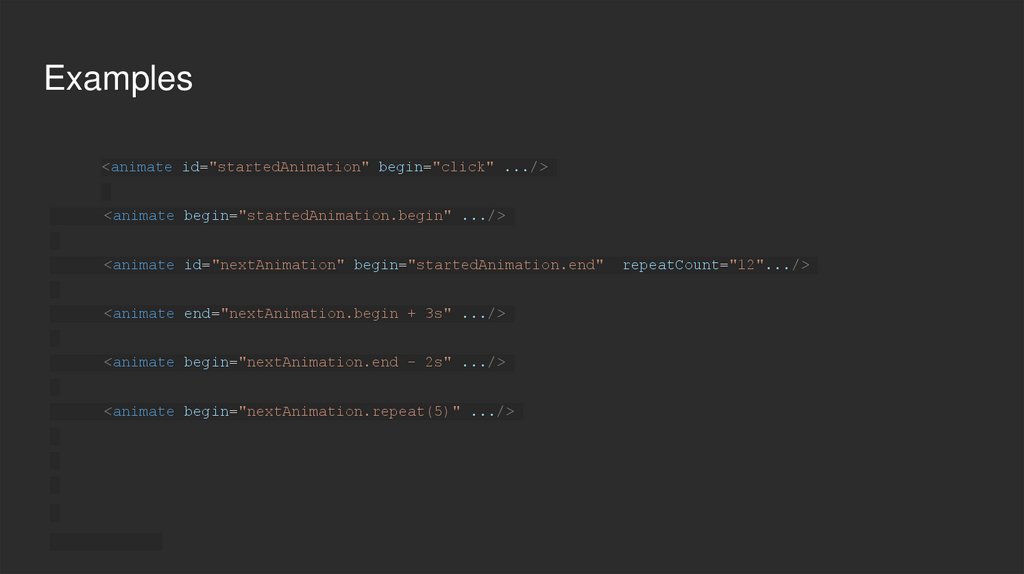
Examples<animate id="startedAnimation" begin="click" .../>
<animate begin="startedAnimation.begin" .../>
<animate id="nextAnimation" begin="startedAnimation.end"
<animate end="nextAnimation.begin + 3s" .../>
<animate begin="nextAnimation.end - 2s" .../>
<animate begin="nextAnimation.repeat(5)" .../>
repeatCount="12".../>
18.
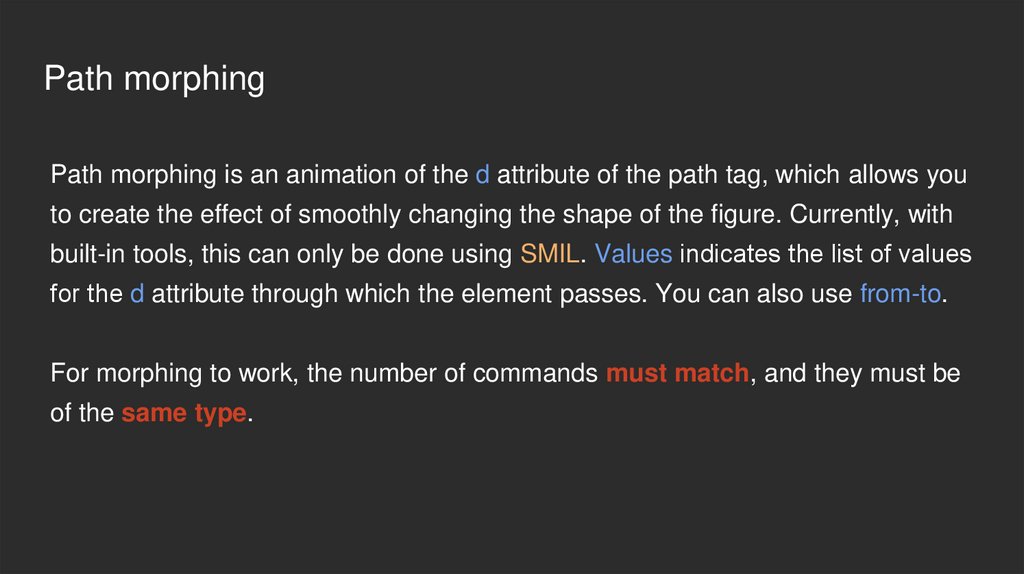
Path morphingPath morphing is an animation of the d attribute of the path tag, which allows you
to create the effect of smoothly changing the shape of the figure. Currently, with
built-in tools, this can only be done using SMIL. Values indicates the list of values
for the d attribute through which the element passes. You can also use from-to.
For morphing to work, the number of commands must match, and they must be
of the same type.
19.
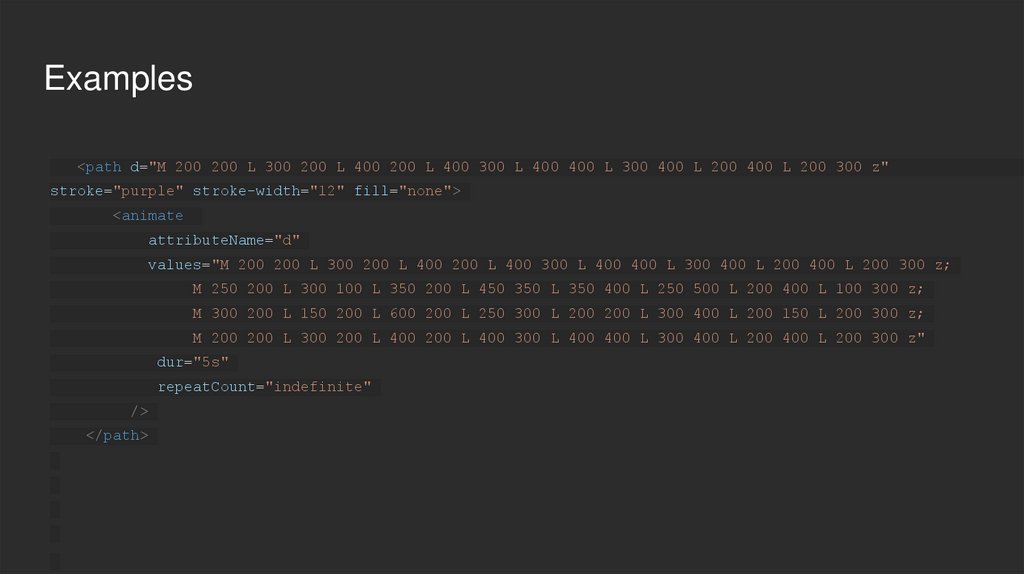
Examples<path d="M 200 200 L 300 200 L 400 200 L 400 300 L 400 400 L 300 400 L 200 400 L 200 300 z"
stroke="purple" stroke-width="12" fill="none">
<animate
attributeName="d"
values="M 200 200 L 300 200 L 400 200 L 400 300 L 400 400 L 300 400 L 200 400 L 200 300 z;
M 250 200 L 300 100 L 350 200 L 450 350 L 350 400 L 250 500 L 200 400 L 100 300 z;
M 300 200 L 150 200 L 600 200 L 250 300 L 200 200 L 300 400 L 200 150 L 200 300 z;
M 200 200 L 300 200 L 400 200 L 400 300 L 400 400 L 300 400 L 200 400 L 200 300 z"
dur="5s"
repeatCount="indefinite"
/>
</path>
20.
Transformation <animateTransform>Used to apply various transformations to an element. All types of transformations
are identical to CSS transformations. With the simultaneous use of CSS and SMIL
transformations, they will override each other, so it is better to use one thing, or
watch so that they do not overlap.
The animated attribute is transform. The transformation mode is indicated in the
type attribute and accepts 4 types of values - translate, rotate, scale, skewX/Y.
21.
Motion <animateMotion>Needed to animate the movement of an element along a path.
The path attribute specifies a set of commands, as for the d attribute. If in the d
attribute the commands are interpreted as the outline of the figure, then in the
path attribute they are the line along which the element will move. The
coordinates of the points are also relative, so the path starts at point 0,0
It is possible to make an element rotate in the direction of motion using the rotate
attribute. It accepts 3 types of values: auto, auto-reverse and a number indicating
rotation in degrees